


GB
Instruction Manual
Read instructions before operating this tool.
TABLE OF CONTENTS
EC - Declaration of Conformity
04
Important Information
05
12 Month Limited Warranty
05
General Safety Rules
05
Safety Precautions for Table Saws
07
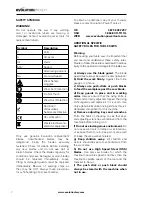
Symbols 08
Additional Specific Safety Rules
08
Specification 09
Machine Overview
11
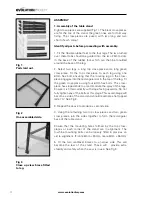
Assembly 12
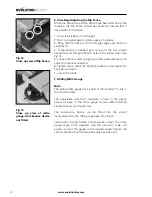
Operation 18
Maintenance 22
Environmental Protection
24
Service Parts Lists
25
2
Содержание FURY 52551
Страница 24: ...24 www evolutionfury com Parts Lists...