


EPN4122/4122i/4220/4220i/4220p/4220pi
59
AGC Limit: Set up the AGC limit level. This option is not available when you select Fix for AE Mode
setting.
Brightness: Set up the brightness value.
Flickerless: Select On / Off to enable / disable the flickerless function to the camera view. Enable
the function can reduce the flicker on camera view when installing the camera into different
frequencies (NTSC or PAL).
AE Reference: Set up the Auto Exposure value here.
BLC Settings: Back Light Compensation (BLC) is used to make the subject appear clearer when it is set
against a bright background; while the Highlight Compensation (HLC) can decrease the exposure of
bright areas surrounded by darker areas. This option is not available when you select Auto for Focus
Mode setting.
OFF:
Select to switch Back Light Compensation functions off.
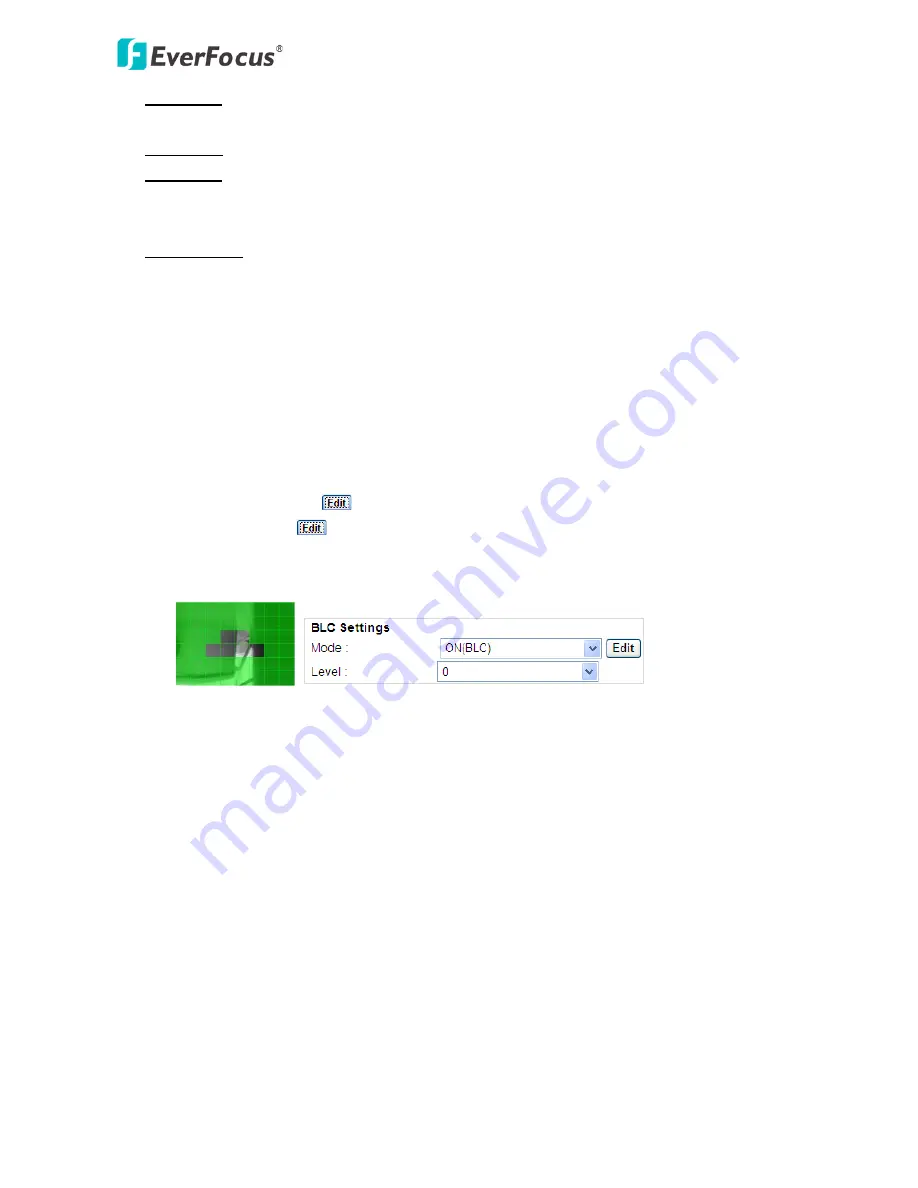
ON (BLC): The Backlight Compensation (BLC) is useful when the background of the subject is
very bright and the subject itself is dark. The BLC will measure the light of the image center and
the lens iris will automatically set for optimal image quality.
Select ON (BLC), the
button next to the Mode drop-down list will be active (see image
below). Click the
button, the green setup areas appear on the left screen. Click on the
areas to enable / disable the BLC function. Select a level for the BLC areas. The selected areas
(in green) will be applied with the BLC function.
ON (HLC): The Highlight Compensation (HLC) is used to reduce the brightness of light sources
in a specific area. It is activated only in a low illumination environment to minimize the effects
of glare from bright lights such as spotlights, street lights or headlights in the field of view.
Select a level for the HLC. The higher the value, the more the highlight compensation.
3D-DNR Settings: This limits the amount of digital “video noise” that is usually found in any video
stream, and helps to reduce file size. The higher the level, the more the reduction.
Select ON to force on the 3D-DNR function when the selected level (the field below) is achieved; Off
to disable the 3D-DNR function; Auto to automatically turn on / off or adjust the level for the 3D-DNR
function. Select a level for the 3D-DNR. The higher the level, the more the reduction.
D-WDR Setting: This feature provides clearer images when both of the very bright and dark areas
simultaneously appear on the camera view. Four options are included: off, low, middle and high.
White Balance Settings: Select the mode that delivers the best quality image for the camera’s light
environment. You can click the Push button on the right side to instruct the camera to the selected
mode. This is like a “semi-automatic” way to adjust the White Balance mode to suit the user.


