User manual - JETPRO 80 & 100
202206-609-ENG
P10
4. USE OF THE MACHINE
4.1. PREREQUISITES
•
The electric connection has to be 230 V - 16 A - 50 or 60 Hz with a 3 x 2,5 mm cable reel of 40m
maximum, completely unreeled.
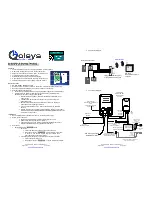
• The display (A1) indicates
the setting of the speed of the rotation of the pump in %. Below 40%, the
machine is in PRIMING mode.
•
During the starting up of the machine, it is important to respect the following stages mentioned below:
- turn the machine on
- press the button (1)
- set the display (A1) to 30 with help of the b/- (4) & (5)
- put soapy water into the tank
- press the button (2) to verify the correct start-up
• After a prolonged standstill, it is possible that the pump might be blocked. If this is the case:
- Put soapy water into the tank. Set the speed to 1. Switch the machine on. As soon as the motor
starts to run normally, the pump is unblocked. Empty the water.
- If the pump is still blocked, put soapy water liquid into the tank. Alternately turn the pump forwards
and backwards for 5 second sequences. As soon as the engine starts to turn normally, the pump is
unblocked. Empty the water.
WORK / STOP
• Once the machine is plugged in, the machine is in the stop mode, the display (A1) indicates OFF and
the display (B1) indicates the mains voltage.
•
If AU is indicated, unscrew the emergency stop button a quarter of a turn.
•
One push of the button ON/OFF (1), the light (L1) lights up, the machine is ready to work.
•
One push of the button ON/OFF (1), when the machine is ready to work (light (L1) is on), the machine
will switch off, the display (A1) indicates OFF (light (L1) is off).
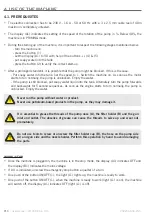
Never run the pump without water or product.
Never use petroleum-based products in the pump, as they may damage it.
It is essential to grease the threads of the pump nose (A), the filter holder (B) and the gun
inlet and outlet. The absence of grease can cause the threads to seize up and wear out
prematurely.
Do not use tools to screw or unscrew the filter holder cap (B), the hose on the pump side
(A) and gun side and the nozzle holder. Perform this operation by hand to avoid damaging
the parts.


