9
5. Main screen
5.1. Registers
5.1. Registers
5.1. Registers
5.1. Registers
5.1. Registers
According to the different tasks of the program it is divided into
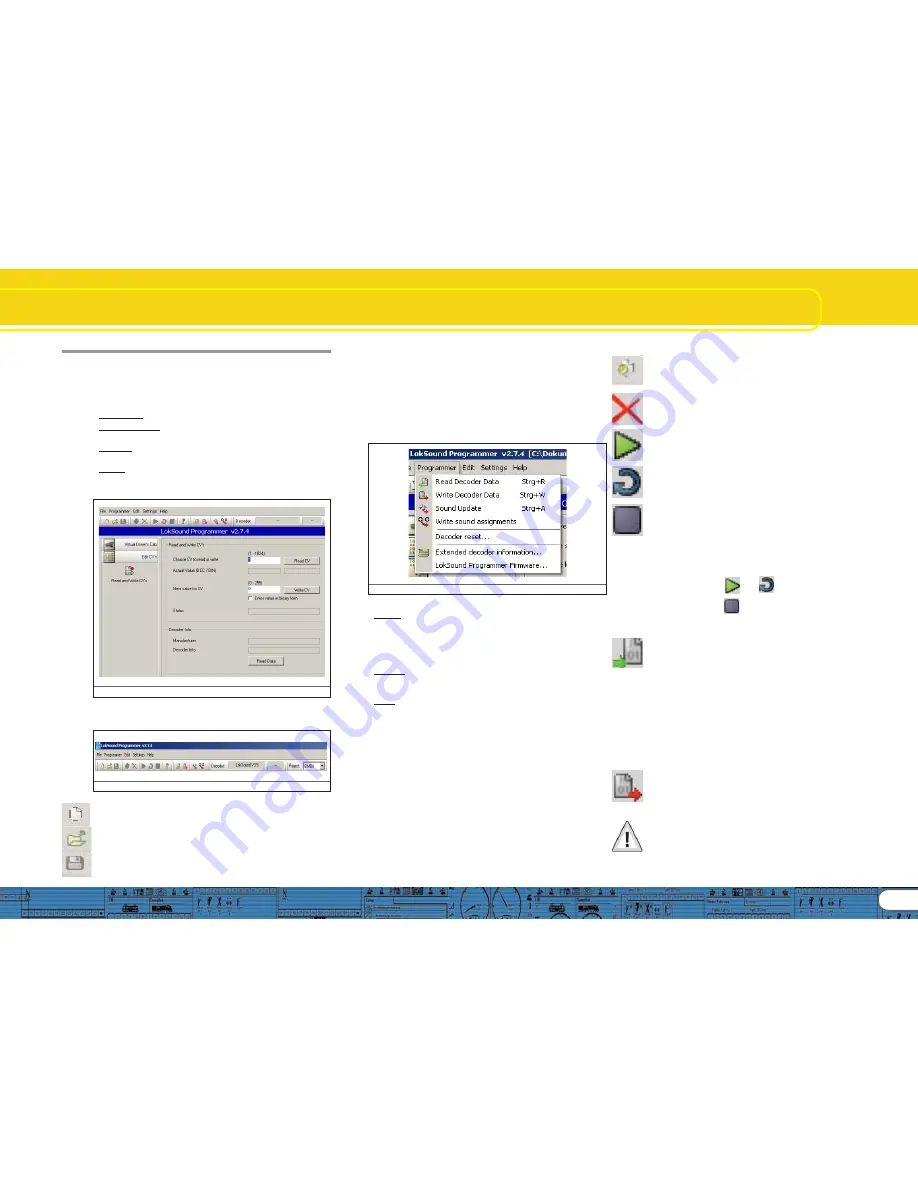
different registers and menus. Figure 10 shows the main screen
of the LokProgrammer software and its main components:
• Virtual Cab: Here you can test decoders in an easy manner
• Modifying CV’s: individual adjustment of CVs provided the
decoder supports DCC (NMRA).
• Decoder: for comfortable programming of ESU decoders with
a graphic display
• Sound: this serves for modifying sounds or to generate new
sound compositions for LokSound decoders.
Fig.10.: Main screen
5.2. T
5.2. T
5.2. T
5.2. T
5.2. Task bar
ask bar
ask bar
ask bar
ask bar
Fig.11.: Task bar
•File: in this menu you can do the following with projects:
Generate a new project,
load resp. „open“ a new project, save a project
Please note that all files of the LokProgrammer software version
2.6.6. can only be opened and changed when software version
2.6.6. is used!
You can also call up the internet update facility (refer to 2.5)
and close the LokProgrammer software.
During „Saving“ all data, settings and sound files will be written
into the project file. Project files are saved with the ending
„.esu“.
• Programmer: here you can read and write decoder data and
read sound files and allocatement of addresses. Extended
decoder data such as type of decoder and version number of
the firmware can also be read here.
Fig.12.: Menu „Programmer“
• Editing: in this menu you can enter additional info such as the
name of the locomotive or a photo and description of the
locomotive. It is also possible to convert LokSound 2 project files
into the current format of the LokProgrammer. After this
procedure you may have to check the CV values since not all
CVs can be transferred.
• Settings: here you can determine the project directory and the
programming language (German or English). Please note that
the new language only operates after restarting the program.
• Help: here you can open this manual and obtain other
information on this software
5.3. T
5.3. T
5.3. T
5.3. T
5.3. Tool bar
ool bar
ool bar
ool bar
ool bar
„Add Sound File“. This button is only active when a sound file
was selected in the window „Folder“ or at the „Sound“ register.
„Delete Sound File“. This button is only active when a sound
file was selected in the window „Project Sound“ or at the
„Sound“ register.
„Play Sound File“ for testing purposes. This button is active
when a sound file was selected.
„Play Sound File continuously“. This button is active when a
sound file was selected. This type of replay is useful for sound
loops (driving noises).
„Stop Playing Sound Loop“. This button is active when a sound
file was selected.
It is possible to first listen to sounds on your PC prior to adding
them to a project. Mark the file you want to listen to in the
window „Folder“ (in the window „Sound“ / „Schedule“ in the
lower half of the left column). Then click onto
or .
To finish click onto .In this manner you can also listen to
sounds that are already contained in the list „Project Sounds“.
„Read Decoder Data“: Prior to changing any data on the
decoder it is advisable to read out all decoder data. Place the
locomotive on the programming track and make sure the
programming track is correctly connected.
Then click onto „Read CVs of the Decoder“ in the task bar at
the top of the screen. Alternately you can select the command
„Read out Decoder Data …“ in the menu „Programmer“. The
program starts to read the data immediately. Please be patient,
this process may take one or two minutes.
The status is displayed in the progress bar.
Should the program not be able to read the data please refer
to chapter 13.1.
„Write Decoder Data“: The CVs contained in the project file
will be written onto the decoder connected to the
LokProgrammer. Click „Continue“ in the window that opens
first in order to write the CVs.
All data on the decoder will be replaced by the new data.
Main Screen
Содержание LokProgrammer
Страница 35: ...35...


