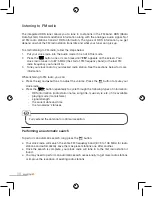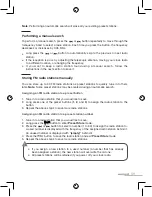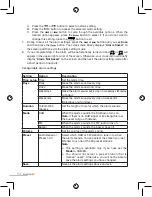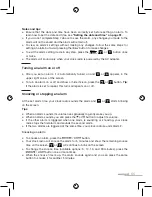
51
V.1.0
Changing the input source
●
When your clock radio is in the audio mode, short press the
button to cycle
through the input sources and until the desired input source appears on the screen.
●
The available input sources are: DAB radio (default), FM radio, Bluetooth*, USB drive,
microSD card, and line in (auxiliary input).
Setting the date and time
Setting the date and time automatically
When your clock radio is switched on for the first time and your home area is already
covered by DAB+, the date and time are automatically set via the DAB/FM signal,
provided you receive a sufficiently strong signal. Consider extending the antenna fully.
The date and time are then synchronized during updates or automatic searches for DAB/
FM stations.
Setting the date and time manually
If the signal is not strong enough or you are not yet receiving DAB+, follow the steps
below to manually set the time and date.
Setting time
1. Put your clock radio into the clock mode if it is not in this mode.
2. Press the
button to open the
System
menu.
3. Press the
button to open the first submenu, which is
Time setup
.
4. Press the
button to select the first menu item, which is
Set clock
.
5. Press the
or
button repeatedly to set the hours when the hour digits are
blinking. You can press and hold the
or
button to quickly change the value.
Press the
button to save and continue.
6. Repeat Step 5 to set the minutes.
7. If the current time format is 12 hours, press the
or
button to select
AM
or
PM
. Press the
button to save and return to the
Time setup
submenu.
8. Press the
button twice or wait about 10 seconds to exit the
System
menu.
Setting date
Follow almost the same steps for setting time.
●
In Step 4, press the
button and then the
button to select
Set date
.
●
Perform Step 5 to set the day, month, and year one after another.
Содержание 8009630
Страница 2: ......
Страница 4: ......
Страница 9: ...9 V 1 0 Présentation de l appareil ...
Страница 44: ...44 V 1 0 Overview of the device ...
Страница 76: ...76 V 1 0 Descripción del dispositivo ...
Страница 110: ...110 V 1 0 Übersicht über das Gerät ...
Страница 145: ...145 V 1 0 Overzicht van het apparaat ...

