7
Drawer Closing
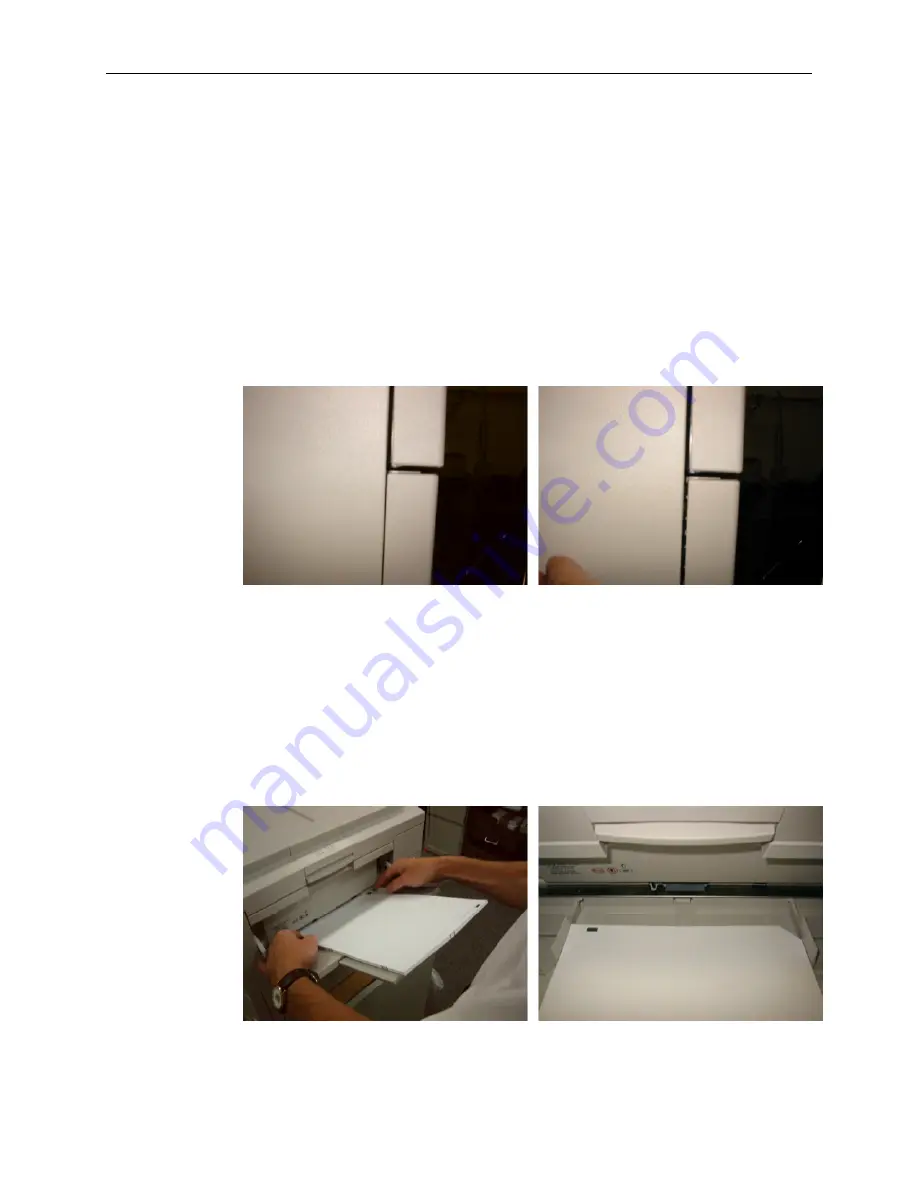
In addition to loading paper into the tray consistently, it is also important to close
the tray consistently. After loading paper into Tray 1, close the tray until it latches.
On the Okidata, when the tray is pressed in and latched, it should return to the
same position each time. There may be slight variations in the final position of the
tray depending on how hard it is closed. If it does not spring back all the way and
align itself with the rest of the printer on it’s own, you should grab both sides of
the tray and pull it toward you until it is. The two pictures below illustrate this
situation from a side view. The first picture on the left shows a tray that was
pressed in but completely returned to the resting position. The next picture shows
the tray when it is pulled out flush with the front surface of the printer.
Paper Insertion in Multi-purpose Tray
This tray must be pulled out from the right side of the printer as shown below.
Before inserting paper, make sure to jog the stack with smooth edges. Place it in
the tray as shown below, and adjust the side guides against the sides of the paper.
It is a good idea to tap the guides against the edges a few times to align the paper
as straight as possible. When placing the ballot stock into the tray, the cut corner
should be on the right side of the leading edge as shown in the second picture
below.


