2-3-4
TD951MA
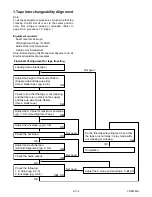
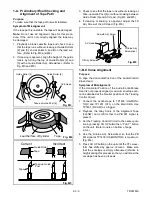
6. Press CH DOWN button on the unit until the CTL
waveform has shifted from its original position (not
the position achieved in step 5, but the position of
CTL waveform in step 4) by approximately -2msec.
Make sure that the envelope is simply attenuated
(shrinks in height) once CTL waveform passes its
original position and is further brought in the minus
direction.
7. Set the Tracking Control Circuit to the center posi-
tion by pressing CH UP button and then “ PLAY ”
button.
1-C. Checking/Adjustment of Envelope
Waveform
Purpose:
To achieve a satisfactory picture and precise tracking.
Symptom of Misalignment:
If the envelope output is poor, noise will appear in the
picture. The tracking will then lose precision and the
playback picture will be distorted by any slight varia-
tion of the Tracking Control Circuit.
1. Connect the oscilloscope to TP1403 (HA-MONI-
TOR) on the Main CBA. Use TP1401 (RF-SW) as a
trigger.
2. Playback the Gray Scale on the Alignment Tape
(FL8NW). Set the Tracking Control Circuit to the
center position by pressing CH UP button and then
“ PLAY ” button on the unit. Adjust the height of
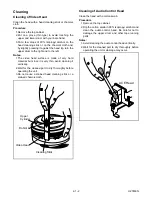
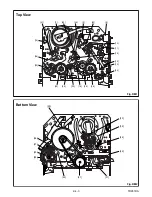
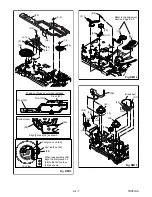
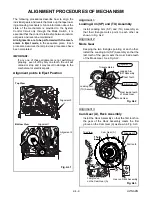
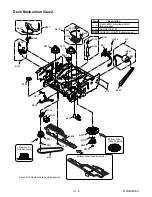
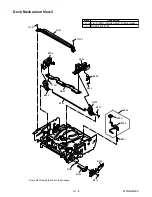
Guide Rollers [2] and [3] (Fig. M3, Page 2-3-3)
watching the oscilloscope display so that the enve-
lope becomes as flat as possible. To do this adjust-
ment, turn the top of the Guide Roller with the
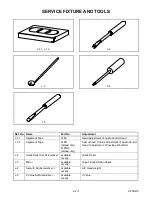
Guide Roller Adj. Screwdriver.
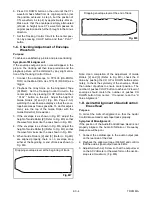
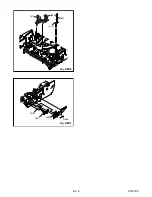
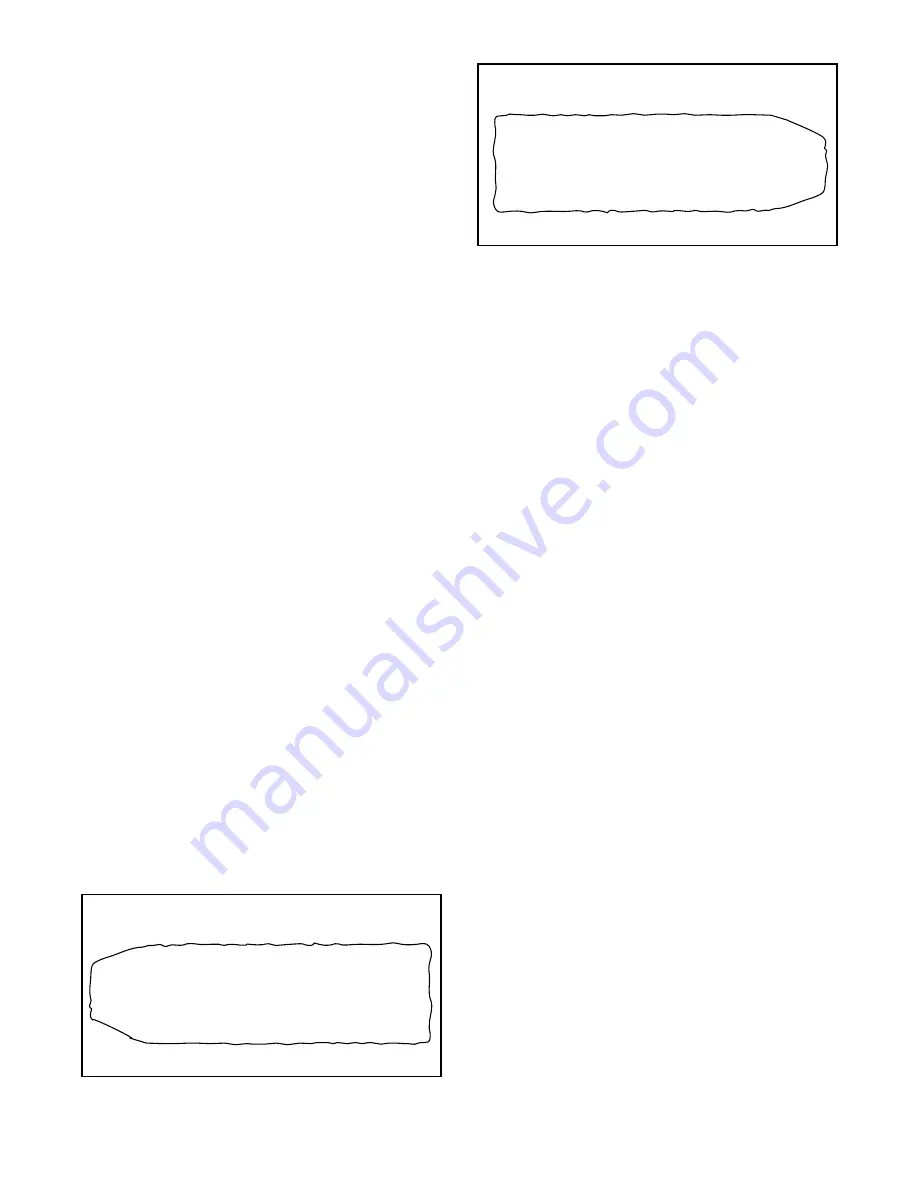
3. If the envelope is as shown in Fig. M7, adjust the
height of Guide Roller [2] (Refer to Fig. M3) so that
the waveform looks like the one shown in Fig. M9.
4. If the envelope is as shown in Fig. M8, adjust the
height of Guide Roller [3] (Refer to Fig. M3) so that
the waveform looks like the one shown in Fig. M9.
5. When Guide Rollers [2] and [3] (Refer to Fig.M3)
are aligned properly, there is no envelope drop
either at the beginning or end of track as shown in
Fig. M9.
Note: Upon completion of the adjustment of Guide
Rollers [2] and [3] (Refer to Fig. M3), check the X
Value by pushing the CH UP or DOWN buttons alter-
nately, to check the symmetry of the envelope. Check
the number of pushes to ensure center position. The
number of pushes CH UP button to achieve 1/2 level of
envelope should match the number of pushes CH
DOWN button from center. If required, redo the “X
Value Alignment.”
1-D. Azimuth Alignment of Audio/Control/
Erase Head
Purpose:
To correct the Azimuth alignment so that the Audio/
Control/Erase Head meets tape tracks properly.
Symptom of Misalignment:
If the position of the Audio/Control/Erase Head is not
properly aligned, the Audio S/N Ratio or Frequency
Response will be poor.
1. Connect the oscilloscope to the audio output jack
on the rear side of the deck.
2. Playback the alignment tape (FL8NW) and confirm
that the audio signal output level is 8kHz.
3. Adjust Azimuth Adj. Screw so that the output level
on the AC Voltmeter or the waveform on the oscillo-
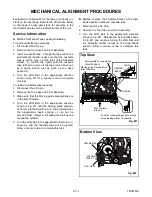
scope is at maximum. (Fig. M6)
Dropping envelope level at the beginning of track.
Fig. M7
Dropping envelope level at the end of track.
Fig. M8
Содержание EC720E
Страница 2: ...EC720E T1008UJ 2004 06 22 ...
Страница 22: ...1 7 4 TD900DC S 4 S 4 S 4 S 4 4 CRT Anode Cap CRT CBA Fig 3 ...
Страница 62: ...WF11 PIN 5 OF CN571 Q571 Collector WF10 H V CBA Bottom View TV VCR Section 1 11 39 1 11 40 BTD930F01031 A ...
Страница 64: ...1 11 43 BTD850F01022B 1 11 44 Function CBA Top View TV VCR Section Function CBA Bottom View TV VCR Section ...
Страница 93: ...2 4 8 TD951DA Fig DM16 41 42 43 L 13 44 45 P 9 Slide Fig DM17 ...
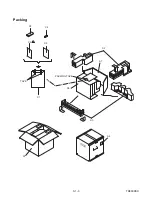
Страница 97: ...3 1 3 TD900PEX S4 S1 X1 TAPE X5 X4 X2 X3 S3 S6 S7 S2 PACKING TAPE Packing ...
Страница 119: ...Printed in Japan 2003 08 25 HO 6720FDD TD900UA ...


