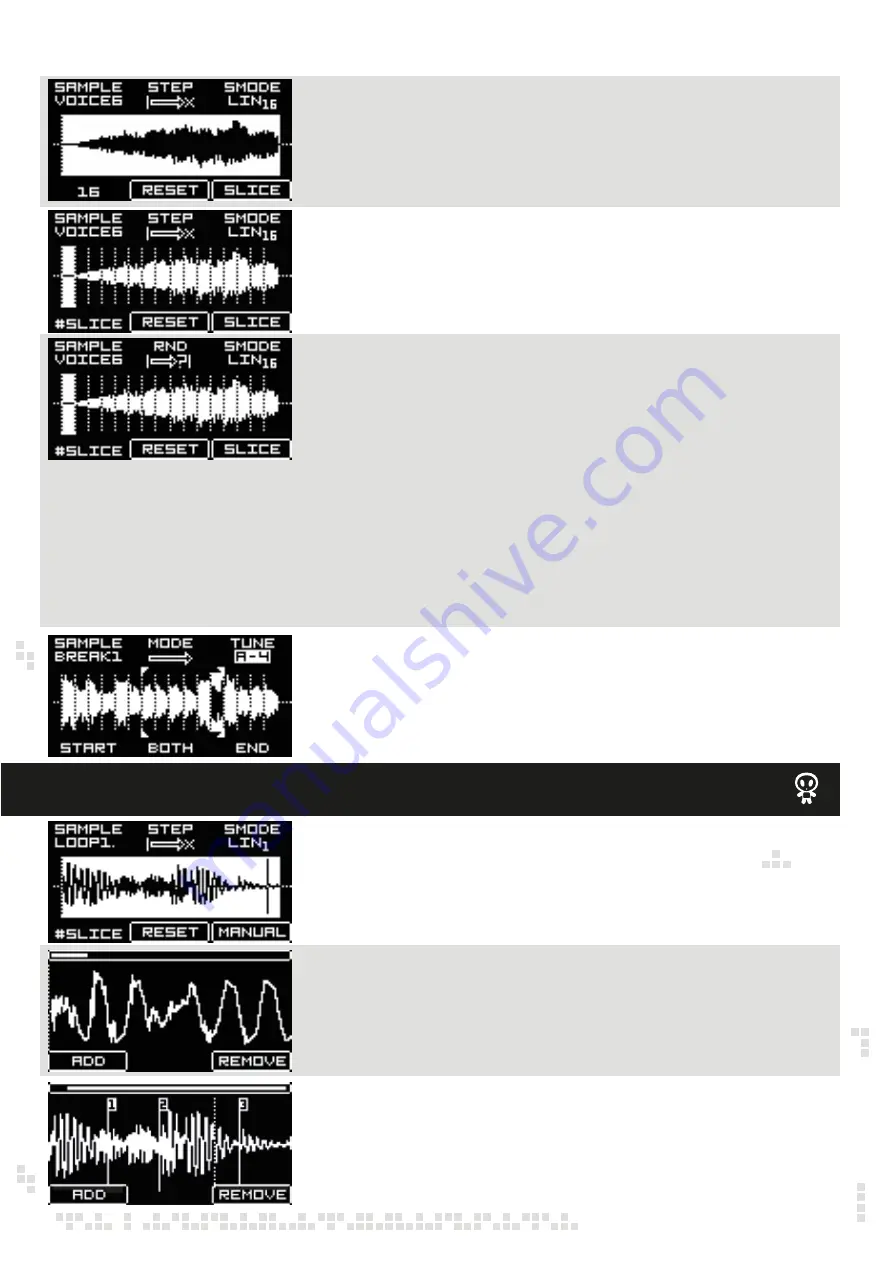
Rotate the encoder D/BACK to select number of slices: 1 to 32
Push the encoder F to slice the sample in defined number of slices
When the sample is sliced, push the encoder A/DATA and sample play screen will appear.
Here you can select slices that are played back sequentially - rotate the encoder D/BACK to
select the first slice and rotate the encoder F to select the last slice!
Rotate the encoder E to control both (start & end) slice points at the same time.
Rotate the encoder B to select slice playback mode, meaning, in what order the slices will
be played back with incoming triggers.
Available modes are:
FWD (forward) – slices are played sequentially from left to right
BKW (backward) – slices are played sequentially from the right to left
RND (random) – slices are played back in random order
CV (CV controlled playback) – CV setting is divided in equal parts depending on the number of
slices and the incoming CV defines, which slice is played back. This mode still need the incoming
trigger to actually play back the CV defined slice
NONE – just the first slice is played
Push the encoder E to reset slice playback to the first slice. If the CV scale is set to 1V/Oct the first
32 notes starting from C-0 will play the first 32 slices.
Nice trick is to prepare 1 bar long loops and slice up them to 16 slices and then trigger them on
every clock tick. This way you can “sync” your loops to the BPM.
You also can use a trigger to reset the playback to the first slice. For that you need to configure
one of CV inputs for slice reset. Please, refer to CV assign instructions in this manual.
When in sample slicing menu, push and hold TRG2/SHIFT button and push the encoder F to
enter the manual slicing mode. Manual slicing screen will appear.
Rotate the encoder C to zoom the waveform! The zoom bar on the top of the screen will show
the zoom rate.
SAMPLE MENU – MANUAL SAMPLE SLICING
SAMPLE DRUM
Rotate the encoder E to move slicing cursor left or right and push the encoder A/DATA (ADD)
to add the slice point! Maximum number of slices per sample is 32. Slice points will be
automatically numbered sequentially.
Rotate the encoder A/DATA to move through the slices. The selected slice will appear as a dashed line.
Once the slice is selected you can adjust its position (move left or right) by rotating the encoder
B or you can REMOVE the slice point by pushing the encoder C.
Push the encoder D/BACK to return to the main slicing screen.


