127
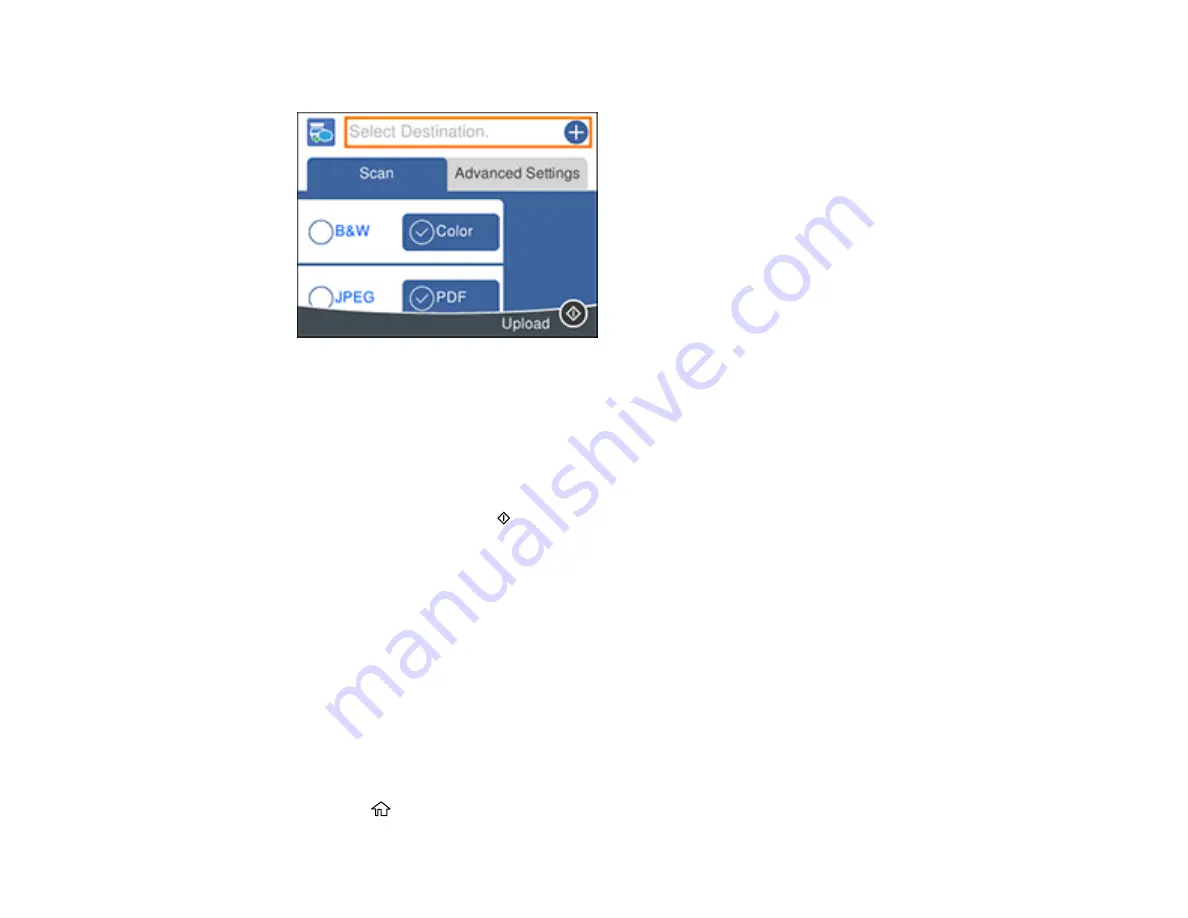
You see a screen like this:
5.
Press the
OK
button to select a destination.
Note:
You must register your product with Epson Connect to select a destination.
6.
Change any of the displayed settings on the
Scan
tab as necessary.
7.
Select the
Advanced Settings
tab to view and change additional scan settings, if necessary.
8.
On the
Scan
tab, press the
start button to start scanning.
Your product scans your original and saves the scanned file to the selected destination.
Parent topic:
Starting a Scan Using the Product Control Panel
Scanning Using Web Services for Devices (WSD) - Windows
You can scan originals to a computer from the product control panel using WSD (Web Services for
Devices) for network scanning in Windows.
Note:
To use this feature on Windows 7 or Windows Vista, you must first set up WSD on the computer.
See Windows help for instructions.
1.
Make sure you installed the product software and connected the product to your computer or
network.
2.
Place your original on the product for scanning.
3.
Press the
home button, if necessary.
Содержание XP-6000
Страница 1: ...XP 6000 User s Guide ...
Страница 2: ......
Страница 13: ...13 XP 6000 User s Guide Welcome to the XP 6000 User s Guide For a printable PDF copy of this guide click here ...
Страница 24: ...24 Product Parts Inside 1 Document cover 2 Scanner glass 3 Memory card slot ...
Страница 57: ...57 1 Slide in the output tray 2 Open the front cover until it clicks ...
Страница 58: ...58 3 Pull on the front cover to slide out the lower paper cassette 4 Slide the edge guides outward ...
Страница 131: ...131 You see an Epson Scan 2 window like this ...
Страница 133: ...133 You see an Epson Scan 2 window like this ...
Страница 135: ...135 You see this window ...
Страница 178: ...178 2 Select Settings and press the OK button 3 Select Camera Print Settings and press the OK button ...
Страница 183: ...183 1 Open the front cover 2 Raise the control panel ...
Страница 264: ...264 Caution Do not touch the flat white cable or the metal bar inside your product 3 Close the scanner unit ...


