


Receiving Faxes Automatically (Auto Answer)
To receive and print faxes automatically, you can turn on Auto Answer mode. To turn Auto Answer mode
on or off, press the
Fax
button, press the
Menu
button, then select
Fax Settings
>
Send/Receive
Setup
>
Auto Answer
.
If an answering machine is connected, make sure the product's
Rings to Answer
setting is set higher
than the number of rings your answering machine is set to answer a call. For example, if the answering
machine is set to pick up on the fourth ring, set the product to pick up on the fifth ring or later.
If a telephone is connected, and you use it to answer a call that turns out to be a fax, wait until the
product's LCD screen displays a message that a connection has been made before hanging up.
Parent topic:
Receiving Faxes
Related tasks
Selecting Fax Send and Receive Settings
Selecting Fax Communication Settings
Receiving Faxes Manually
You can set up your product to receive faxes manually by turning off Auto Answer mode. To turn Auto
Answer mode on or off, press the
Fax
button, press the
Menu
button, then select
Fax Settings
>
Send/Receive Setup
>
Auto Answer
. This lets you check for a fax tone on the connected telephone
before receiving a fax.
1.
When the connected telephone rings, answer the call.
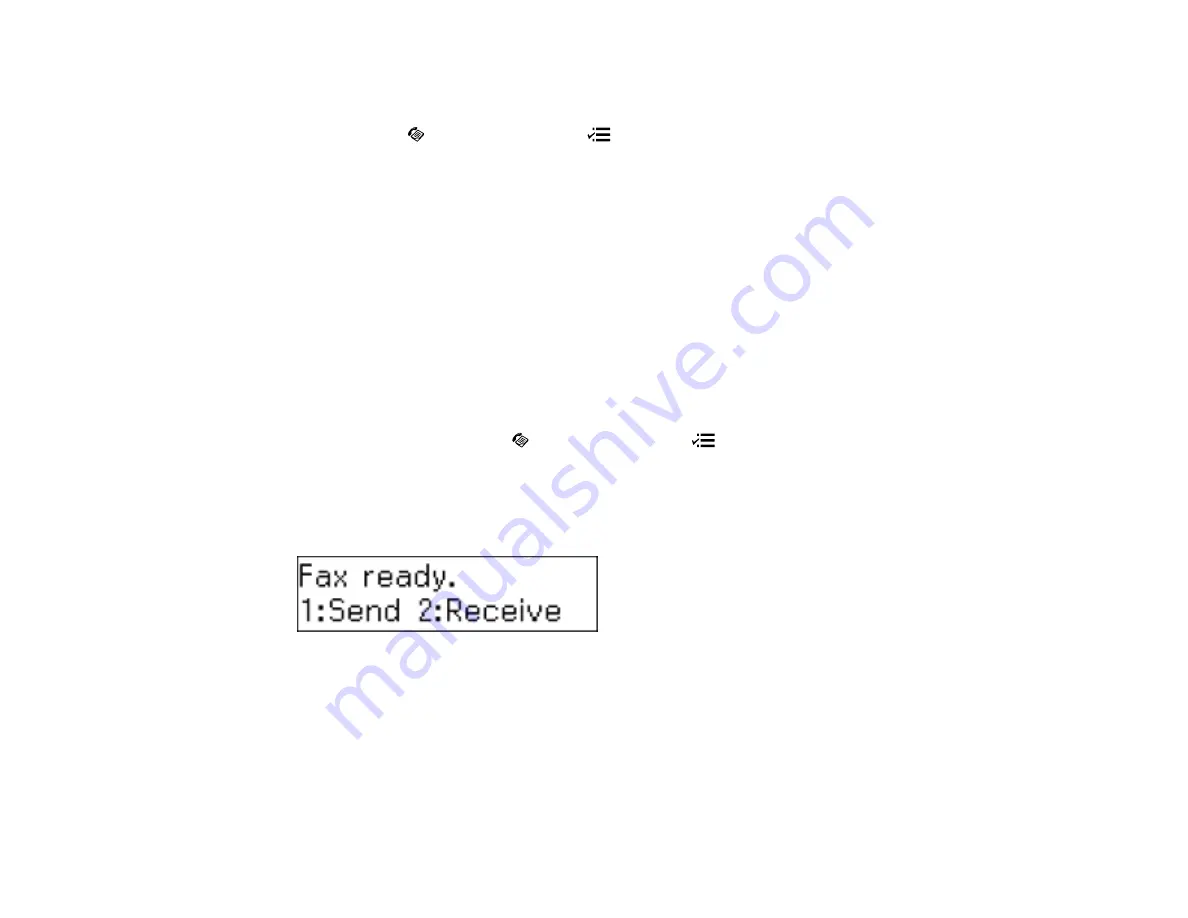
You see this message on your product's LCD screen:
2.
If you hear a fax tone, select the
Receive
option.
Note:
Leave the answered call active as you receive the fax transmission.
3.
Follow the instructions on the screen to receive the fax.
When fax transmission is finished, you see the previous LCD screen.
4.
Hang up the phone.
155
Содержание WorkForce WF-M1560
Страница 1: ...WF M1560 User s Guide ...
Страница 2: ......
Страница 11: ...WF M1560 User s Guide Welcome to the WF M1560 User s Guide 11 ...
Страница 16: ...1 ADF cover 2 Automatic Document Feeder ADF 3 ADF edge guide 4 ADF input tray 5 ADF output tray 16 ...
Страница 17: ...1 Document cover 2 Scanner glass 3 Control panel Parent topic Product Parts Locations 17 ...
Страница 38: ...Related topics Copying Scanning Faxing 38 ...
Страница 84: ... Normal preview Click the Auto Locate icon to create a marquee dotted line on the preview image 84 ...
Страница 90: ...90 ...
Страница 116: ...1 Telephone wall jack 2 DSL filter 3 DSL modem ISDN connection one phone number 116 ...
Страница 117: ...1 ISDN wall jack 2 Terminal adapter or ISDN router ISDN connection two phone numbers 117 ...
Страница 118: ...1 ISDN wall jack 2 Terminal adapter or ISDN router 118 ...
Страница 141: ...4 Select Speed Dial Group Dial List You see this window 141 ...
Страница 174: ...5 Click Print 6 Check the printed pattern to see if there are gaps in the lines Print head is clean 174 ...
Страница 188: ...Print Head Cleaning 188 ...
Страница 202: ...4 Remove any jammed paper or torn pieces 202 ...
Страница 205: ...1 ADF cover 2 Paper feeder 5 Remove any jammed paper or torn pieces 205 ...
Страница 247: ...Copyright Attribution 2013 Epson America Inc 6 13 CPD 38090R2 Parent topic Copyright Notice 247 ...


