


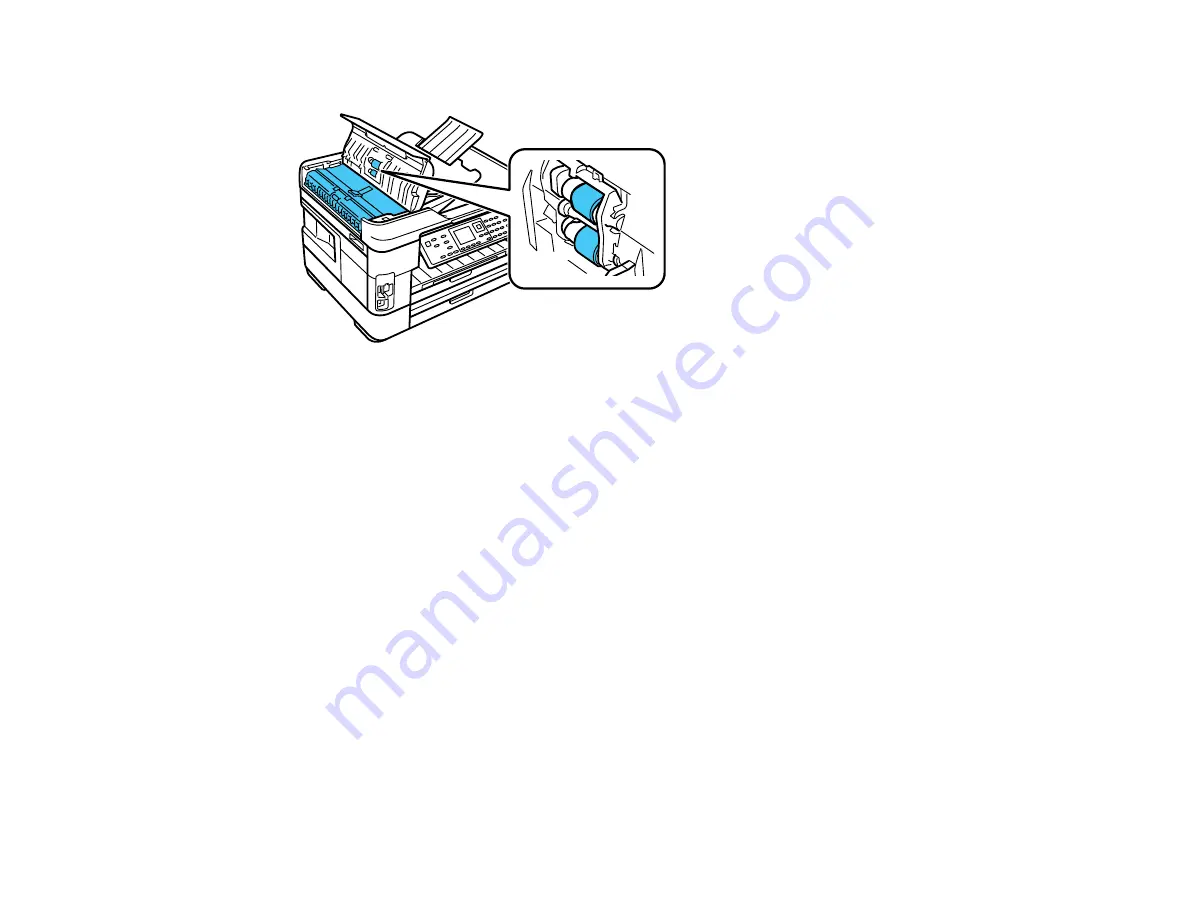
7.
Open the ADF cover and use a soft, dry, lint-free cloth to clean the rollers and the interior of the ADF.
8.
Close the ADF, then clean the outer case and control panel with a soft, dry, lint-free cloth. Do not use
liquid or chemical cleansers.
Parent topic:
Cleaning and Transporting Your Product
Related tasks
Transporting Your Product
If you need to ship your product or transport it a long distance, prepare it for transportation as described
here.
Caution:
During transportation and storage, follow these guidelines:
• Avoid tilting the product, placing it vertically, or turning it upside down; otherwise ink may leak.
• Leave the ink cartridges installed. Removing the cartridges can dry out the print head and may prevent
the product from printing.
• Do not carry the product by its control panel; this may damage the product.
1.
Turn off the product.
271
Содержание WorkForce WF-7510
Страница 1: ...WorkForce WF 7510 WF 7520 User s Guide ...
Страница 2: ......
Страница 13: ...WorkForce WF 7510 WF 7520 User s Guide Welcome to the WorkForce WF 7510 WF 7520 User s Guide 13 ...
Страница 29: ...4 Slide the edge guide shown below to your paper size 29 ...
Страница 33: ...1 Close the output tray if necessary 2 Pull out the paper cassette and remove the paper cassette cover 33 ...
Страница 34: ...3 Slide the edge guides outward 4 Slide the edge guide shown below to your paper size 34 ...
Страница 38: ...1 Close the output tray if necessary 2 Pull out the paper cassette and remove the paper cassette cover 38 ...
Страница 39: ...3 Slide the edge guides outward 4 Slide the edge guide shown below to your envelope size 39 ...
Страница 57: ...Related topics Copying Scanning 57 ...
Страница 121: ... Normal preview Click the Auto Locate icon to create a marquee dotted line on the preview image 121 ...
Страница 131: ...131 ...
Страница 171: ...You see this window 5 Select Fax Settings for Printer You see this window 171 ...
Страница 182: ...6 Select your product if necessary 7 Select Speed Dial Group Dial List You see this window 182 ...
Страница 237: ...Related topics Loading Paper 237 ...
Страница 256: ...256 ...
Страница 261: ...261 ...
Страница 287: ...Caution Do not touch the flat white cable inside the printer 4 Lower the scanner unit 287 ...
Страница 289: ...7 Open the rear cover and remove any additional jammed paper 289 ...
Страница 292: ...3 Remove any jammed paper inside the cassette 4 Remove any paper jammed inside the cassette slot 292 ...
Страница 296: ...5 Remove any jammed paper 296 ...
Страница 297: ...6 Lower the document cover and close the ADF cover 7 Carefully remove the jammed paper 297 ...


