


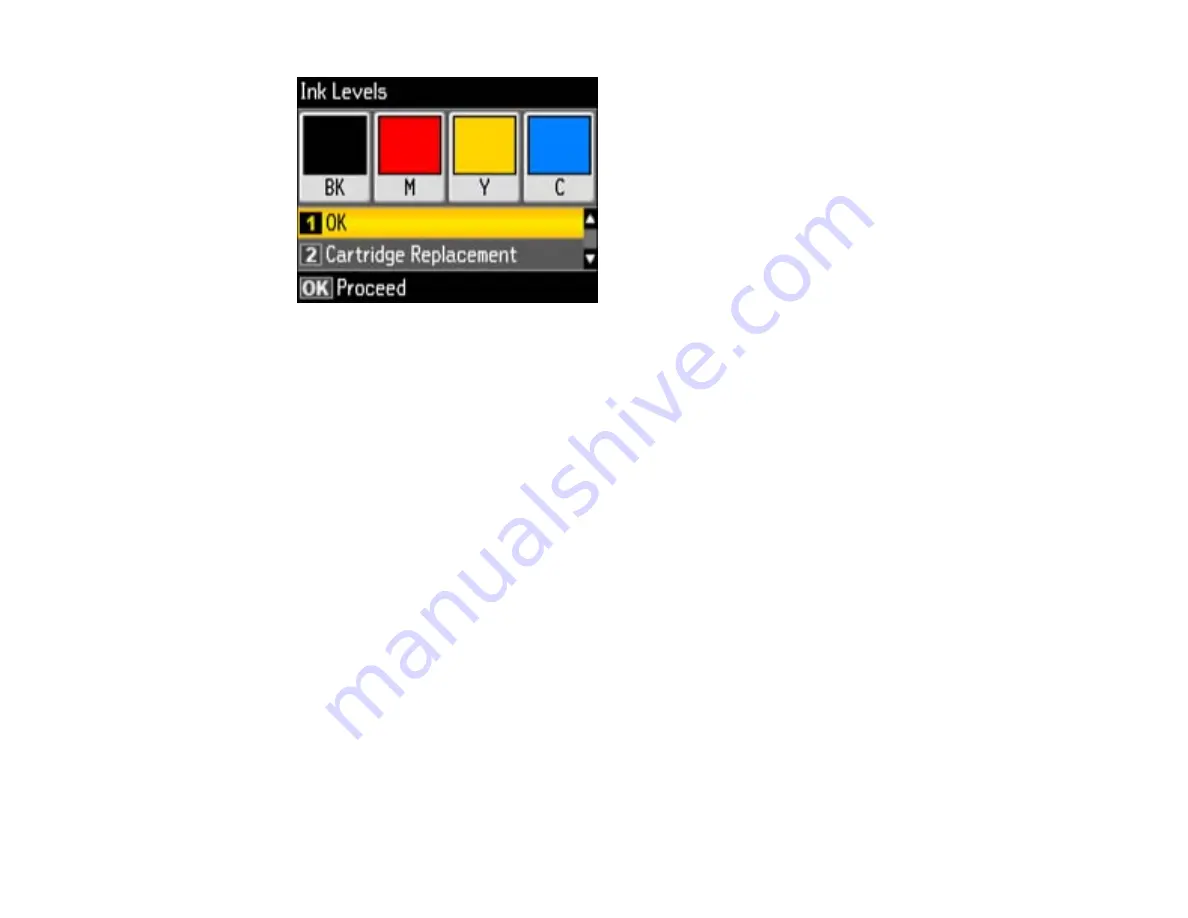
Note:
The display is different depending on which ink cartridges are low or expended, if any.
Displayed ink levels are approximate.
3.
Press the
Copy
button to exit.
Parent topic:
Related tasks
Removing and Installing Ink Cartridges
Checking Cartridge Status with Windows
A low ink reminder appears if you try to print when ink is low, and you can check your cartridge status at
any time using a utility on your Windows computer.
1.
To check your cartridge status, double-click the product icon in the Windows taskbar, then click the
Details
button in the window that appears.
You see this window:
239
Содержание WorkForce WF-7510
Страница 1: ...WorkForce WF 7510 WF 7520 User s Guide ...
Страница 2: ......
Страница 13: ...WorkForce WF 7510 WF 7520 User s Guide Welcome to the WorkForce WF 7510 WF 7520 User s Guide 13 ...
Страница 29: ...4 Slide the edge guide shown below to your paper size 29 ...
Страница 33: ...1 Close the output tray if necessary 2 Pull out the paper cassette and remove the paper cassette cover 33 ...
Страница 34: ...3 Slide the edge guides outward 4 Slide the edge guide shown below to your paper size 34 ...
Страница 38: ...1 Close the output tray if necessary 2 Pull out the paper cassette and remove the paper cassette cover 38 ...
Страница 39: ...3 Slide the edge guides outward 4 Slide the edge guide shown below to your envelope size 39 ...
Страница 57: ...Related topics Copying Scanning 57 ...
Страница 121: ... Normal preview Click the Auto Locate icon to create a marquee dotted line on the preview image 121 ...
Страница 131: ...131 ...
Страница 171: ...You see this window 5 Select Fax Settings for Printer You see this window 171 ...
Страница 182: ...6 Select your product if necessary 7 Select Speed Dial Group Dial List You see this window 182 ...
Страница 237: ...Related topics Loading Paper 237 ...
Страница 256: ...256 ...
Страница 261: ...261 ...
Страница 287: ...Caution Do not touch the flat white cable inside the printer 4 Lower the scanner unit 287 ...
Страница 289: ...7 Open the rear cover and remove any additional jammed paper 289 ...
Страница 292: ...3 Remove any jammed paper inside the cassette 4 Remove any paper jammed inside the cassette slot 292 ...
Страница 296: ...5 Remove any jammed paper 296 ...
Страница 297: ...6 Lower the document cover and close the ADF cover 7 Carefully remove the jammed paper 297 ...


