


Note:
You can also print double-sided manually. With Windows, you can select the
2-Sided Printing
option in the driver to help you with manual double-sided printing.
• To print on both sides of the page from your computer, load plain paper or EPSON Bright White
Paper, and select
2-Sided Printing
(Windows) or one of the
Two-sided Printing Settings
(Mac
OS X).
Note:
If you are using EPSON Premium Presentation Paper Matte Double-sided or EPSON Brochure
& Flyer Paper Matte Double-sided you must print double-sided manually; this type of paper is not
designed to work with the duplexer.
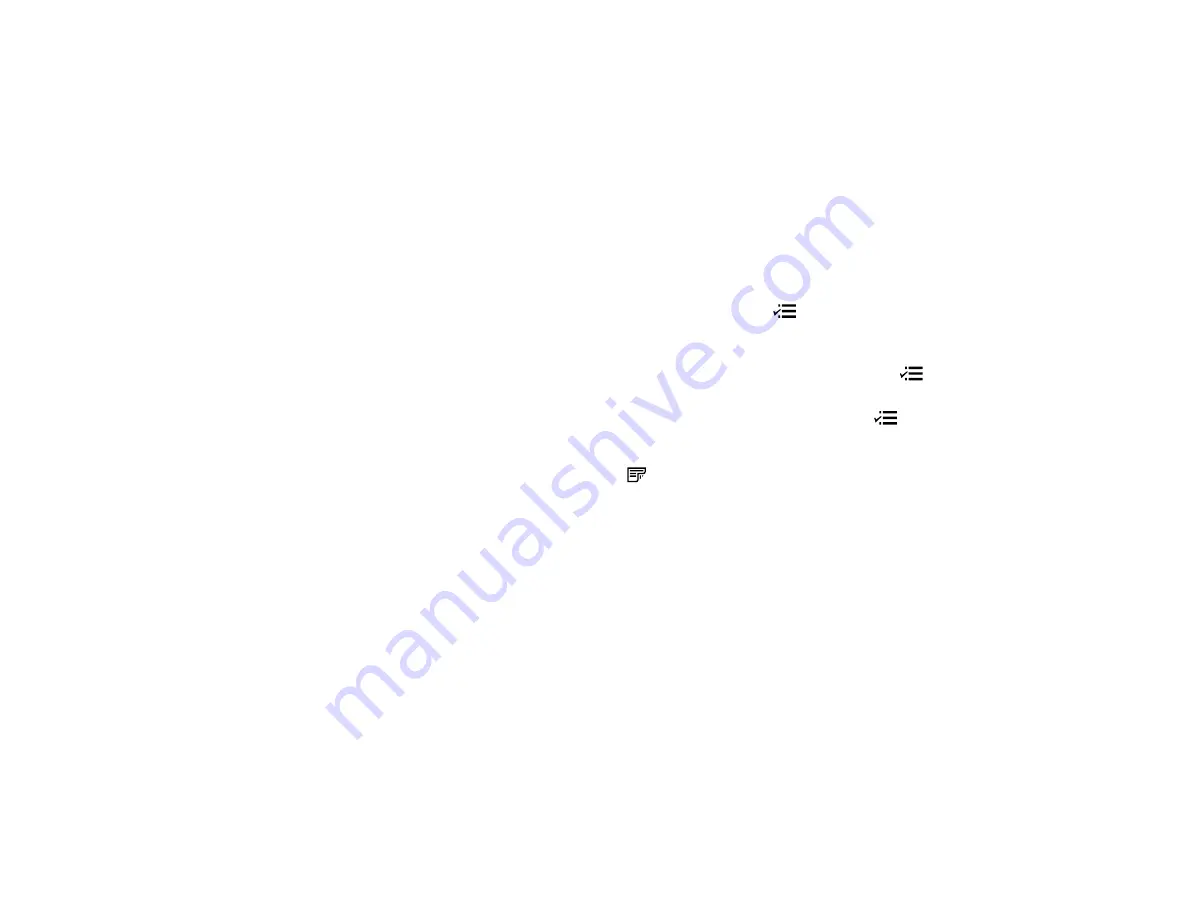
• To scan a double-sided document in the ADF, press the
Scan
button and select your scanning
method. If you selected a
Scan to PC
option, additionally press the
Menu
button and select
Scan
settings
. Then select one of the
2-Sided
settings. If you are using the EPSON Scan software, select
ADF - Double-sided
as the Document Source (Office or Professional Modes only).
• To copy a double-sided document in the ADF, press the
Copy
button, then press the
Menu
button. Select
Paper and Copy Settings
, then select one of the
2-Sided Copying
settings.
• To fax a double-sided document in the ADF, press the
Fax
button, then press the
Menu
button.
Select
Send Settings
, then select one of the
2-Sided Faxing
settings.
Note:
For quicker access, you can also press the
2-Sided
button (WorkForce WF-7520 only) to
access double-sided scan, copy, or fax settings.
Parent topic:
Related references
Copying Options
Fax Sending Options
Related tasks
Selecting Double-sided Printing Settings - Windows
Selecting Double-sided Printing Settings - Mac OS X 10.5/10.6/10.7
Selecting Double-sided Printing Settings - Mac OS X 10.4
Scanning in Office Mode
Scanning in Professional Mode
Related topics
Placing Originals on the Product
23
Содержание WorkForce WF-7510
Страница 1: ...WorkForce WF 7510 WF 7520 User s Guide ...
Страница 2: ......
Страница 13: ...WorkForce WF 7510 WF 7520 User s Guide Welcome to the WorkForce WF 7510 WF 7520 User s Guide 13 ...
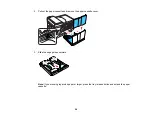
Страница 29: ...4 Slide the edge guide shown below to your paper size 29 ...
Страница 33: ...1 Close the output tray if necessary 2 Pull out the paper cassette and remove the paper cassette cover 33 ...
Страница 34: ...3 Slide the edge guides outward 4 Slide the edge guide shown below to your paper size 34 ...
Страница 38: ...1 Close the output tray if necessary 2 Pull out the paper cassette and remove the paper cassette cover 38 ...
Страница 39: ...3 Slide the edge guides outward 4 Slide the edge guide shown below to your envelope size 39 ...
Страница 57: ...Related topics Copying Scanning 57 ...
Страница 121: ... Normal preview Click the Auto Locate icon to create a marquee dotted line on the preview image 121 ...
Страница 131: ...131 ...
Страница 171: ...You see this window 5 Select Fax Settings for Printer You see this window 171 ...
Страница 182: ...6 Select your product if necessary 7 Select Speed Dial Group Dial List You see this window 182 ...
Страница 237: ...Related topics Loading Paper 237 ...
Страница 256: ...256 ...
Страница 261: ...261 ...
Страница 287: ...Caution Do not touch the flat white cable inside the printer 4 Lower the scanner unit 287 ...
Страница 289: ...7 Open the rear cover and remove any additional jammed paper 289 ...
Страница 292: ...3 Remove any jammed paper inside the cassette 4 Remove any paper jammed inside the cassette slot 292 ...
Страница 296: ...5 Remove any jammed paper 296 ...
Страница 297: ...6 Lower the document cover and close the ADF cover 7 Carefully remove the jammed paper 297 ...


