6.
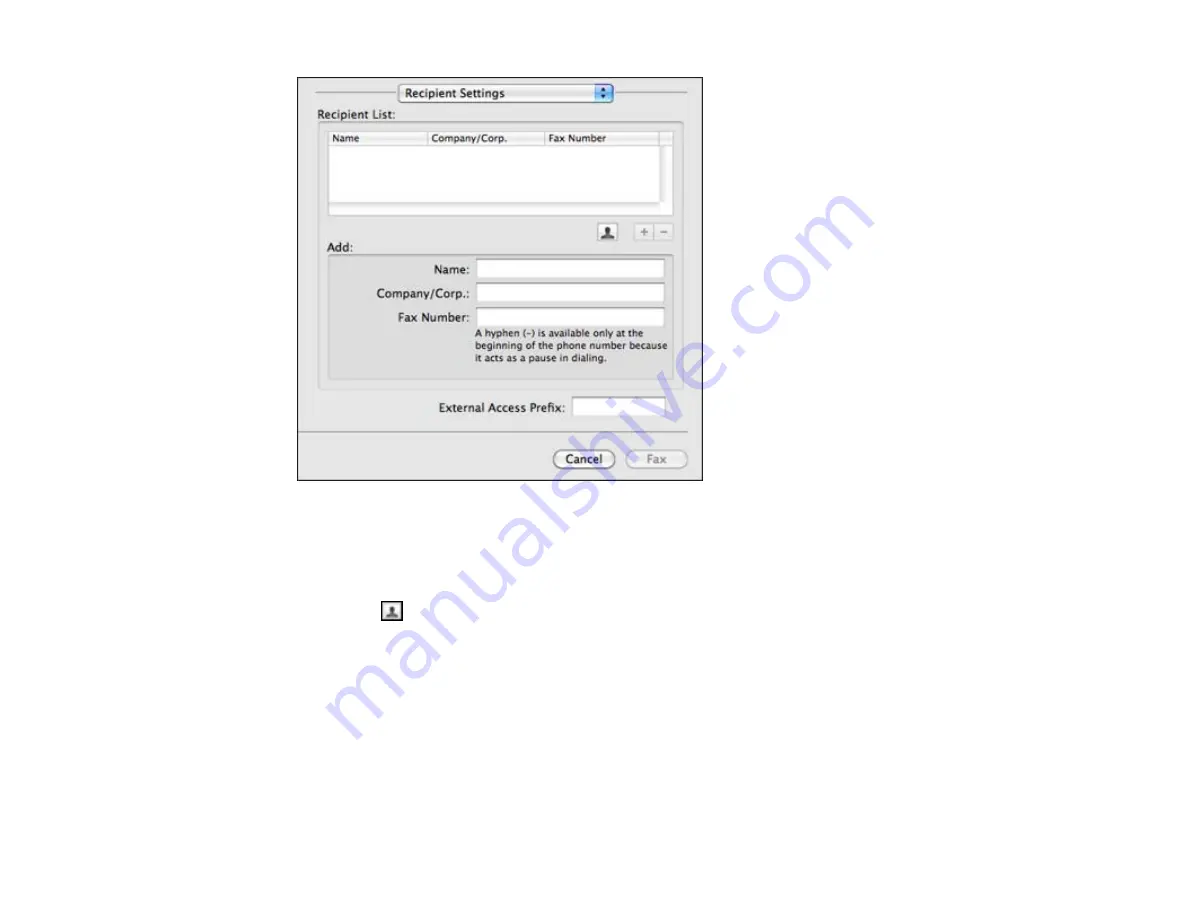
Do one of the following to choose your recipient:
• Select a name or group from the
Recipient List
.
• Enter a name, company, and fax number and click the
+
button.
• Click the
icon and select a recipient from your address book.
7.
Select
Fax Settings
from the pop-up menu.
You see this window:
188
Содержание WorkForce Pro WP-4540
Страница 1: ...WorkForce Pro WP 4540 User s Guide ...
Страница 2: ......
Страница 12: ......
Страница 13: ...WorkForce Pro WP 4540 User s Guide Welcome to the WorkForce Pro WP 4540 User s Guide 13 ...
Страница 27: ...4 Load a stack of paper printable side down in the cassette as shown 27 ...
Страница 31: ...2 Pull up the rear MP tray 3 Flip the feeder guard forward then slide the edge guides outward 31 ...
Страница 34: ...2 Pull up the rear MP tray 3 Flip the feeder guard forward then slide the edge guides outward 34 ...
Страница 48: ...Parent topic Placing Originals on the Product 48 ...
Страница 49: ...Related topics Copying Scanning Faxing 49 ...
Страница 110: ... Normal preview Click the Auto Locate icon to create a marquee dotted line on the preview image 110 ...
Страница 114: ...3 Adjust the scan area as necessary 114 ...
Страница 121: ...121 ...
Страница 129: ...3 Adjust the scan area as necessary 129 ...
Страница 175: ...5 Select Fax Settings for Printer You see this window 175 ...
Страница 176: ...6 Select your product 7 Select Speed Dial Group Dial List You see this window 176 ...
Страница 215: ...215 ...
Страница 220: ...220 ...
Страница 241: ...5 Carefully follow all paper loading instructions when you load new paper 6 Replace the paper cassette 241 ...
Страница 245: ...3 Remove any jammed pages 245 ...
Страница 247: ...6 Lower the document cover 7 Raise the ADF input tray 247 ...
Страница 248: ...8 Carefully remove the jammed pages 248 ...


