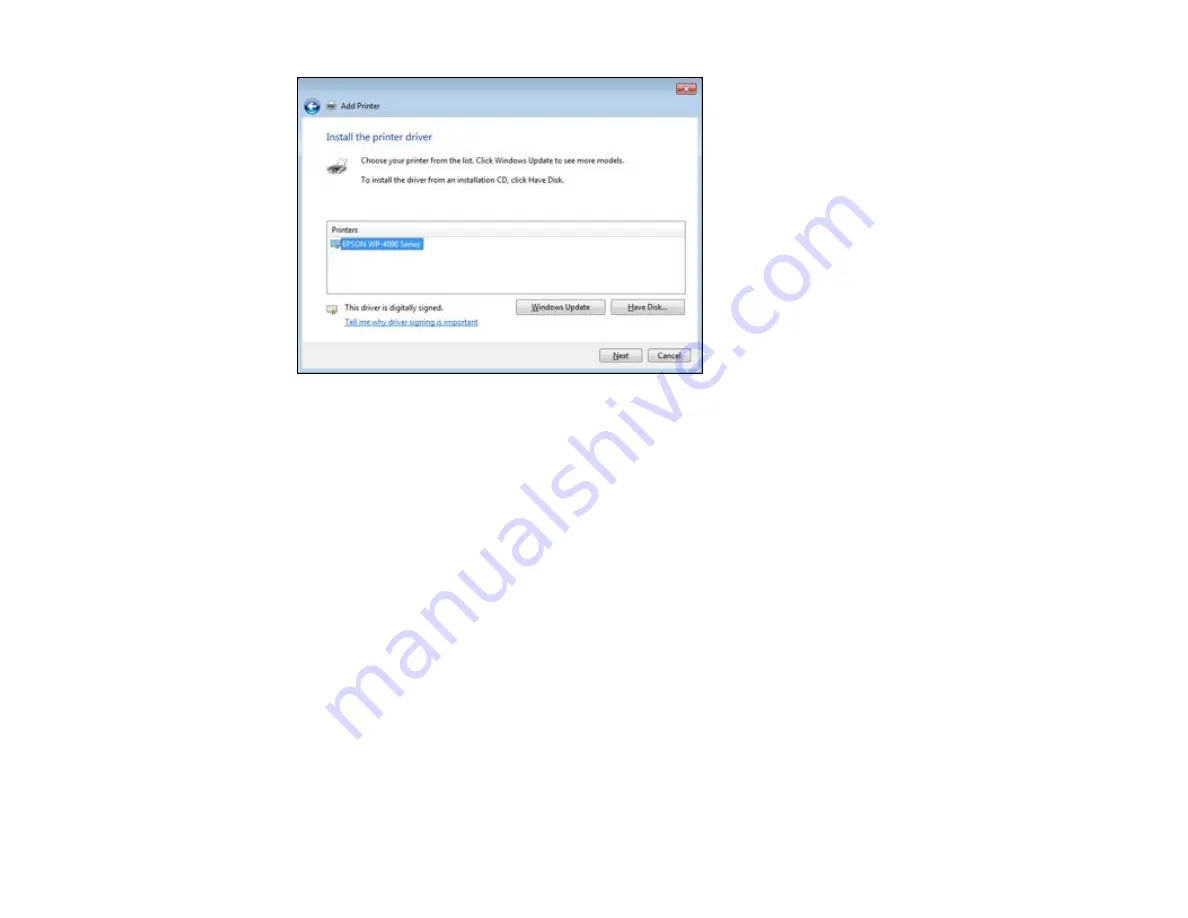
10. Select the name of your product and click
Next
.
Note:
If you are installing the PCL printer software, select
Epson Universal Laser P6
from the
Printers list.
11. Enter the name of your product as the
Printer name
and click
Next
.
12. Click
Print a test page
to confirm that your product is installed.
13. Click
Finish
to close the window and complete setup.
Your product is now installed.
Note:
If you are using the PCL printer software, you need to select your product in the printer software
before you can adjust your print settings.
Parent topic:
Installing the PCL or PostScript Printer Software
Related tasks
Selecting the Product - PCL Printer Software - Windows
Related topics
Printing with the PCL Printer Software - Windows
21
Содержание WorkForce Pro WP-4090
Страница 1: ...WorkForce Pro WP 4090 User s Guide ...
Страница 2: ......
Страница 9: ...WorkForce Pro WP 4090 User s Guide Welcome to the WorkForce Pro WP 4090 User s Guide 9 ...
Страница 19: ...4 Click Add a network wireless or Bluetooth printer You see a window like this 19 ...
Страница 24: ...8 Click Next You see this window 24 ...
Страница 30: ...4 Load a stack of paper printable side down in the cassette as shown 30 ...
Страница 34: ...2 Pull up the rear MP tray 3 Flip the feeder guard forward then slide the edge guides outward 34 ...
Страница 37: ...2 Pull up the rear MP tray 3 Flip the feeder guard forward then slide the edge guides outward 37 ...
Страница 54: ...54 ...
Страница 88: ...88 ...
Страница 109: ...Parent topic Printing From a Computer 109 ...
Страница 123: ...Related concepts Purchase Epson Ink Cartridges and Maintenance Box 123 ...
Страница 145: ...3 Remove any paper inside including torn pieces 4 Close the front cover 145 ...
Страница 147: ...3 Remove any jammed paper inside the cassette 4 Remove any paper jammed inside the paper cassette slot 147 ...
Страница 149: ...3 Carefully remove the jammed paper 4 If paper is jammed in the duplexer remove the paper as shown 149 ...


