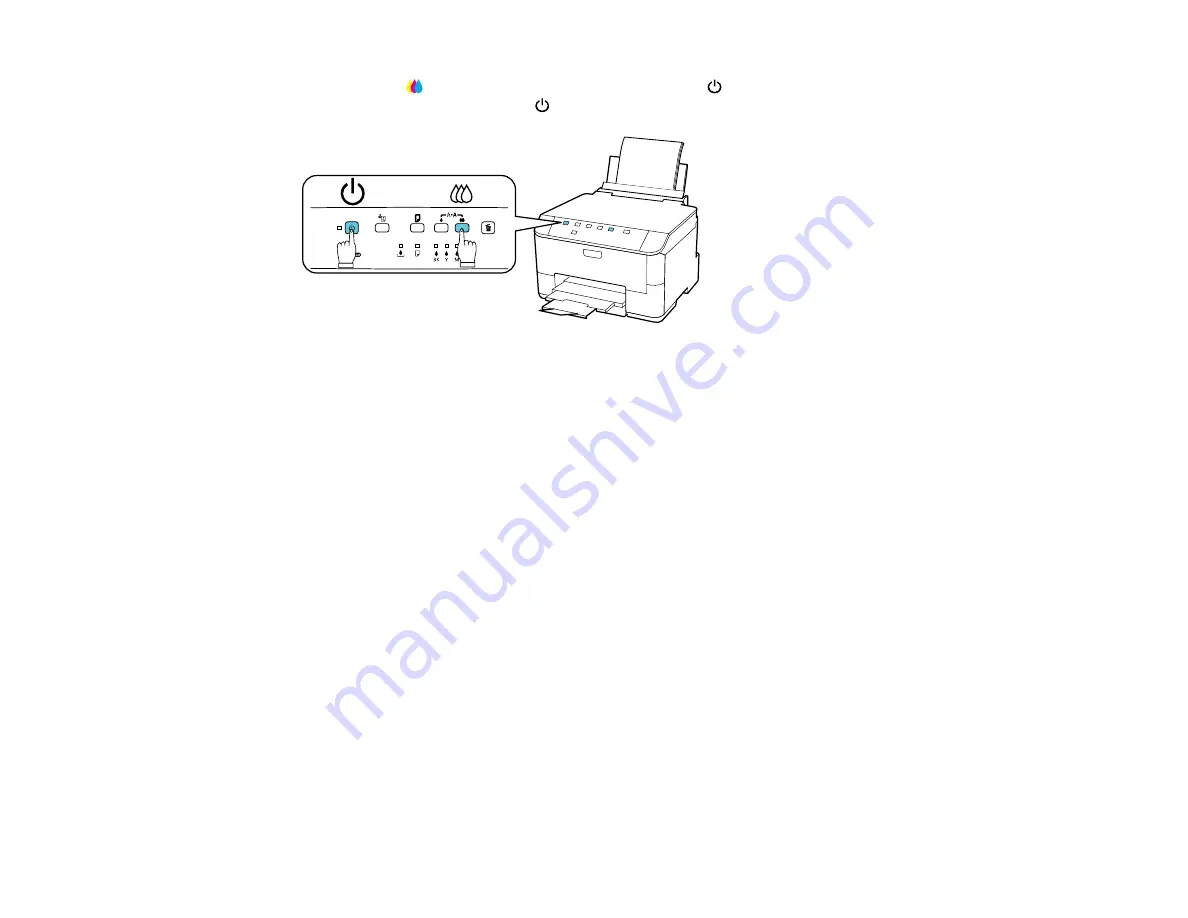
4.
Hold down the
color cleaning button as you press the
power button to turn the printer back on.
Hold down both buttons until the
power light begins to flash, then release the buttons.
The printer begins printing a nozzle check pattern.
5.
Do the following, depending on the results of the printer check:
• If the page prints and the nozzle check pattern is complete, the printer is operating properly. Any
printing problem you may have could be caused by your computer, cable, software, or selected
print settings. Check the other solutions in this section or try uninstalling and reinstalling your
printer software.
• If the page prints but the nozzle check pattern has gaps, clean or align the print head.
• If the page does not print, the printer may have a problem. Check the other solutions in this book.
If they do not work, contact Epson.
Parent topic:
Related concepts
Print Head Cleaning
Print Head Alignment
When to Uninstall Your Product Software
Related references
Solving Setup Problems
Check these sections if you have problems while setting up your product.
Noise After Ink Installation
Software Installation Problems
140
Содержание WorkForce Pro WP-4090
Страница 1: ...WorkForce Pro WP 4090 User s Guide ...
Страница 2: ......
Страница 9: ...WorkForce Pro WP 4090 User s Guide Welcome to the WorkForce Pro WP 4090 User s Guide 9 ...
Страница 19: ...4 Click Add a network wireless or Bluetooth printer You see a window like this 19 ...
Страница 24: ...8 Click Next You see this window 24 ...
Страница 30: ...4 Load a stack of paper printable side down in the cassette as shown 30 ...
Страница 34: ...2 Pull up the rear MP tray 3 Flip the feeder guard forward then slide the edge guides outward 34 ...
Страница 37: ...2 Pull up the rear MP tray 3 Flip the feeder guard forward then slide the edge guides outward 37 ...
Страница 54: ...54 ...
Страница 88: ...88 ...
Страница 109: ...Parent topic Printing From a Computer 109 ...
Страница 123: ...Related concepts Purchase Epson Ink Cartridges and Maintenance Box 123 ...
Страница 145: ...3 Remove any paper inside including torn pieces 4 Close the front cover 145 ...
Страница 147: ...3 Remove any jammed paper inside the cassette 4 Remove any paper jammed inside the paper cassette slot 147 ...
Страница 149: ...3 Carefully remove the jammed paper 4 If paper is jammed in the duplexer remove the paper as shown 149 ...


