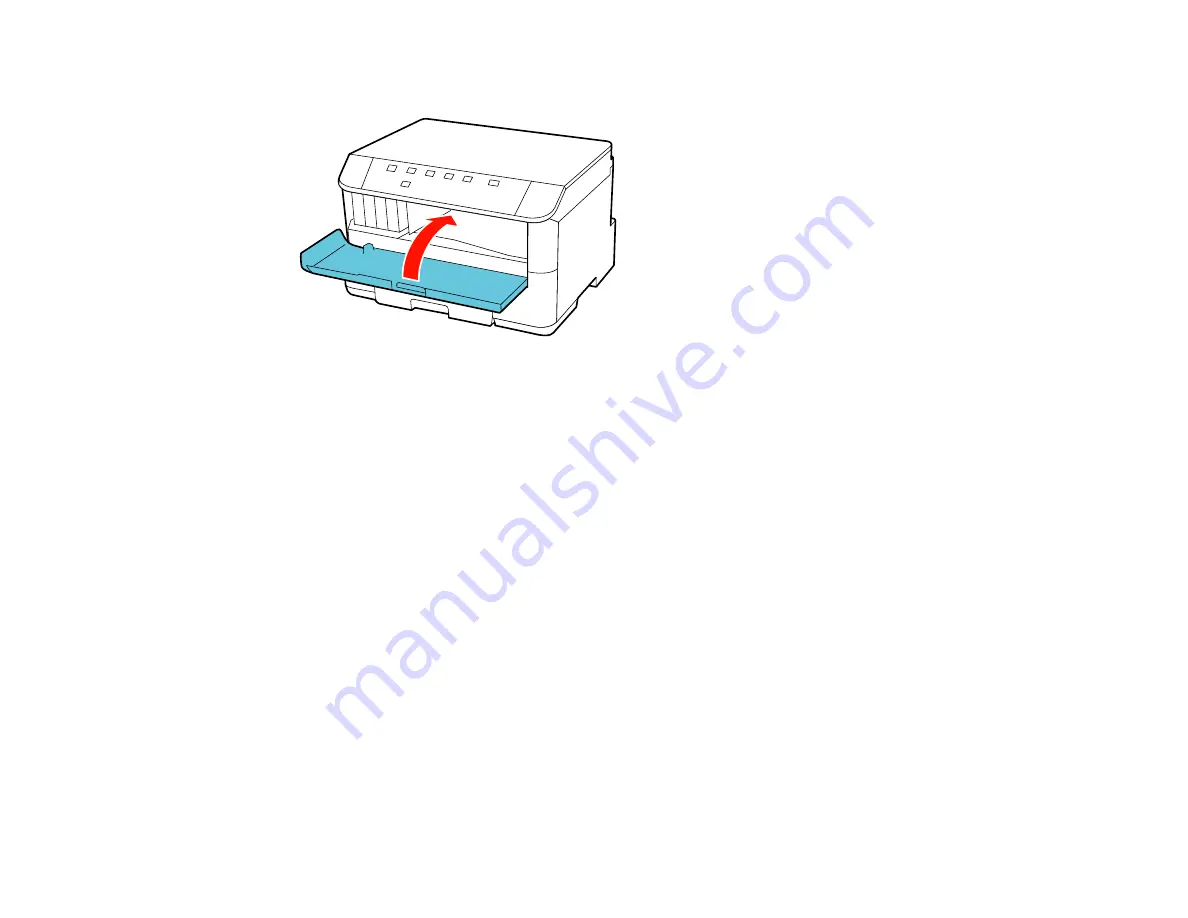
8.
When you are finished, close the front cover.
After the product checks the cartridges, ink replacement is complete. Remove the ink cartridge and
reinstall it to clear the error.
Note:
Do not turn off the printer during ink replacement.
If you remove a low or expended ink cartridge, you cannot re-install and use the cartridge.
Caution:
If you remove an ink cartridge for later use, protect the ink supply area from dirt and dust and
store it in the same environment as the printer. The valve in the ink supply port is designed to contain
any excess ink, but do not touch the ink supply port or surrounding area. Always store ink cartridges with
the label facing up; do not store cartridges upside-down.
Parent topic:
Replacing Ink Cartridges and Maintenance Boxes
Related concepts
Purchase Epson Ink Cartridges and Maintenance Box
Replacing the Maintenance Box
Make sure you have a new maintenance box before you begin.
Caution:
Do not reuse a maintenance box that has been removed and left uninstalled for more than a
week. Keep the maintenance box away from direct sunlight.
119
Содержание WorkForce Pro WP-4090
Страница 1: ...WorkForce Pro WP 4090 User s Guide ...
Страница 2: ......
Страница 9: ...WorkForce Pro WP 4090 User s Guide Welcome to the WorkForce Pro WP 4090 User s Guide 9 ...
Страница 19: ...4 Click Add a network wireless or Bluetooth printer You see a window like this 19 ...
Страница 24: ...8 Click Next You see this window 24 ...
Страница 30: ...4 Load a stack of paper printable side down in the cassette as shown 30 ...
Страница 34: ...2 Pull up the rear MP tray 3 Flip the feeder guard forward then slide the edge guides outward 34 ...
Страница 37: ...2 Pull up the rear MP tray 3 Flip the feeder guard forward then slide the edge guides outward 37 ...
Страница 54: ...54 ...
Страница 88: ...88 ...
Страница 109: ...Parent topic Printing From a Computer 109 ...
Страница 123: ...Related concepts Purchase Epson Ink Cartridges and Maintenance Box 123 ...
Страница 145: ...3 Remove any paper inside including torn pieces 4 Close the front cover 145 ...
Страница 147: ...3 Remove any jammed paper inside the cassette 4 Remove any paper jammed inside the paper cassette slot 147 ...
Страница 149: ...3 Carefully remove the jammed paper 4 If paper is jammed in the duplexer remove the paper as shown 149 ...


