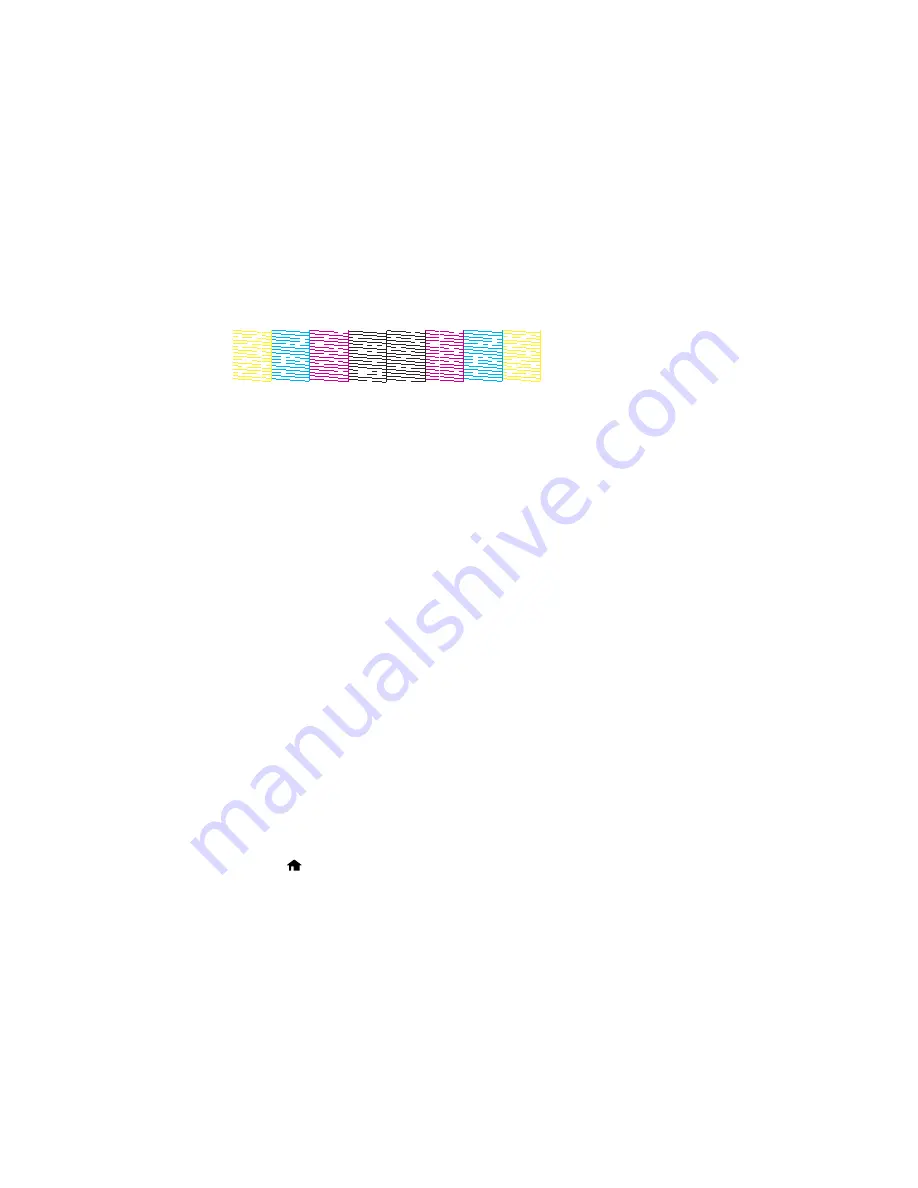
Print head needs cleaning
• If there are no gaps, click
Finish
.
• If there are gaps or the pattern is faint, click
Clean
to clean the print head again.
If you don’t see any improvement after cleaning the print head up to 4 times, wait at least 6 hours without
printing or longer if printing. Then try cleaning the print head again. If quality still does not improve, one
of the ink cartridges may be old or damaged and needs to be replaced.
Parent topic:
Print Head Cleaning
Related tasks
Cleaning the Print Head Using the Product Control Panel
Related topics
Loading Paper
Print Head Alignment
If your printouts become grainy or blurry, you notice misalignment of vertical lines, or you see dark or
light horizontal bands, you may need to align the print head.
Note:
Banding may also occur if your print head nozzles need cleaning.
Aligning the Print Head Using the Product Control Panel
Aligning the Print Head Using a Computer Utility
Parent topic:
Adjusting Print Quality
Aligning the Print Head Using the Product Control Panel
You can align the print head using the control panel on your product.
1.
Make sure there are no errors on the LCD screen.
2.
Load a few sheets of plain paper in the product.
3.
Press the
home button, if necessary.
337
Содержание WF-8590
Страница 1: ...WF 8590 User s Guide ...
Страница 2: ......
Страница 15: ...WF 8590 User s Guide Welcome to the WF 8590 User s Guide For a printable PDF copy of this guide click here 15 ...
Страница 70: ...1 Open the feeder guard and pull up the paper support 2 Slide the edge guides outward 70 ...
Страница 92: ...Note Secure the optional cassette to the cabinet as shown here 92 ...
Страница 219: ...You see this window 219 ...
Страница 242: ...4 Click OK Parent topic Scanning 242 ...
Страница 245: ...DSL connection 1 Telephone wall jack 2 DSL filter 3 DSL modem 245 ...
Страница 246: ...ISDN connection 1 ISDN wall jack 2 Terminal adapter or ISDN router 246 ...
Страница 278: ...You see this window 3 Select Fax Settings for Printer Select your product if prompted 278 ...
Страница 279: ...You see this window 4 Select Speed Dial Group Dial List 279 ...
Страница 373: ...2 Open rear cover 1 D1 3 Carefully remove any jammed paper 373 ...
Страница 378: ...4 Carefully remove any jammed pages 5 Close the ADF cover then raise the document cover 378 ...
Страница 379: ...6 Carefully remove any jammed pages 7 Lower the document cover 379 ...


