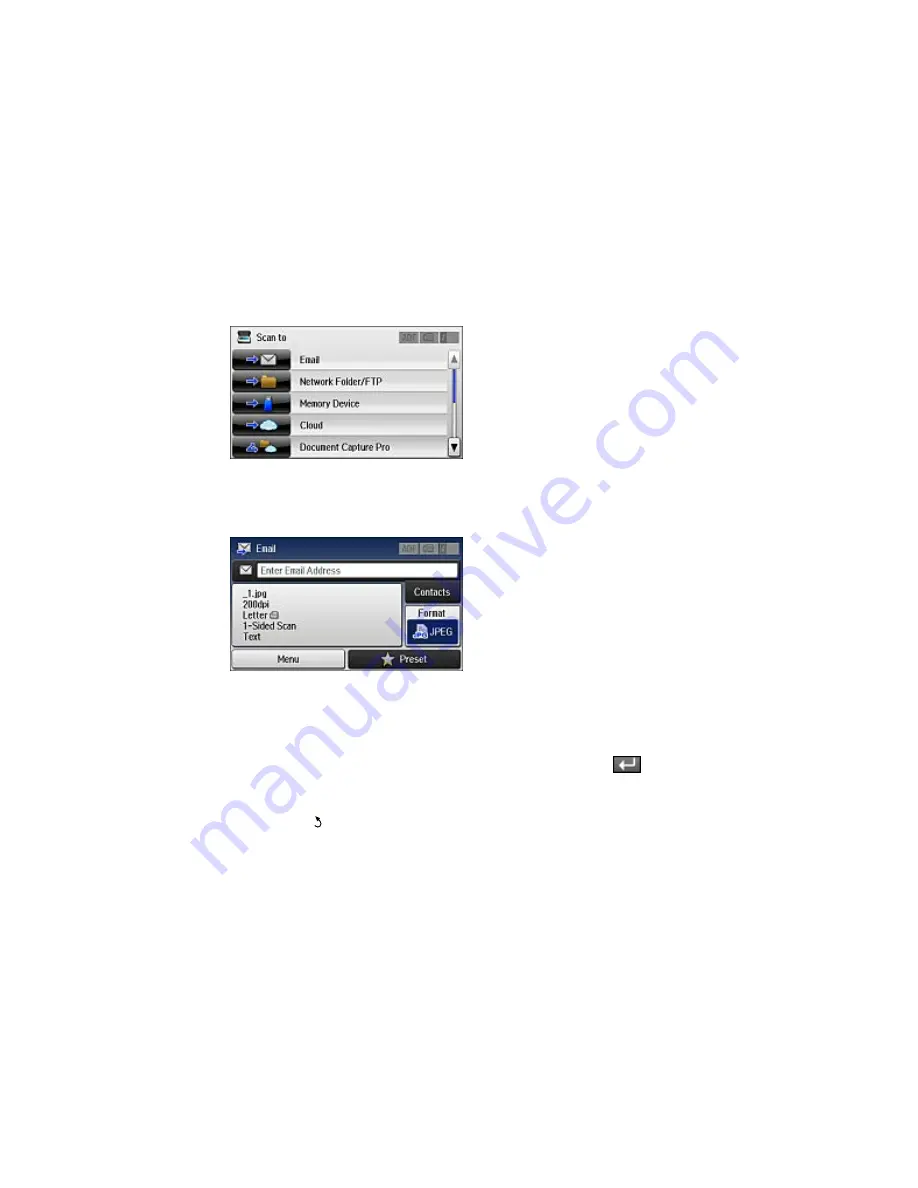
You see a screen like this:
4.
Select
.
You see a screen like this:
5.
Do one of the following:
• Select
Contacts
and choose an email address.
• Select
Enter Email Address
, then select
Enter Email Address
again to display the keyboard.
Use the keyboard to enter the address for the recipient, and press
.
6.
Select
Format
to choose the file format for your scan.
7.
Select
Menu
and select
Email Settings
. Change the
Subject
and
Filename Prefix
if necessary,
then press the
back button to return to the Email screen.
195
Содержание WF-8590
Страница 1: ...WF 8590 User s Guide ...
Страница 2: ......
Страница 15: ...WF 8590 User s Guide Welcome to the WF 8590 User s Guide For a printable PDF copy of this guide click here 15 ...
Страница 70: ...1 Open the feeder guard and pull up the paper support 2 Slide the edge guides outward 70 ...
Страница 92: ...Note Secure the optional cassette to the cabinet as shown here 92 ...
Страница 219: ...You see this window 219 ...
Страница 242: ...4 Click OK Parent topic Scanning 242 ...
Страница 245: ...DSL connection 1 Telephone wall jack 2 DSL filter 3 DSL modem 245 ...
Страница 246: ...ISDN connection 1 ISDN wall jack 2 Terminal adapter or ISDN router 246 ...
Страница 278: ...You see this window 3 Select Fax Settings for Printer Select your product if prompted 278 ...
Страница 279: ...You see this window 4 Select Speed Dial Group Dial List 279 ...
Страница 373: ...2 Open rear cover 1 D1 3 Carefully remove any jammed paper 373 ...
Страница 378: ...4 Carefully remove any jammed pages 5 Close the ADF cover then raise the document cover 378 ...
Страница 379: ...6 Carefully remove any jammed pages 7 Lower the document cover 379 ...


