9.
Select the
Fax Number
field, and use the numeric keypad on the LCD screen or the buttons on the
product to enter the fax number. You can enter up to 64 characters.
Note:
If necessary, enter an outside line access code (such as
9
) at the beginning of the fax number.
If the access code has been set up in the
Line Type
setting, enter the
#
pound sign instead of the
code.
10. Set the
Fax Speed
, if necessary.
11. Select
Save
.
Parent topic:
Setting Up Contacts Using the Product Control Panel
Editing or Deleting a Contact
You can edit or delete any of the contacts on your list.
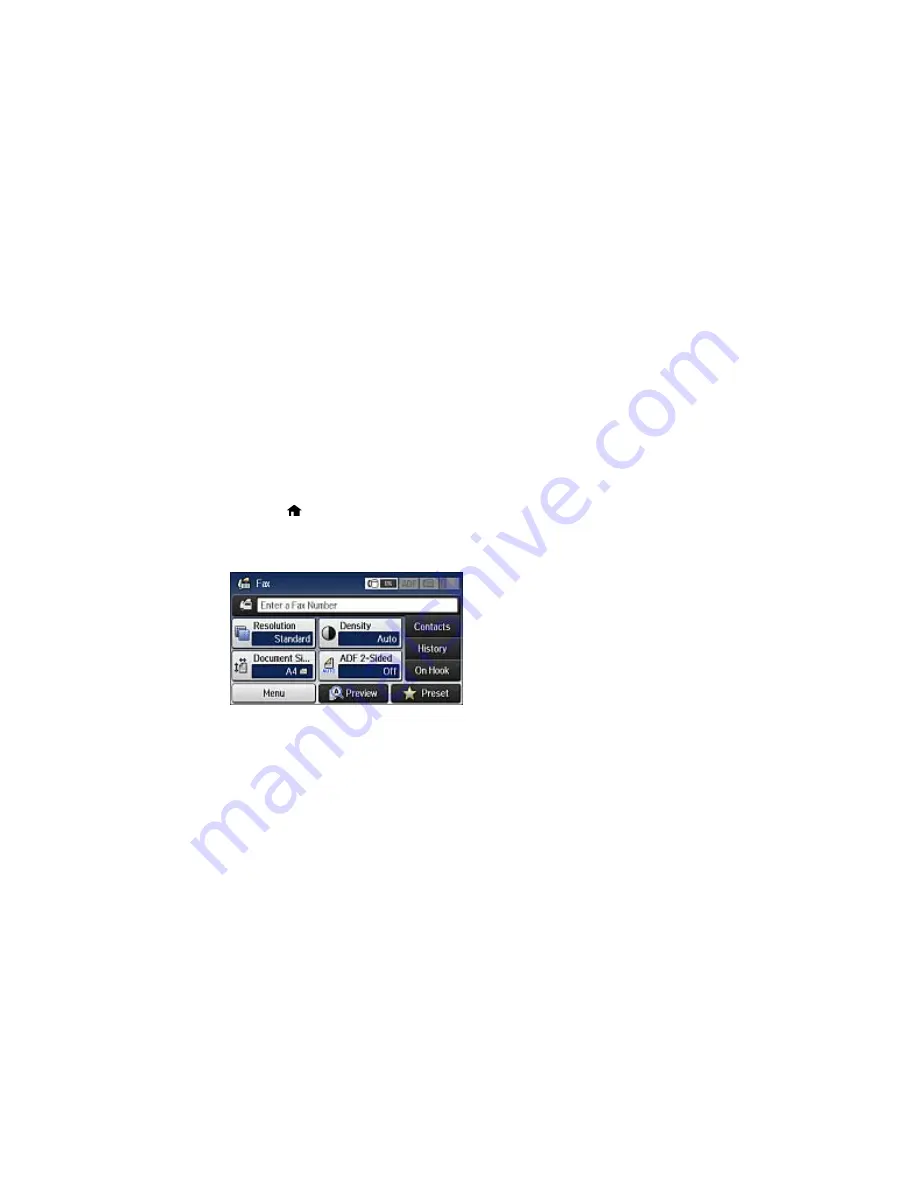
1.
Press the
home button, if necessary.
2.
Select
Fax
.
You see a screen like this:
3.
Select
Contacts
. Enter the administrator password, if necessary.
4.
Select the contact you want to edit or delete.
209
Содержание WF-5690
Страница 1: ...WF 5690 User s Guide ...
Страница 2: ......
Страница 14: ......
Страница 15: ...WF 5690 User s Guide Welcome to the WF 5690 User s Guide For a printable PDF copy of this guide click here 15 ...
Страница 145: ...You see a window like this 2 Click the Scan icon 145 ...
Страница 160: ...You see this window 160 ...
Страница 182: ...DSL connection 1 Telephone wall jack 2 DSL filter 3 DSL modem ISDN connection one phone number 182 ...
Страница 203: ...You see this window 3 Select Fax Settings for Printer Select your product if prompted 203 ...
Страница 215: ...You see this window 4 Select Speed Dial Group Dial List 215 ...
Страница 262: ...Related concepts Purchase Epson Ink Cartridges and Maintenance Box 262 ...
Страница 300: ...2 Press the buttons on the sides of the rear cover and remove it 3 Carefully remove any jammed paper 300 ...
Страница 354: ...Parent topic Technical Specifications 354 ...
Страница 412: ...7 14 CPD 40226R1 Parent topic Copyright Notice 412 ...


