


289
3.
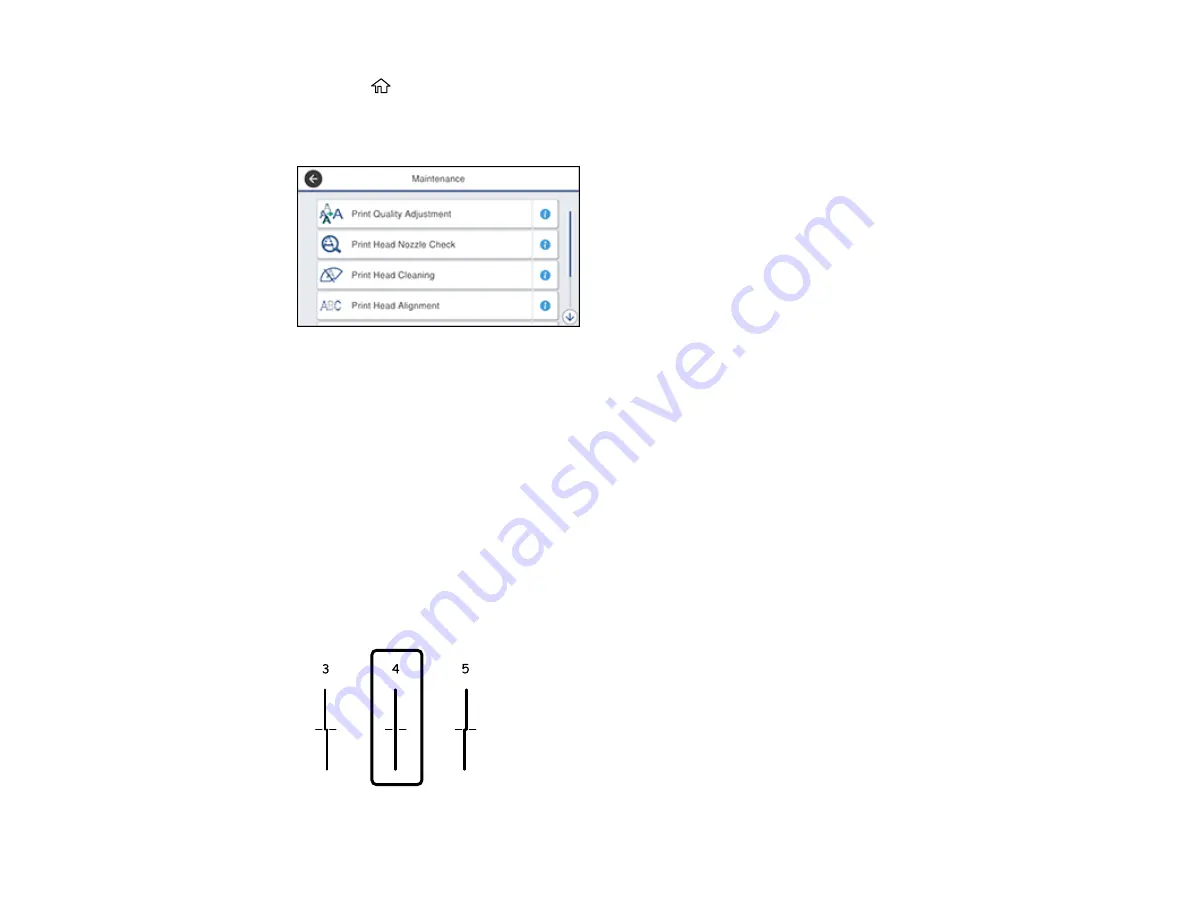
Press the
home button, if necessary.
4.
Select
Maintenance
.
You see a screen like this:
5.
Select
Print Head Alignment
.
6.
Select one of the following options:
•
Ruled Line Alignment
if vertical lines in your printout are misaligned.
•
Horizontal Alignment
if your printout contains horizontal banding.
7.
Follow the on-screen instructions to print an alignment sheet.
Note:
Do not cancel printing while you are printing head alignment patterns.
8.
Check the printed patterns on the alignment sheet and select the following on the LCD screen,
depending on the alignment pattern you printed:
•
Ruled Line Alignment
: For patterns 1 and 2, select the number representing the pattern with the
least misaligned vertical line.
Содержание WF-4820 Series
Страница 1: ...WF 4820 WF 4830 Series User s Guide ...
Страница 2: ......
Страница 14: ......
Страница 34: ...34 Product Parts Inside 1 Document cover 2 Scanner glass 3 Control panel ...
Страница 49: ...49 Related topics Wi Fi or Wired Networking ...
Страница 97: ...97 1 Open the document cover ...
Страница 138: ...138 9 Select the Layout tab 10 Select the orientation of your document as the Orientation setting ...
Страница 160: ...160 3 Select Scan You see a screen like this 4 Select Computer You see a screen like this ...
Страница 176: ...176 You see an Epson Scan 2 window like this ...
Страница 178: ...178 You see an Epson Scan 2 window like this ...
Страница 192: ...192 You see a screen like this 2 Click the Save Settings tab ...
Страница 197: ...197 You see this window ...
Страница 251: ...251 Parent topic Printing Fax Reports ...
Страница 293: ...293 Related tasks Loading Paper in the Cassette ...
Страница 295: ...295 5 Open the document cover ...
Страница 297: ...297 8 Open the ADF cover ...
Страница 324: ...324 3 Open the ADF cover 4 Carefully remove any jammed pages ...


