164
Setting
Options
Description
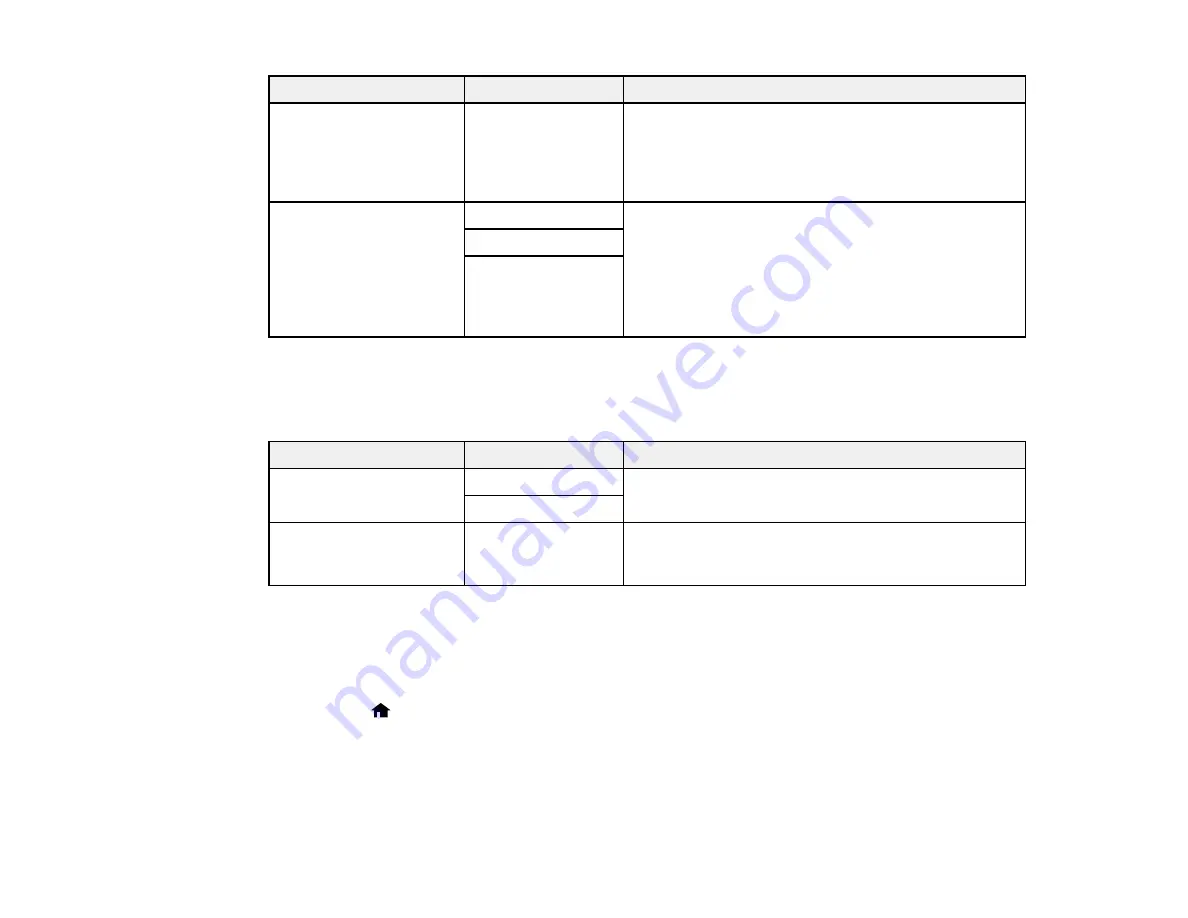
Rings to Answer
1 to 9
Sets the number of rings before your product receives
a fax. If Receive Mode is set to
Auto
and an
answering machine is connected to the product, make
sure this setting is set higher than the number of rings
your answering machine is set to for answering a call.
Remote Receive
Off
Lets you start receiving faxes using your phone
instead of operating the product (if the Receive Mode
is set to
Auto
). When you enable this function, you
need to set a
Start Code
. If you are using a cordless
handset whose base is connected to the product, you
can start receiving the fax by entering the code on the
handset.
On
Start Code
Parent topic:
Setting Up Fax Features Using the Product Control Panel
Security Settings - Fax
Set the security options you want to use for fax data.
Setting
Options
Description
Backup Data Auto Clear Off
Automatically erases sent or received fax data
remaining in your product's memory
On
Clear Backup Data
—
Deletes all sent or received fax data remaining in your
product's memory; run this function if you are giving
away or disposing of your product
Parent topic:
Setting Up Fax Features Using the Product Control Panel
Printing Fax Reports
You can select from several fax reports to print whenever necessary. You can also have the fax log
printed automatically by selecting
Setup
>
Fax Settings
>
Output Settings
>
Fax Log Auto Print
.
1.
Press the
home button, if necessary.
2.
Press the up or down arrow button, select
Fax
, and press the
OK
button.
Содержание WF-2750
Страница 1: ...WF 2750 User s Guide ...
Страница 2: ......
Страница 12: ......
Страница 13: ...13 WF 2750 User s Guide Welcome to the WF 2750 User s Guide For a printable PDF copy of this guide click here ...
Страница 21: ...21 1 Document cover 2 Scanner glass 3 Control panel Parent topic Product Parts Locations ...
Страница 23: ...23 Product Parts Inside 1 Scanner unit 2 Cartridge holder do not remove Parent topic Product Parts Locations ...
Страница 35: ...35 Related topics Wi Fi Networking ...
Страница 48: ...48 2 Pull out the paper cassette 3 Slide the edge guides outward ...
Страница 54: ...54 2 Pull out the paper cassette 3 Slide the edge guides outward ...
Страница 130: ...130 You see this window ...
Страница 151: ...151 DSL connection 1 Telephone wall jack 2 DSL filter 3 DSL modem ...
Страница 152: ...152 ISDN connection 1 ISDN wall jack 2 Terminal adapter or ISDN router ...
Страница 177: ...177 You see this window 3 Select Fax Settings for Printer Select your product if prompted ...
Страница 178: ...178 You see this window 4 Select Speed Dial Group Dial List ...
Страница 214: ...214 You see a window like this 4 Click Print ...
Страница 229: ...229 Related concepts Print Head Cleaning Print Head Alignment ...
Страница 245: ...245 2 Pull out the paper cassette 3 Carefully remove any paper jammed inside the product ...
Страница 247: ...247 3 Carefully remove any jammed paper Note Do not touch the paper rollers 4 Remove any jammed paper from the duplexer ...
Страница 248: ...248 5 Open the duplexer cover and carefully remove any jammed paper stuck inside 6 Reattach the duplexer ...
Страница 250: ...250 4 Carefully remove any jammed paper 5 Close the ADF cover ...
Страница 251: ...251 6 Open the document cover ...
Страница 252: ...252 7 Carefully remove any jammed paper in the direction shown 8 Close the document cover ...


