114
4.
Press the left or right arrow button to select
Scan
and press the
OK
button.
5.
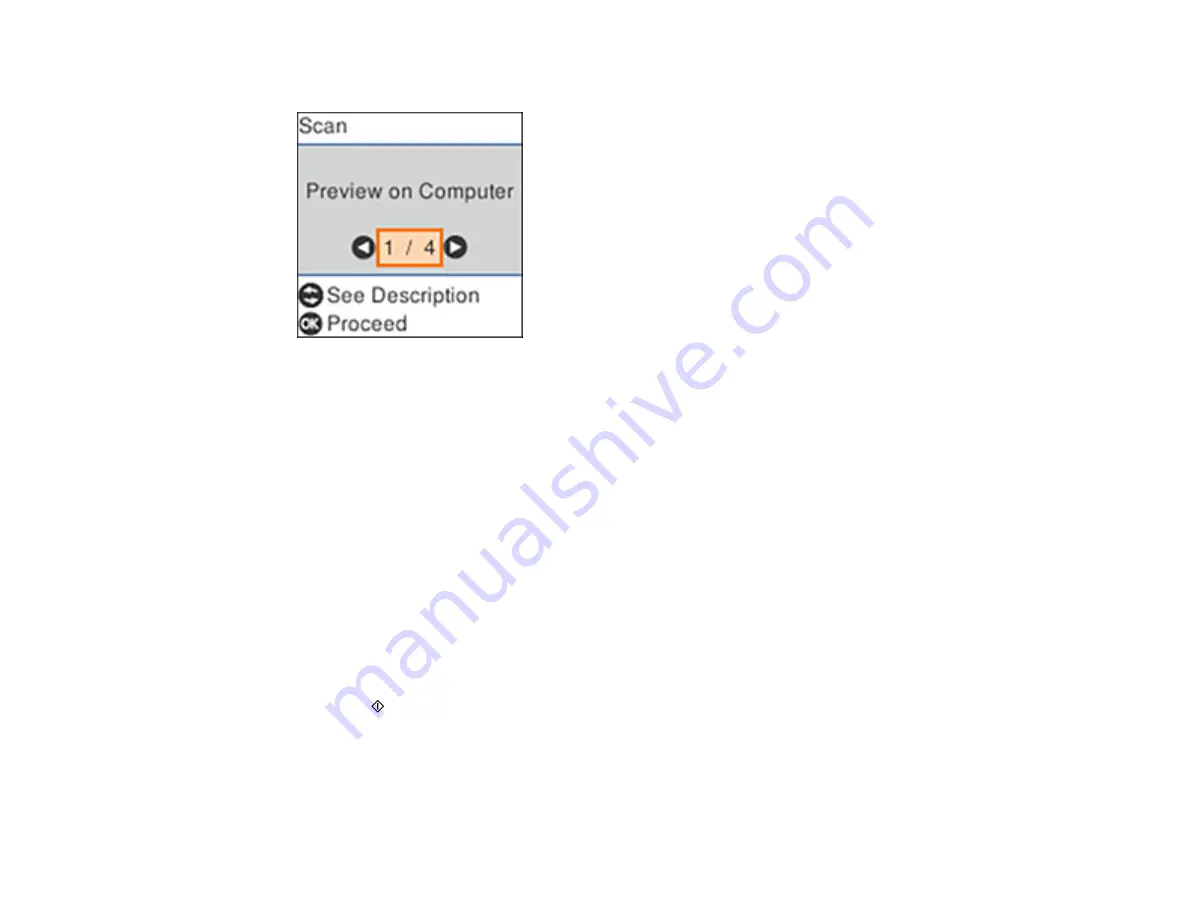
Press the left or right arrow button to select a scan option and press the
OK
button.
•
Preview on Computer
previews the scanned image on a computer before saving (Windows 7 or
later or OS X 10.11.x or later).
•
To Computer (JPEG)
saves your scan as a JPEG file on your computer or as an image capture
on a Mac.
•
To Computer (PDF)
saves your scan as a PDF file on your computer or as an image capture on a
Mac.
•
To WSD
lets you manage network scanning in Windows 10, Windows 8.x, Windows 7, or
Windows Vista (English only). To use this feature, you must first set up a WSD (Web Services for
Devices) port on your Windows 7 or Windows Vista computer (the port is set up automatically on
Windows 10 and Windows 8.x).
6.
Do one of the following:
• If you are scanning to a network computer, select the target computer from the list.
• If your product is connected directly to your computer with a USB cable, select
USB Connection
.
7.
Press the
start button to start scanning.
Setting Up a WSD Port (Windows 7/Windows Vista)
Changing Default Scan Job Settings
Parent topic:
Содержание ST-C2100
Страница 1: ...ST C2100 User s Guide ...
Страница 2: ......
Страница 14: ...14 Product Parts Inside 1 Document cover 2 Scanner glass 3 Scanner unit 4 Control panel ...
Страница 96: ...96 10 Select the Layout tab 11 Select the orientation of your document as the Orientation setting ...
Страница 120: ...120 You see an Epson Scan 2 window like this ...
Страница 134: ...134 You see a screen like this 2 Click the Save Settings tab ...
Страница 139: ...139 You see this window ...
Страница 208: ...208 3 Open the scanner unit with both hands until it locks and remove any jammed paper inside ...


