• Leave the ink cartridges installed. Removing the cartridges can dry out the print head and may prevent
the product from printing.
• Do not carry the product by its control panel; this may damage the product.
1.
Turn off the product.
2.
Lift up the scanner unit and check to see if the print head is in the far right position (the home
position). If not, turn on the product, wait for the print head to move, then turn the product off again.
3.
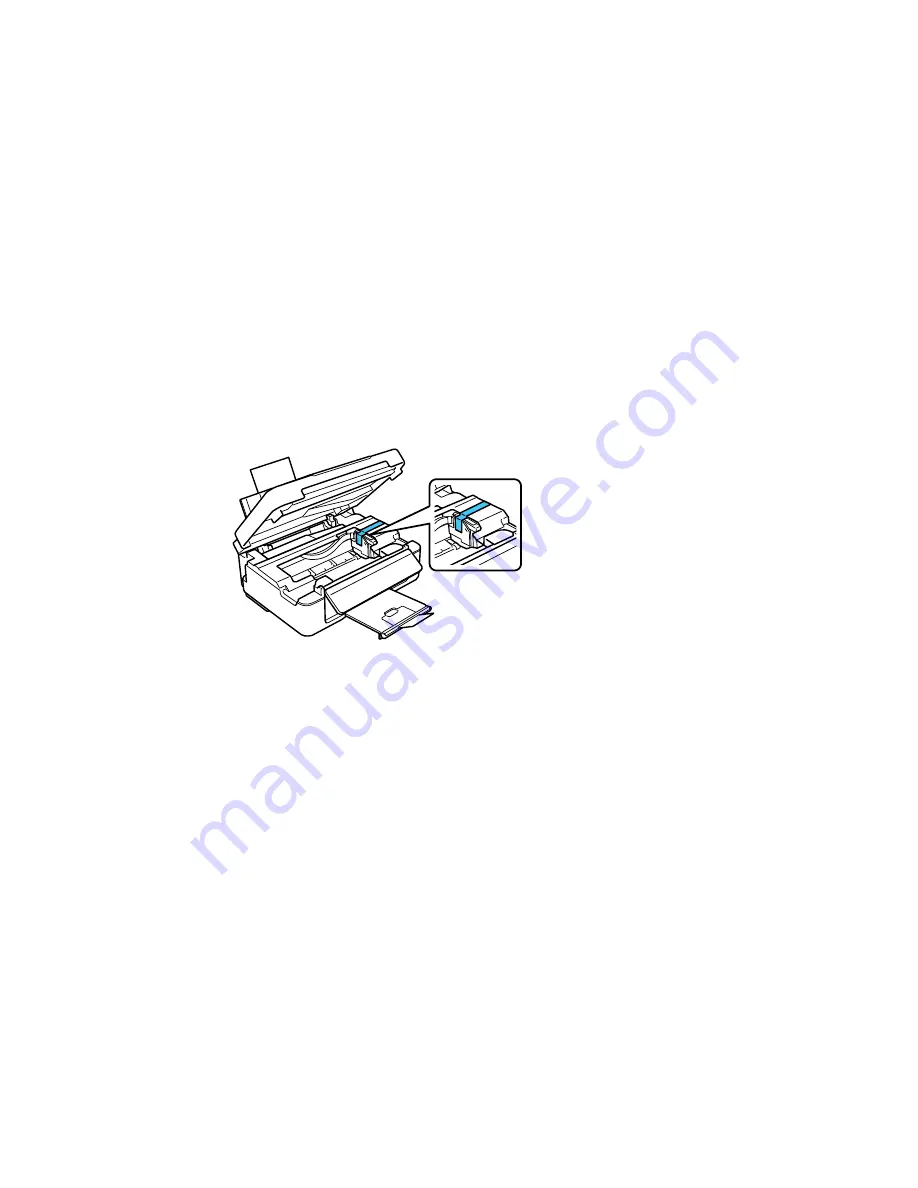
Secure the ink cartridge holder to the case with tape.
Caution:
Do not place tape on the white flat cable inside the product; otherwise, you may damage
your product.
4.
Lower the scanner unit.
5.
Remove all the paper from the product.
6.
Unplug the power cable.
7.
Disconnect any connected cables.
8.
Close the output tray and paper support.
188
Содержание Small-in-One XP-400
Страница 1: ...XP 400 User s Guide ...
Страница 2: ......
Страница 11: ...XP 400 User s Guide Welcome to the XP 400 User s Guide 11 ...
Страница 35: ...3 Pull out the output tray and open the paper stopper on the end 4 Slide the edge guide left 35 ...
Страница 85: ...You see this window 85 ...
Страница 102: ...102 ...
Страница 140: ...Selecting Epson Scan Settings 140 ...
Страница 171: ...Parent topic Replacing Ink Cartridges 171 ...
Страница 245: ...CPD 36513R5 Parent topic Copyright Notice 245 ...


