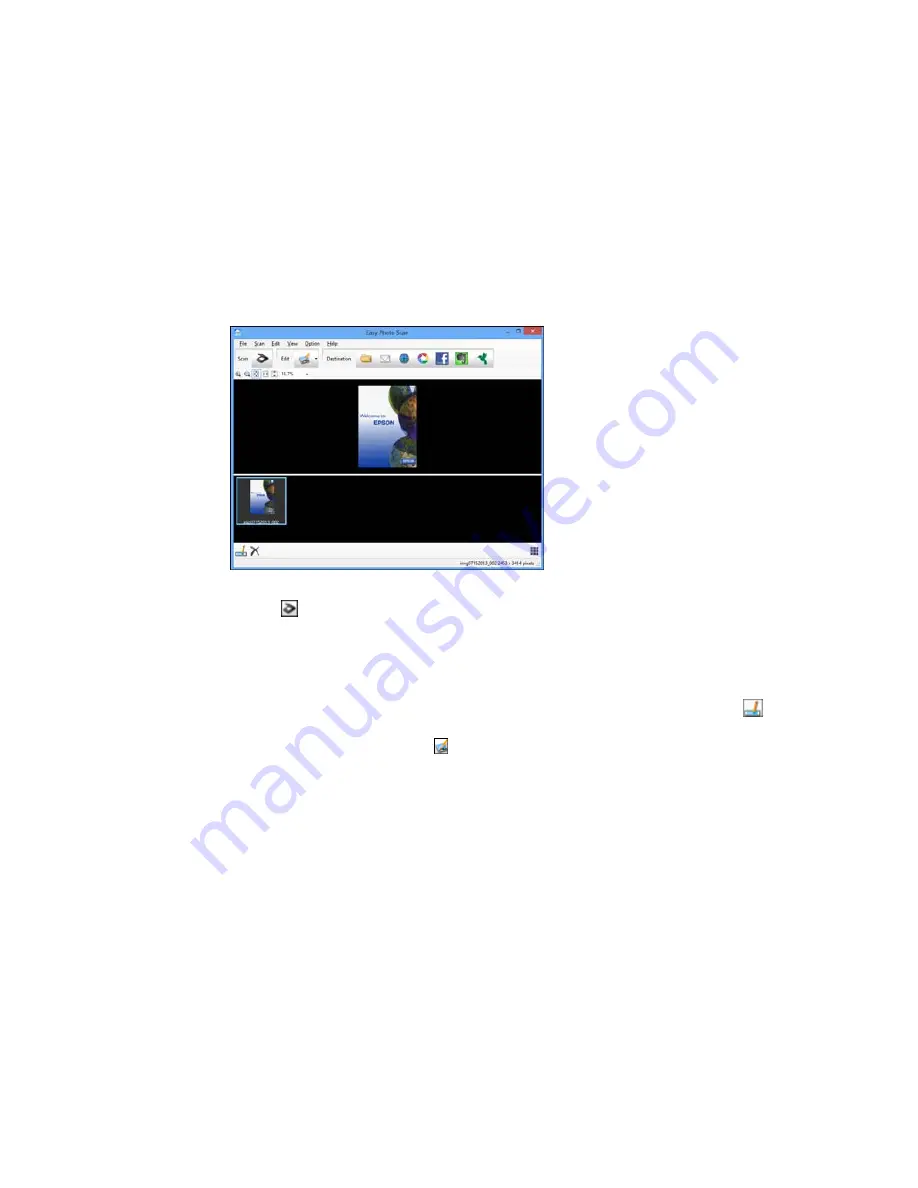
You see a window like this:
3.
Click the
Scan icon.
Your scanning program launches.
4.
Click
Scan
in the window that appears to scan your original.
The scanned image is displayed in the Easy Photo Scan window with an automatically generated
name.
5.
To edit the name of the file, select the image thumbnail at the bottom of the screen, click the
icon, and enter the new filename.
6.
To edit the scanned image, click the
Edit icon and select one of the displayed options.
Note:
See the Easy Photo Scan help for additional information on image editing options.
7.
Repeat these steps for each image you want to upload.
120
Содержание Small-in-One XP-400
Страница 1: ...XP 400 User s Guide ...
Страница 2: ......
Страница 11: ...XP 400 User s Guide Welcome to the XP 400 User s Guide 11 ...
Страница 35: ...3 Pull out the output tray and open the paper stopper on the end 4 Slide the edge guide left 35 ...
Страница 85: ...You see this window 85 ...
Страница 102: ...102 ...
Страница 140: ...Selecting Epson Scan Settings 140 ...
Страница 171: ...Parent topic Replacing Ink Cartridges 171 ...
Страница 245: ...CPD 36513R5 Parent topic Copyright Notice 245 ...


