93
16. Select
Adjust the four corners
and press
Enter
. (Otherwise, select
Exit
and press
Enter
.)
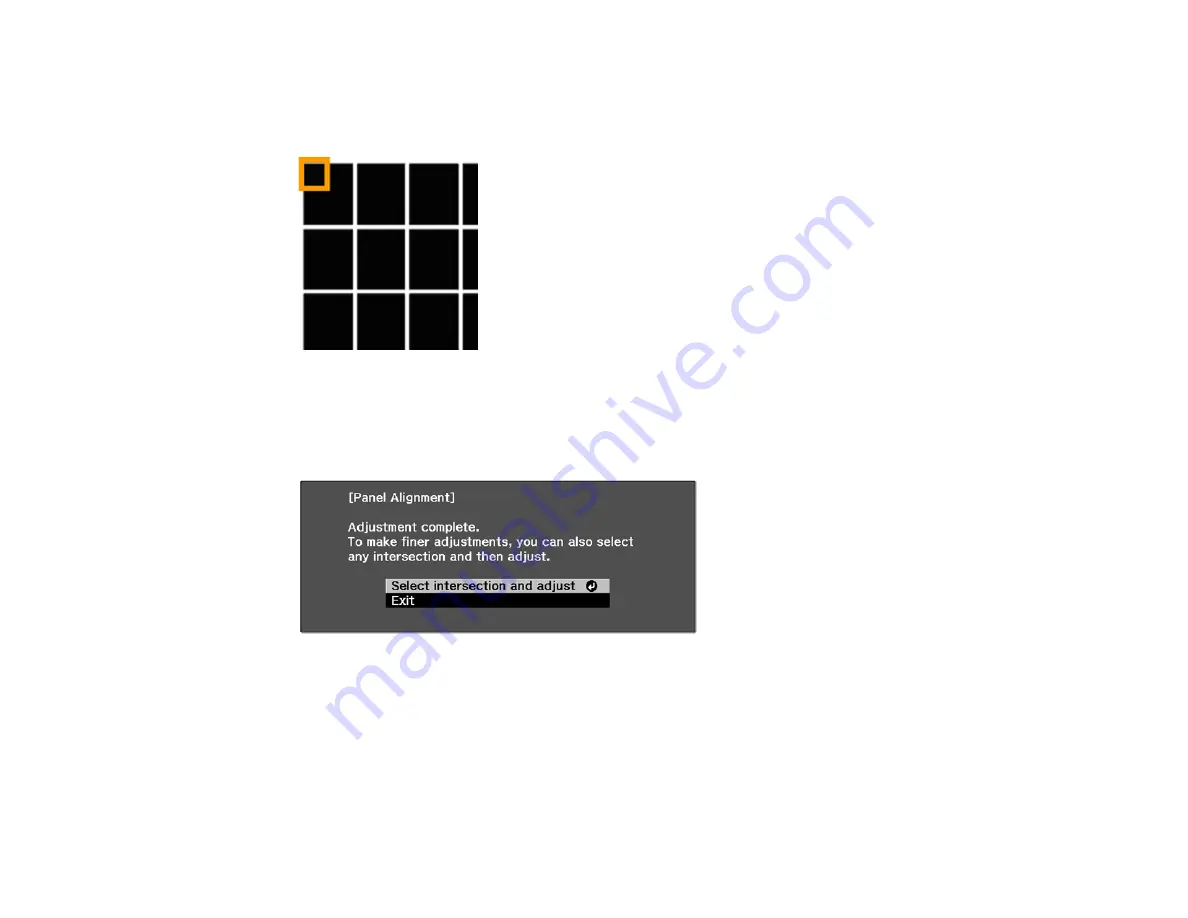
17. Use the arrow buttons on the remote control to adjust the color alignment in the corner of the screen
highlighted by the orange box.
18. Press the
Enter
button to move to the next corner of the screen.
19. When you are finished adjusting each corner of the screen, press
Enter
.
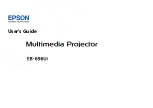
You see this screen:
20. Do one of the following:
• If your projector's panel alignment is now correct, select
Exit
and press
Enter
to return to the
Panel Alignment menu.
• If your projector needs additional panel alignment, select
Select intersection and adjust
and
press
Enter
. Use the arrow keys on the remote control to highlight the corner of any misaligned
box on the screen, press
Enter
, make any necessary adjustments and press
Enter
again. Repeat
this step as necessary for the other intersections.
Содержание Pro Cinema 4050
Страница 1: ...Pro Cinema 4050 6050UB User s Guide ...
Страница 2: ......
Страница 8: ......
Страница 25: ...25 Front Rear Front Ceiling ...
Страница 34: ...34 1 Remove the battery cover 2 Insert the batteries with the and ends facing as shown ...


