


125
1.
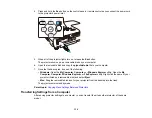
Turn on the projector you want the remote control to operate with exclusively.
2.
Make sure you know the projector's ID number as set in the Extended menu
Projector ID
setting.
Note:
If you have forgotten the projector's ID, aim the remote control at the projector and press the
ID
button to temporarily display the projector's ID on the screen. If you turn off the
Projector ID
setting, the remote control will operate the projector regardless of the ID selected on the remote.
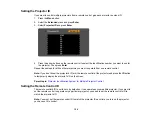
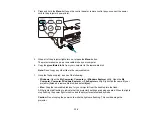
3.
Aim the remote control at that projector.
4.
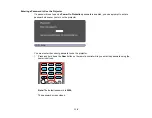
Hold down the
ID
button on the remote control while you press the numeric button that matches the
projector's ID. Then release the buttons.
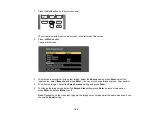
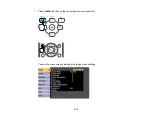
5.
Press the
ID
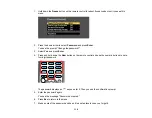
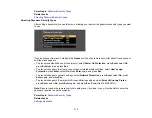
button on the remote control to check if the ID-setting process worked.
You see a message displayed by the projector.
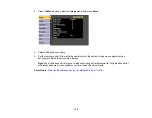
• If the remote control is listed as
On
, the remote control ID is set to operate only the listed projector.
• If the remote control is listed as
Off
, the remote control ID is not set properly. Repeat the steps
above to set the ID to match the projector you want to control.
Parent topic:
Projector Identification System for Multiple Projector Control
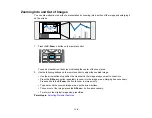
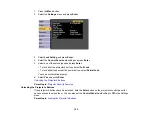
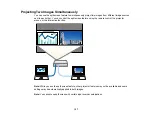
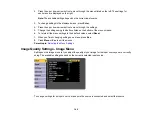
Matching Multiple-Projector Display Quality
You can match the display quality of multiple projectors that will project next to each other.
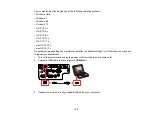
1.
Turn on all the projectors on which you want to match the display quality.
2.
Set ID numbers on each projector.
3.
Set the remote control ID to match the first projector.
Содержание PowerLite 2042
Страница 1: ...PowerLite 2042 2142W 2247U User s Guide ...
Страница 2: ......
Страница 10: ......
Страница 24: ...24 Projector Parts Remote Control 1 Power button ...
Страница 26: ...26 Parent topic Projector Part Locations ...
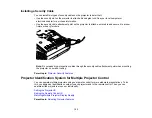
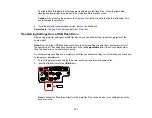
Страница 55: ...55 1 Remove the wireless LAN module cover screw 2 Insert the wireless LAN module into the USB A port ...
Страница 137: ...137 Parent topic Copying Menu Settings Between Projectors ...
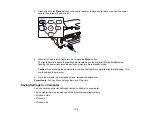
Страница 164: ...164 2 Carefully open the air filter cover ...