55
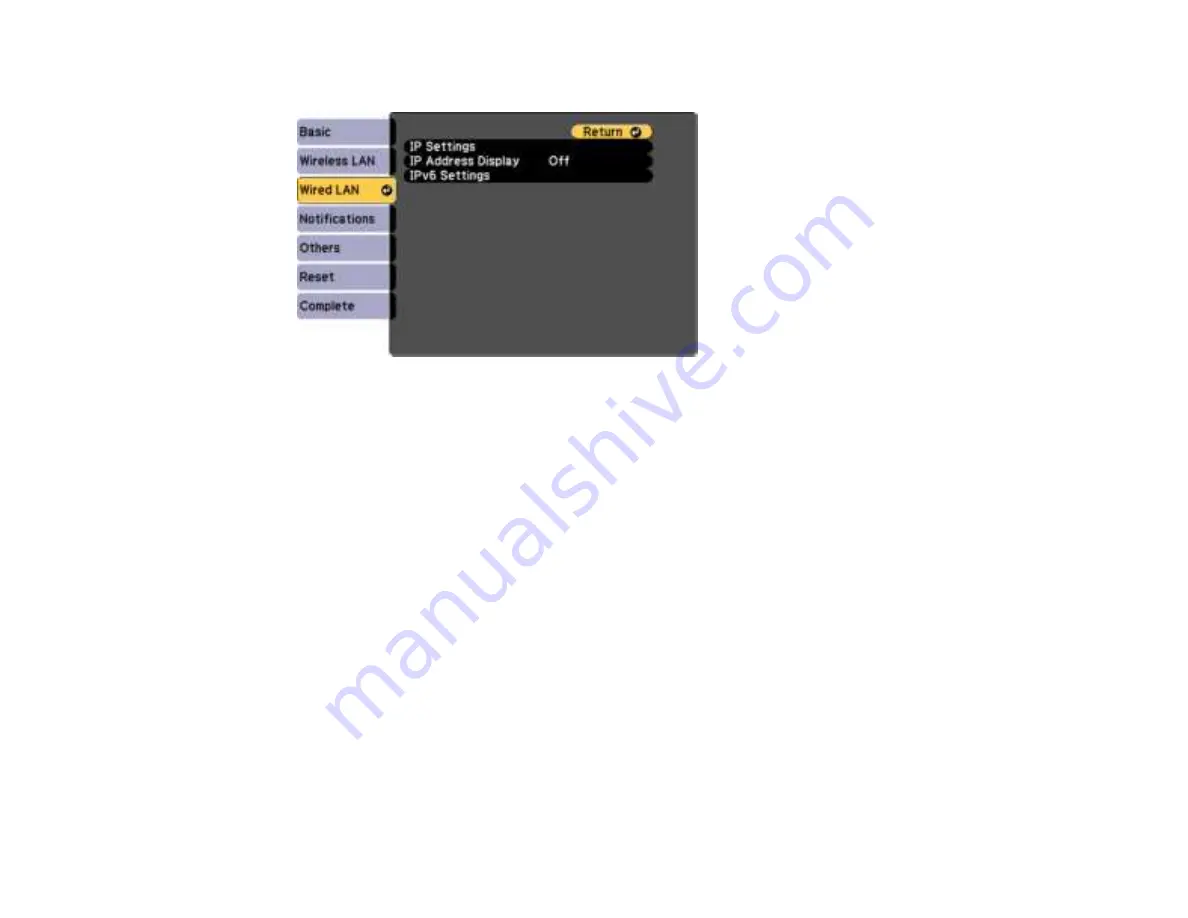
7. Select the
Wired LAN
menu and press
Enter
.
8. If necessary, select
IP Settings
and press
Enter
.
9. Select your IP Settings as necessary:
• If your network assigns addresses automatically, turn on the
DHCP
setting.
• If you must set addresses manually, turn off
DHCP
and enter the projector's
IP Address
,
Subnet
Mask
, and
Gateway Address
as needed.
Note:
To highlight the numbers you want from the displayed keyboard, press the arrow buttons on
the remote control. To select a highlighted number, press
Enter
. Or, press and hold the
Num
button
on the remote control while entering the desired numbers.
10. To prevent display of the IP address on the standby screen, turn off
IP Address Display
.
11. To connect the projector to the network using IPv6, select
On
as the
IPv6 Settings
option. Then
select the
Auto Configuration
and
Use Temporary Address
settings as necessary.
12. When you finish selecting settings, select
Complete
and follow the on-screen instructions to save
your settings and exit the menus.
Parent topic:
Wired Network Projection
Содержание PowerLite 118
Страница 1: ...PowerLite E20 X49 W49 118 119W 982W 992F 1288 User s Guide ...
Страница 2: ......
Страница 10: ......
Страница 25: ...25 Projector Parts Remote Control 1 Power button 2 HDMI button cycles through connected HDMI sources ...
Страница 28: ...28 Front Rear Front Ceiling ...
Страница 80: ...80 You see the Epson Web Control screen 3 Select Crestron Connected ...
Страница 98: ...98 2 Press one of these keystone buttons on the control panel to display the Keystone adjustment screen ...
Страница 149: ...149 1 Press the Menu button on the control panel or remote control You see the menu screen ...
Страница 173: ...173 2 Carefully open the air filter cover ...
Страница 234: ...234 Copyright Attribution 2020 Epson America Inc 7 20 CPD 59679 Parent topic Copyright Notice ...


