10
Using the LCD Screen
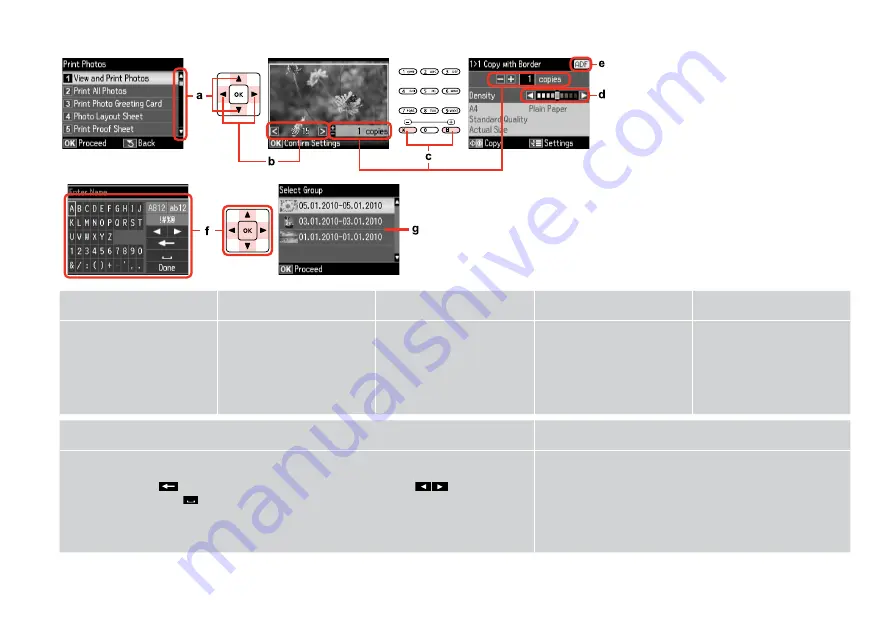
a
b
c
d
e
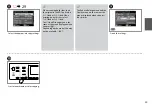
Press
u
or
d
to select the menu
item. The highlight moves up or
down.
Press
l
or
r
to change the photo
displayed on the LCD screen.
Press +(#) or -(*) to set the number
of copies for the selected photo.
Press
l
or
r
to set the density.
The ADF icon is displayed when
there is a document loaded in
the Automatic Document Feeder
(ADF).
f
g
A virtual keyboard for entering text. Use
u
,
d
,
l
,
r
buttons to select a character or button on the keyboard,
and press OK to enter the character or use the selected button. The keyboard buttons perform the
following operations.
(backspace) deletes character to the left of the cursor.
moves the cursor
left or right within the text.
inserts a space. When finished, select Done and then press OK.
If you have more than 999 photos on your memory card, you can
select a group of photos. Images are sorted by the date they were
taken. To show images in a group, press
u
or
d
to select the group,
and then press OK. To re-select a group or folder, press
J
, select
Select Location, and then select Select Folder or Select Group.
The actual screen display may differ slightly from those shown in this guide.
Содержание OFFICE 960FWD
Страница 1: ...Basic Operation Guide for use without a computer ...
Страница 13: ...13 Handling Media and Originals ...
Страница 17: ...17 See the online User s Guide when using Legal size paper Q ...
Страница 23: ...23 Copy Mode ...
Страница 28: ...28 N Start copying M Proceed Make sure you set the Paper Size and Paper Type Q ...
Страница 30: ...30 ...
Страница 31: ...31 Photo Mode ...
Страница 44: ...44 ...
Страница 45: ...45 Fax Mode ...
Страница 71: ...71 Scan Mode ...
Страница 76: ...76 ...
Страница 77: ...77 Setup Mode Maintenance ...
Страница 83: ...83 G Enter the pattern number for 1 H Repeat G for all patterns I Finish aligning the print head ...
Страница 89: ...89 Solving Problems ...
Страница 95: ...95 I J K Open Carefully remove Reattach G Remove Turn around E F Pull out H Remove L Restart ...
Страница 101: ...101 H I J K L M N Carefully remove Turn around Pull out Remove Reattach Insert the cassette gently Remove G Remove ...
Страница 108: ...108 ...
Страница 109: ...109 ...
Страница 110: ...110 ...


