•
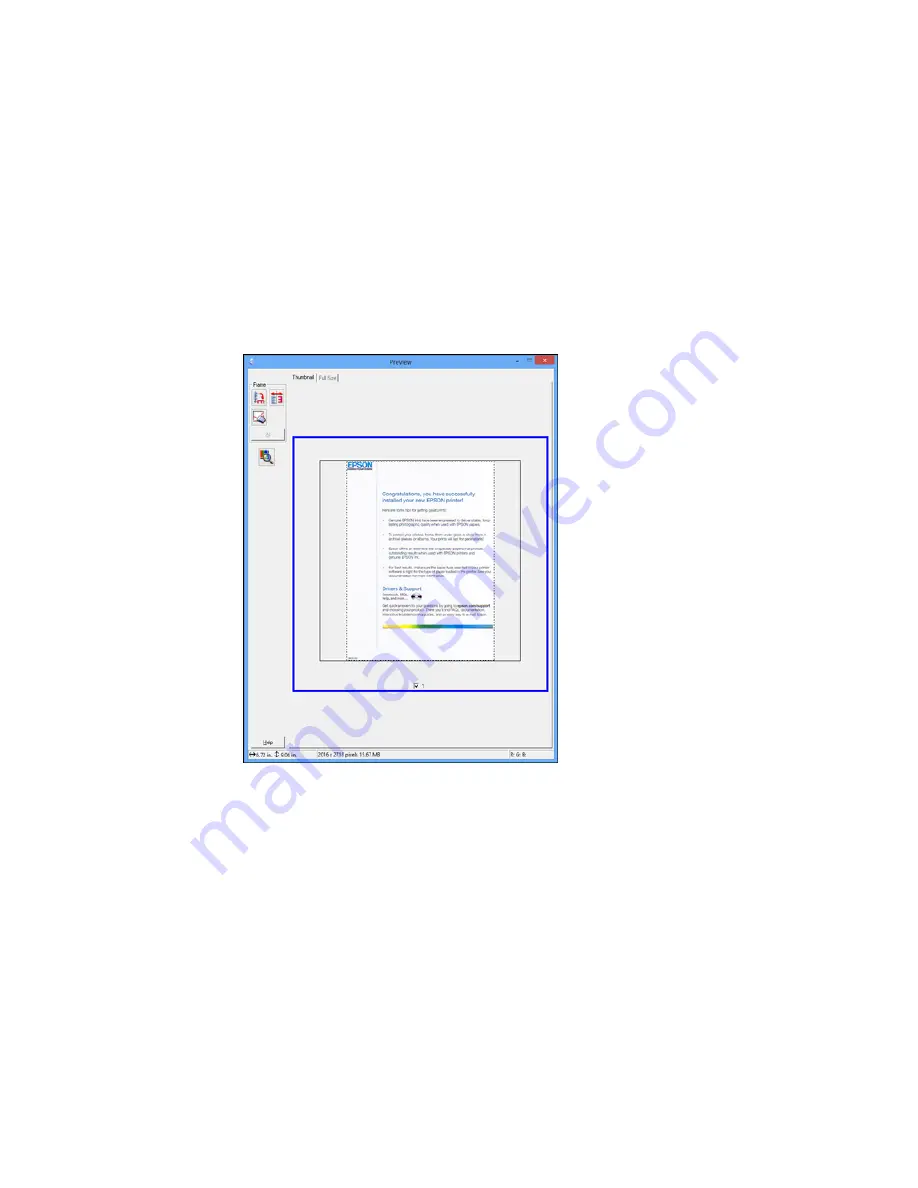
Thumbnail preview
: Your scan area is selected automatically, but you can change it. Place your
cursor in one corner of the desired scan area, then click and drag the cursor to the opposite corner
to create a marquee (dotted line) on the preview image.
2.
Do the following, as necessary, to work with the selected scan area:
• If the marquee is correct, continue with the next step.
• To move the marquee, click inside the scan area and drag the marquee where you want it.
127
Содержание ET-4550
Страница 1: ...ET 4550 User s Guide ...
Страница 2: ......
Страница 12: ......
Страница 13: ...ET 4550 User s Guide Welcome to the ET 4550 User s Guide For a printable PDF copy of this guide click here 13 ...
Страница 21: ...1 Print head 2 Output tray 3 Edge guides 4 Paper cassette 21 ...
Страница 22: ...1 Document cover 2 Scanner glass 3 Control panel Parent topic Product Parts Locations 22 ...
Страница 23: ...Product Parts Inside 1 Scanner unit 2 Ink tank unit 3 Ink tanks Parent topic Product Parts Locations 23 ...
Страница 60: ...Faxing 60 ...
Страница 123: ...You see this window 123 ...
Страница 170: ...You see this window 4 Select Speed Dial Group Dial List 170 ...
Страница 203: ...You see a window like this 5 Click Print 203 ...
Страница 242: ...4 Remove any jammed paper from the duplexer 5 Open the duplexer and carefully remove any jammed paper stuck inside 242 ...


