❏
Add Date:
Add the date to the file name.
❏
Add Time:
Add the time to the file name.
Clear All Settings
Resets the scan settings to their defaults.
Scanning Originals to an Email
You can send the scanned image by email directly from the scanner. Before scanning, you need to configure the
email server.
You can specify the email address by entering directly, but it may be easier if you register the email address in the
contacts list first.
Note:
❏
Make sure the scanner’s
Date/Time
and
Time Difference
settings are correct. Select
Settings
>
Basic Settings
>
Date/
Time Settings
on the control panel.
❏
You can check destination before scanning. Select
Settings
>
Scanner Settings
, and then enable the
Confirm Recipient
.
1.
Place the originals.
2.
Select
on the home screen of the scanner’s control panel.
3.
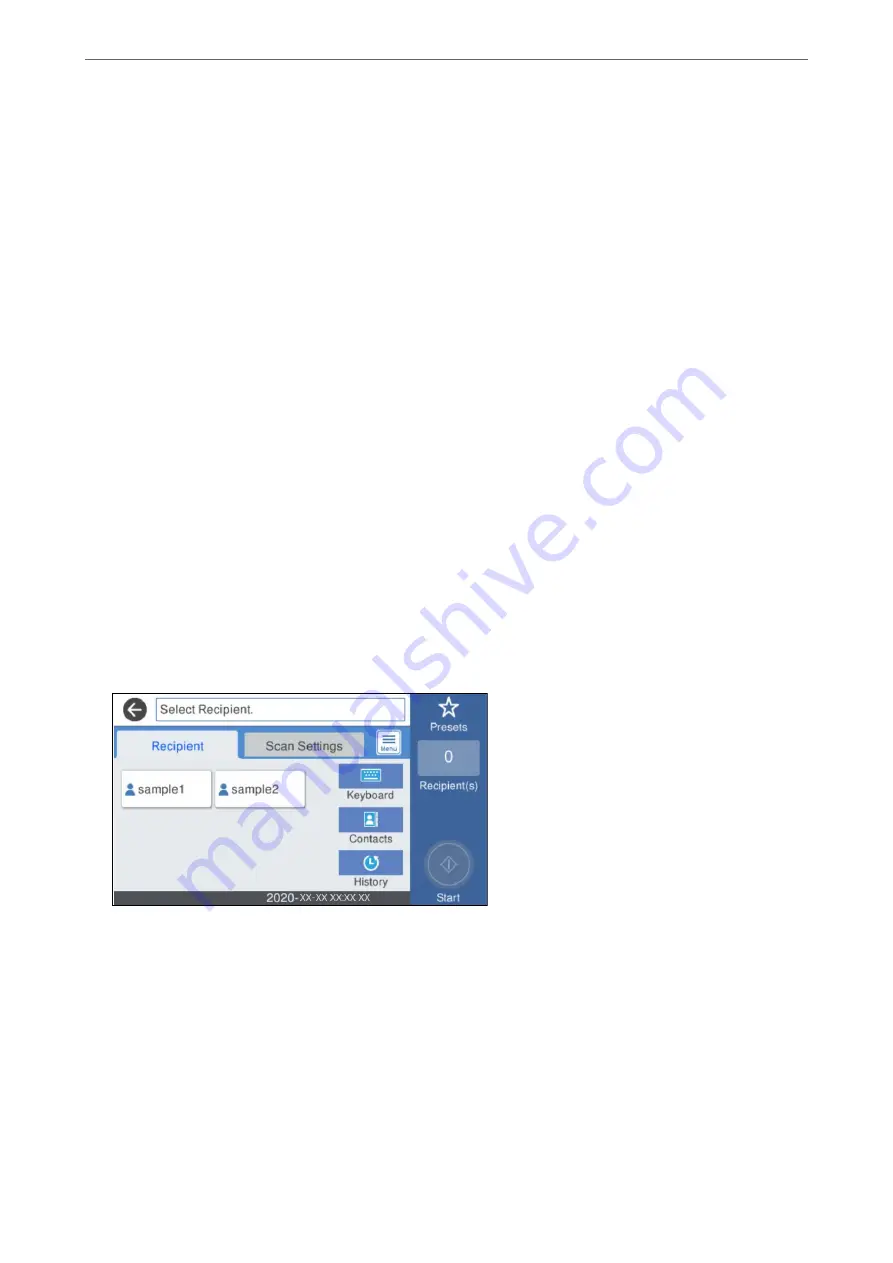
Specify the destination.
❏
To select frequently used addresses: Select the icons displayed on the screen.
❏
To enter the email address manually: Select
Keyboard
, enter the email address, and then select
OK
.
❏
To select from the contacts list: Select
Contacts
, select a contact or a group, and then select
Close
.
You can search for a contact from the contacts list. Enter the search keyword into the box at the top of the
screen.
❏
To select from the history list: Select
History
, select a contact, and then select
Close
.
>
Scanning Using the Scanner's Control Panel
>
Scanning Originals to an Email
107
Содержание ES-580W
Страница 11: ...Important Instructions Safety Instructions 12 Restrictions on Copying 13 ...
Страница 31: ...Specifications of Originals and Placing Originals Specifications of Originals 32 Placing Originals 37 ...
Страница 82: ...3 Click Edit Preparing to Scan over a Network Setting a Shared Network Folder Creating the Shared Folder 82 ...
Страница 237: ...Standards and Approvals Standards and Approvals for European Models 238 Standards and Approvals for U S Models 238 ...
Страница 240: ...Where to Get Help Technical Support Web Site 241 Contacting Epson Support 241 ...


