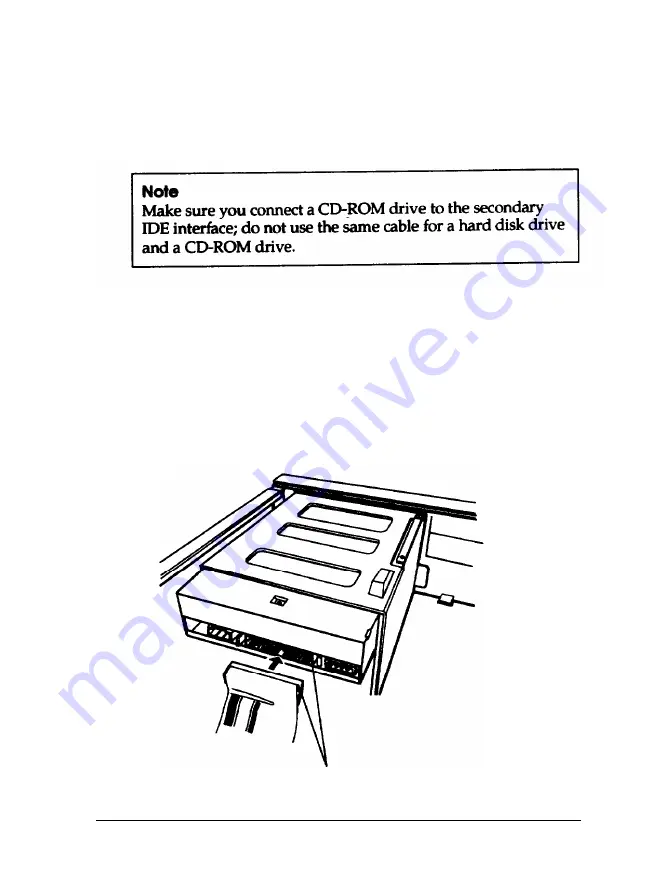
Connecting the Drive and Power Cables
If your IDE device cable is already connected to the IDE
interface, follow the steps in this section to connect the cable to
the drive.
Follow these steps to connect the drive and power cables:
1.
Locate the connector at the end of the ribbon cable.
2.
Locate pin 1 on the drive connector next to the power
connector.
3.
Position the connector on the cable so that the red wire aligns
with pin 1 on the drive.
pin 1
Installing and Removing Slimline Drives
5-19
Содержание Endeavor 486I
Страница 1: ...EPSON User s Guide ...
Страница 5: ......
Страница 70: ...Installing and Removing Options 4 7 ...
Страница 73: ...CPU type jumper settings CPU type Intel or AMD Intel Cyrix UMC Jumper 4 10 Installing and Removing Options ...
Страница 78: ...SIMM configurations continued Installing and Removing Options 4 15 ...
Страница 170: ...Video Resolutions and Colors N o n i n t e r l a c e d a n d i n t e r l a c e d I n t e r l a c e d A S Specifications ...
Страница 173: ...IDE hard disk drive jumper settings DMA Assignments Specifications A 11 ...
Страница 174: ...Hardware Interrupts System Memory Map A 12 Specifications ...
Страница 176: ...Connector Pin Assignments Parallel port connector pin assignments J6 Active low logic A 14 Specifications ...
Страница 178: ...Options Available From EPSON Many options for enhancing and supplementing this product A 16 Specifications ...


