58
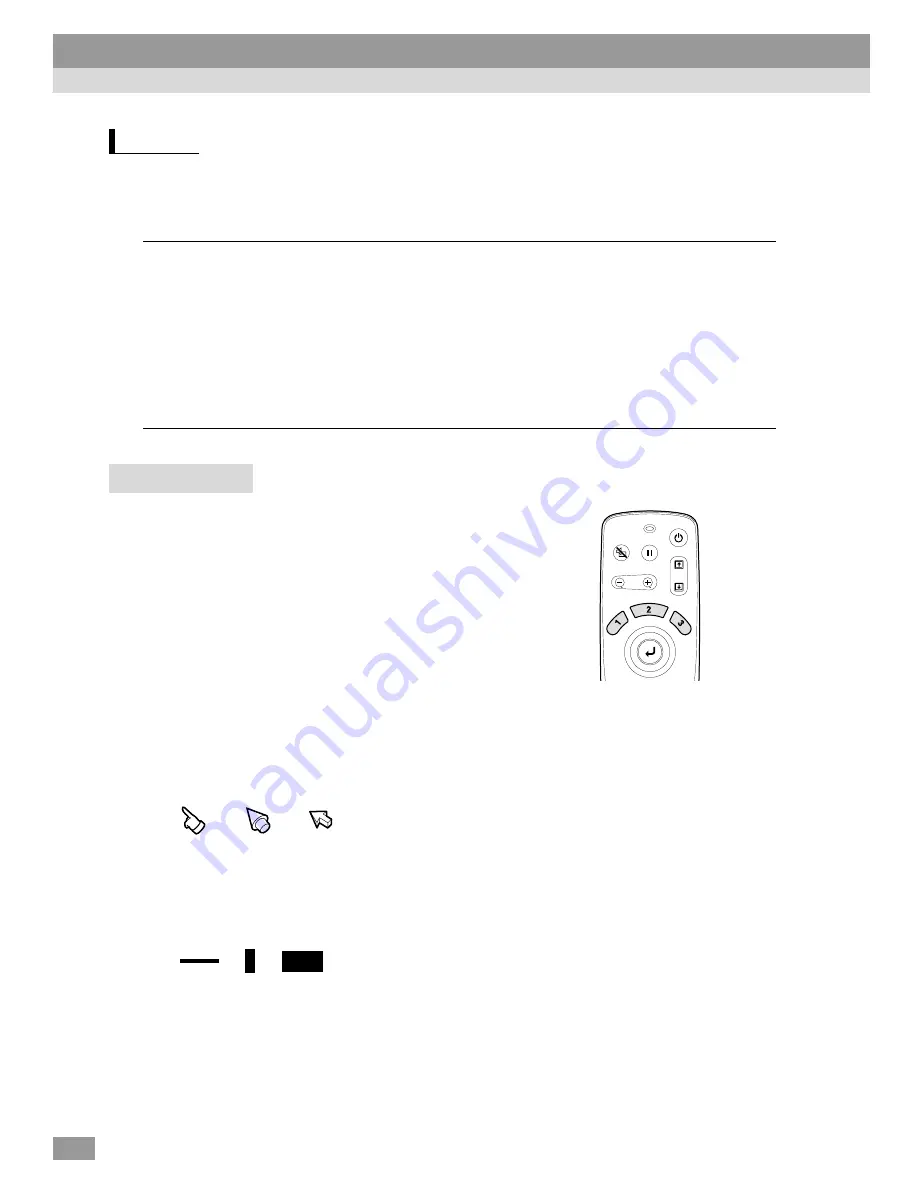
The [1], [2] and [3] buttons on the remote control can be used to add display
effects to images that are being projected during a presentation. This can be
used to emphasize particular parts of the images.
Procedure
1
Press the [1], [2] or [3] button on the
remote control to select the type of
effect.
The following icon or bar appears at the
center of the projected image.
[1]: Pointer icon
[2]: Spotlight
[3]: Bar
2
Select the type of pointer icon or bar.
The pointer icon changes in the following order each time the [1] button is
pressed.
→
→
The size of the spotlight changes in the following order each time the [2]
button is pressed.
Medium
→
Large
→
Small
The type of bar changes in the following order each time the [3] button is
pressed.
→ →
Tip :
You can use the Effect menu to set the type of icon or bar and the size and display
sequence for the spotlight.
Effects
Effect 1
[1]
Pointer/
stamp
An icon appears on the screen and it can be moved around like
a pointer.
In addition, the icon can be made to appear on the image as a
stamp.
Effect 2
[2]
Spotlight
Parts of the projected image can be spotlighted.
Effect 3
[3]
Bar
Bars (horizontal and vertical lines) can be drawn on top of the
projected image.
Power
A/V Mute
Freeze
E-Zoom
Remote control
Functions for Enhancing Projection


