


92
Unlocking the user account
If you enter the wrong password three times in a row when publishing a job with EPSON Total Disc Maker, logging in
to EPSON Total Disc Net Administrator, or performing a job operation (pausing, resuming, or canceling a job) using
EPSON Total Disc Monitor, or you enter the wrong PIN three times in a row when operating the control panel
(unlocking the disc cover, removing discs, configuring network settings, or restoring the product to the initial state),
the user account is locked and the password or PIN can no longer be used. If this happens, use the following
procedure to unlock the lock.
1
Log in to EPSON Total Disc Net Administrator.
See “Logging in to EPSON Total Disc Net Administrator” in the
PP-100N Security User’s Guide
for the login
procedure.
2
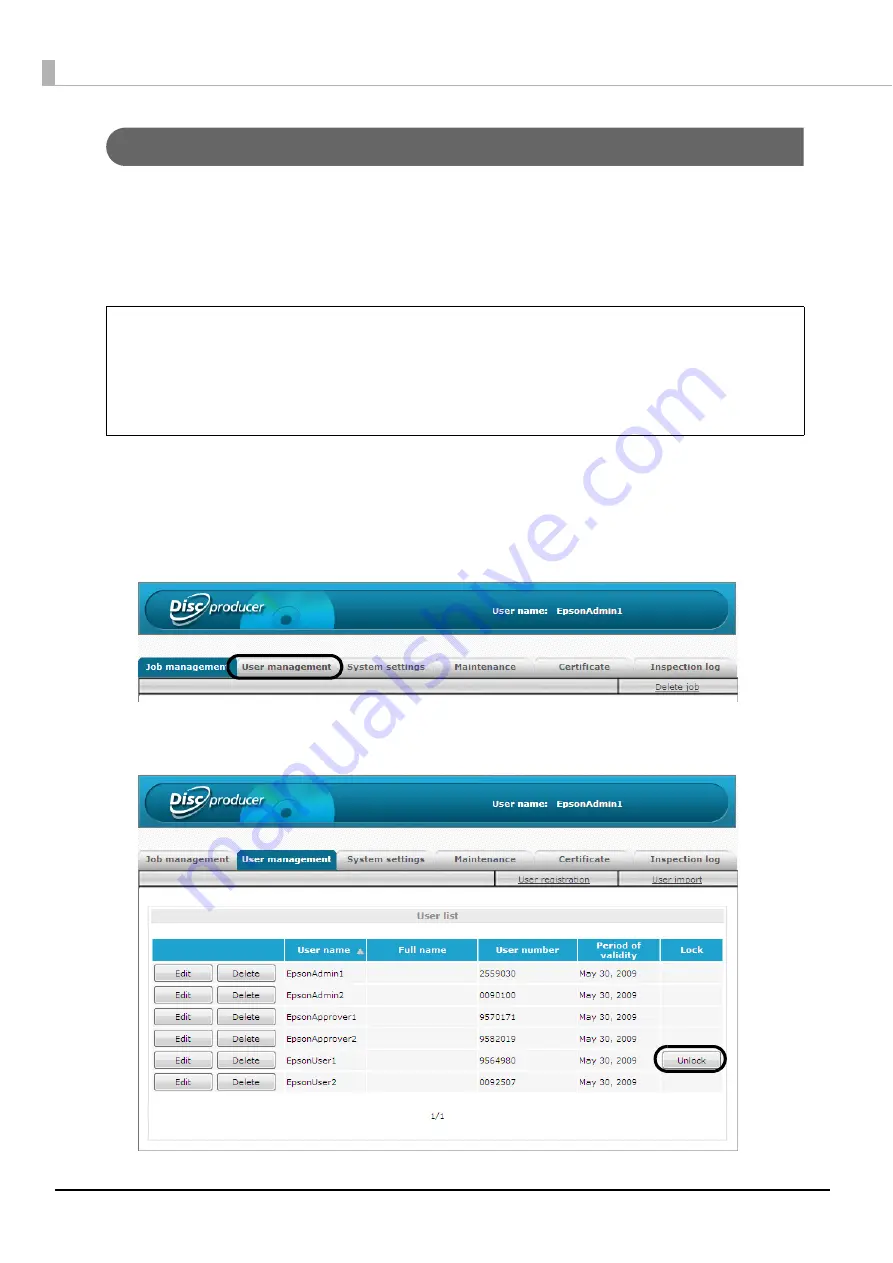
Click the [User management] tab.
3
Click [Unlock] for the user for which you want to unlock the account.
[Unlock] is displayed for [Lock] for a user whose account is locked.
•
If notification email transmission is set, an email is sent to notify the administrator that
the user account is locked.
•
In the case of an administrator account, the lock is unlocked automatically when six
hours elapse after the account was locked.
•
In the case of a user account, the lock is unlocked automatically when one hour
elapses after the account was locked.
Notes
Содержание Disc producer PP-100N Security
Страница 1: ...Administrator s Guide M00012700 ...
Страница 22: ...22 3 Grasp the fixture on the top plate and slide the top plate backwards slightly 4 Remove the top plate ...
Страница 33: ...33 Preparation 4 Close the disc cover ...
Страница 49: ...49 Preparation 4 Click OK ...
Страница 88: ...88 4 Click OK The user list of the User management screen appears Check that the user was deleted ...
Страница 91: ...91 Administration and Management 6 Click OK ...
Страница 112: ...112 The usage statuses of drivers 1 and 2 and the number of published discs appear in the Device screen ...
Страница 140: ...140 5 Grasp the fixture inside the product top and slide it backwards slightly 6 Remove the top plate ...
Страница 144: ...144 5 Grasp the fixture on the top plate and slide it backwards slightly 6 Remove the top plate ...


