132
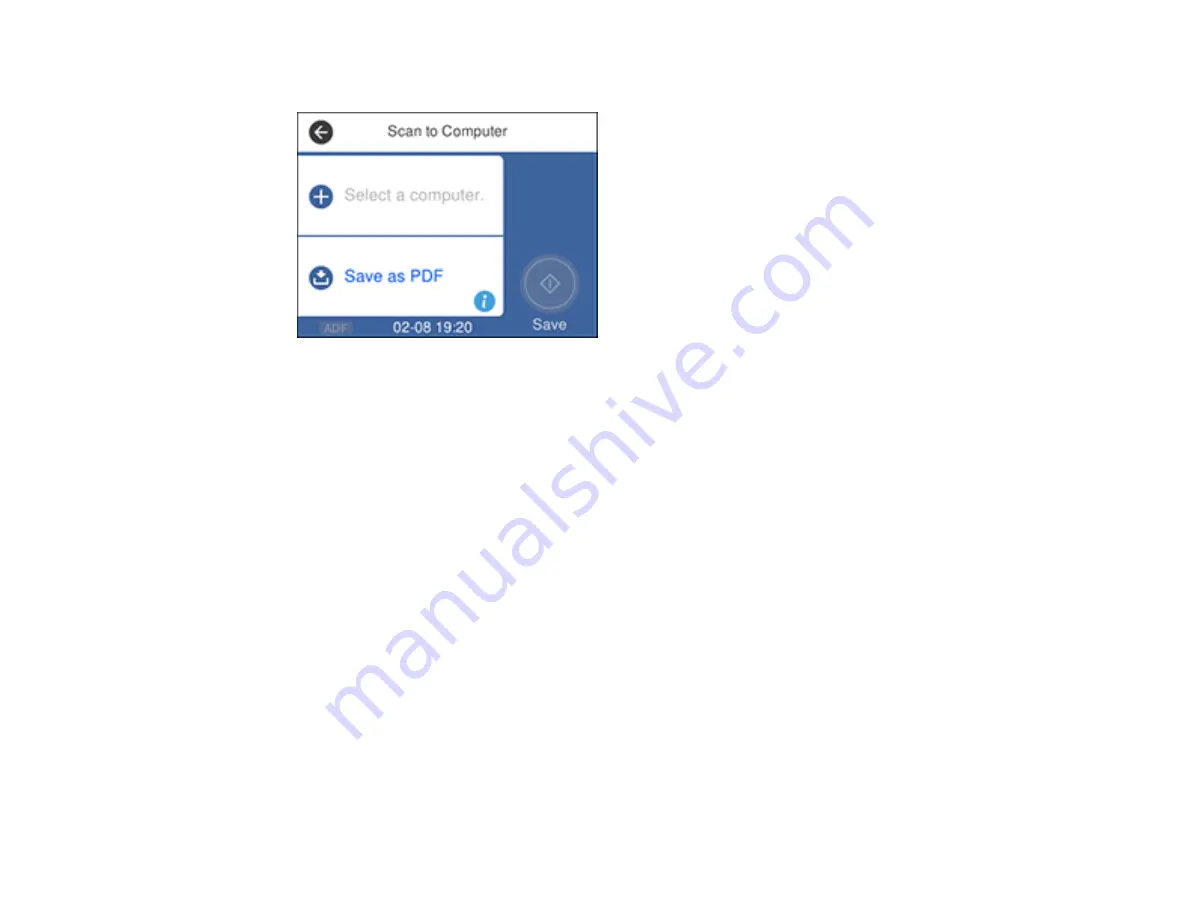
You see a screen like this:
Note:
Select
OK
to close the information screen, if necessary.
5.
Select
Select a computer
and choose one of the following options:
• If your computer is connected to your product over a network, select a connected computer from
the displayed list. (If the computer is not listed, select
Search Again
.)
• If you computer is connected to your product using a USB cable, select
USB Connection
.
6.
Select
Save as PDF
and choose one of the following options:
•
Save as JPEG
to save the scanned image as a JPEG file.
•
Save as PDF
to save the scanned document or image as a PDF file.
•
Attach to email
to open the default email software on your computer and save the scanned
document or images as a JPEG email attachment.
•
Follow custom setting
to save the scanned document or image using custom settings you have
selected using the Event Manager custom scan settings option.
Note:
You can customize the settings for each of the options above using Event Manager.
7.
Select
Save
to start scanning.
Your product scans your original and saves the scanned file to your computer.
Parent topic:
Содержание C11CG28201
Страница 1: ...WF 2860 User s Guide ...
Страница 2: ......
Страница 12: ...12 Copyright Attribution 305 ...
Страница 13: ...13 WF 2860 User s Guide Welcome to the WF 2860 User s Guide For a printable PDF copy of this guide click here ...
Страница 74: ...74 Related references Paper or Media Type Settings Printing Software ...
Страница 110: ...110 10 Select the Layout tab 11 Select the orientation of your document as the Orientation setting ...
Страница 138: ...138 You see an Epson Scan 2 window like this ...
Страница 140: ...140 You see an Epson Scan 2 window like this ...
Страница 142: ...142 You see this window ...
Страница 219: ...219 You see a window like this 4 Click Print ...


