203
• Select a black background or one of 4 different patterns.
• Select the right arrow icon to close the selection window.
3.
Do one of the following to write or draw on the background.
• To write, select one of the
Pen tools.
• To highlight, select the
Highlighter tool.
4.
Do one of the following to clear all or part of the screen,
• To erase, select the
Eraser tool.
• To clear the whole screen, select the
Clear all tool.
Parent topic:
Using BrightLink Without a Computer
Changing Pen Width and Color Using the Built-in Toolbar
When you use the
custom pen or highlighter tools, you can select different colors and line widths.
You can also select the Black, Red, or Blue pen on the toolbar, and select the small circle on the left of
the pen for a thin line, or the large circle on the right for a thick line.
Note:
When multiple users draw on the projected screen using multiple pens, you can select different
colors and line widths for each pen. When using finger touch operations, all users share the same color
and line width.
1.
Select the
arrow next to the
custom Pen or
Highlighter pen on the toolbar.
2.
Select the color and line width you want.
3.
Select the right arrow icon to close the selection window.
Parent topic:
Using BrightLink Without a Computer
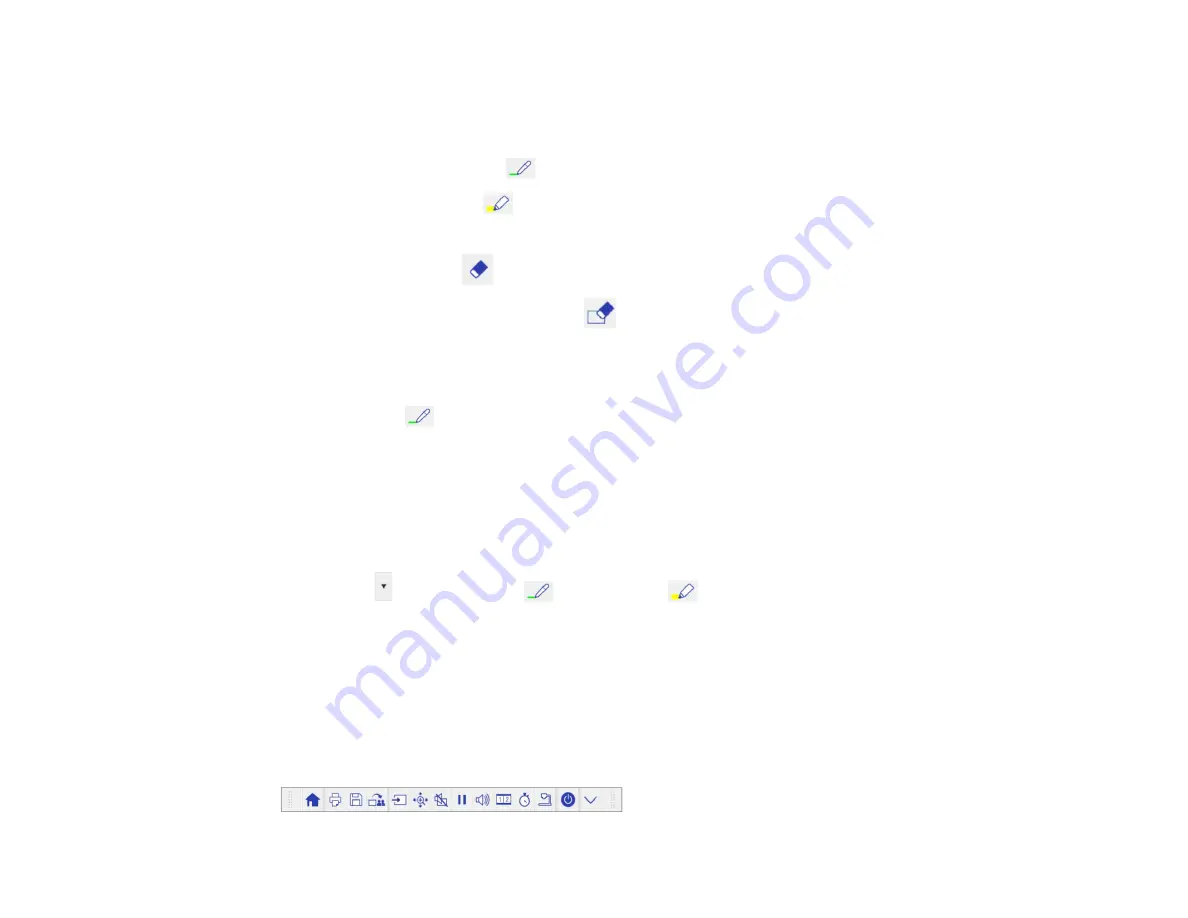
Projector Control Toolbar
The projector control toolbar lets you control the projector with your pen or finger from the projected
screen just as you would using the remote control.
Содержание BrightLink 710Ui
Страница 1: ...BrightLink 710Ui User s Guide ...
Страница 2: ......
Страница 28: ...28 Projector Parts Remote Control ...
Страница 33: ...33 Rear 1 Laser diffusion ports 2 Installation magnets Parent topic Projector Part Locations ...
Страница 57: ...57 1 Remove the battery cover 2 Insert the batteries with the and ends facing as shown ...
Страница 66: ...66 2 Unscrew and remove the cable cover if it is attached screwdriver not included ...
Страница 143: ...143 2 Select the Extended menu and press Enter 3 Select the Multi Projection setting and press Enter ...
Страница 177: ...177 2 Select the Easy Interactive Function setting and press Enter 3 Select Auto Calibration and press Enter ...
Страница 186: ...186 3 Select Touch Unit Setup and press Enter 4 Select Touch Calibration and press Enter ...
Страница 251: ...251 2 Slide the air filter cover latch and open the air filter cover ...
Страница 255: ...255 1 Twist off the tip of the pen to remove it ...
Страница 257: ...257 1 Twist off the tip of the pen to remove it 2 Remove the soft tip ...
Страница 258: ...258 3 Insert the new tip 4 Twist on the pen tip Parent topic Maintaining and Transporting the Projector ...
Страница 296: ...296 Side ...
Страница 309: ...309 Copyright Attribution 2017 Epson America Inc 10 17 CPD 54271 Parent topic Copyright Notice ...


