


152
Saving a User's Logo Image to Display
You can transfer an image to the projector and then display it whenever the projector turns on. You can
also display the image when the projector is not receiving an input signal or when you temporarily stop
projection. This transferred image is called the User's Logo screen.
The image you select as the User's Logo can be a photo, graphic, or company logo, which is useful in
identifying the projector's owner to help deter theft. You can prevent changes to the User's Logo by
setting up password protection for it.
Note:
When you copy the menu settings from one projector to another using the batch setup feature, the
user logo is also copied. Do not include any information in the user logo that you do not want to share
between multiple projectors.
1.
Display the image you want to project as the User's Logo.
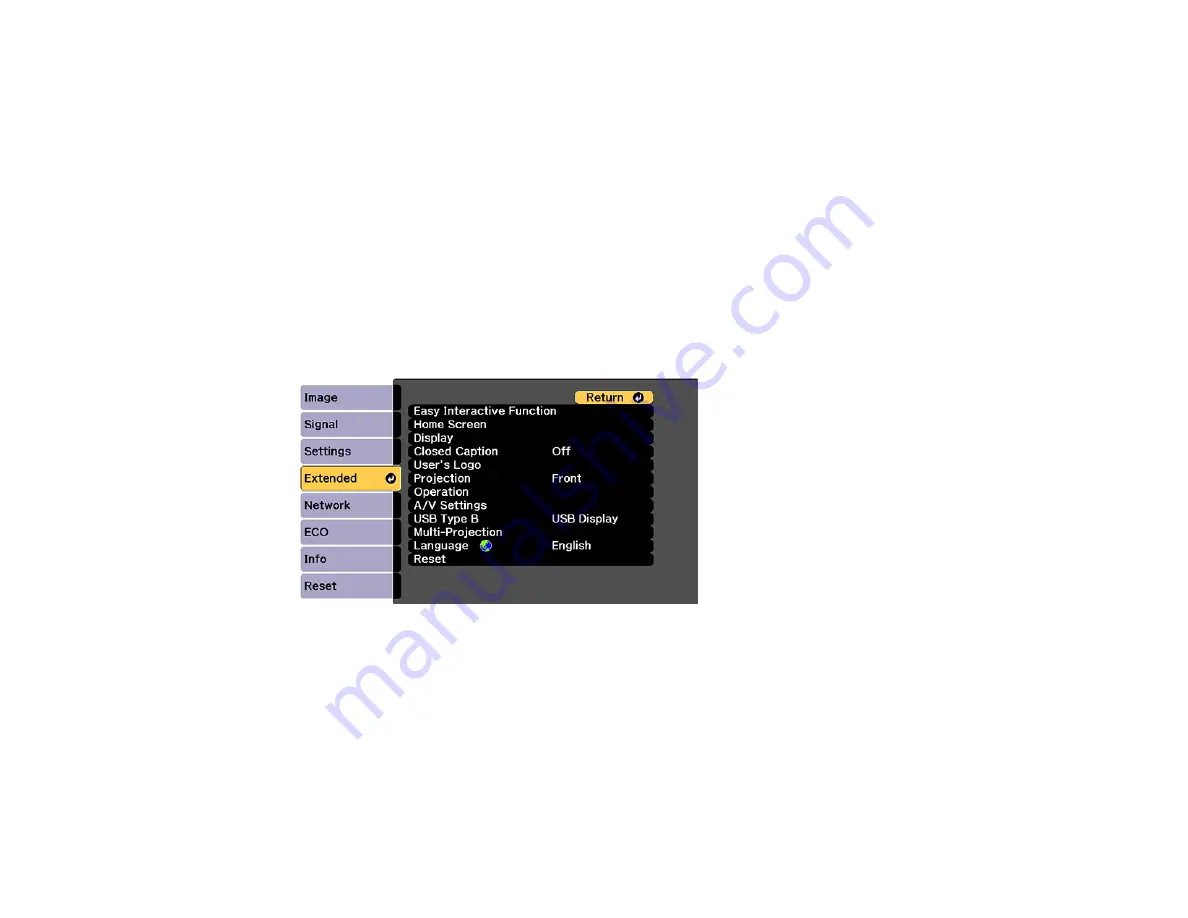
2.
Press the
Menu
button, select the
Extended
menu, and press
Enter
.
3.
Select the
User's Logo
setting and press
Enter
.
You see a prompt asking if you want to use the displayed image as a user's logo.
4.
Select
Yes
and press
Enter
.
You see a selection box overlaying your image.
Note:
When you select
User's Logo
, adjustments such as
Keystone
,
E-Zoom
, or
Aspect
are
temporarily canceled.
Содержание BrightLink 710Ui
Страница 1: ...BrightLink 710Ui User s Guide ...
Страница 2: ......
Страница 28: ...28 Projector Parts Remote Control ...
Страница 33: ...33 Rear 1 Laser diffusion ports 2 Installation magnets Parent topic Projector Part Locations ...
Страница 57: ...57 1 Remove the battery cover 2 Insert the batteries with the and ends facing as shown ...
Страница 66: ...66 2 Unscrew and remove the cable cover if it is attached screwdriver not included ...
Страница 143: ...143 2 Select the Extended menu and press Enter 3 Select the Multi Projection setting and press Enter ...
Страница 177: ...177 2 Select the Easy Interactive Function setting and press Enter 3 Select Auto Calibration and press Enter ...
Страница 186: ...186 3 Select Touch Unit Setup and press Enter 4 Select Touch Calibration and press Enter ...
Страница 251: ...251 2 Slide the air filter cover latch and open the air filter cover ...
Страница 255: ...255 1 Twist off the tip of the pen to remove it ...
Страница 257: ...257 1 Twist off the tip of the pen to remove it 2 Remove the soft tip ...
Страница 258: ...258 3 Insert the new tip 4 Twist on the pen tip Parent topic Maintaining and Transporting the Projector ...
Страница 296: ...296 Side ...
Страница 309: ...309 Copyright Attribution 2017 Epson America Inc 10 17 CPD 54271 Parent topic Copyright Notice ...


