160
Note:
Make sure the USB flash drive contains only a single settings transfer from another projector of
the same model. The settings are contained in a file called
pjconfdata.bin
. If the drive contains other
files, the transfer may not complete correctly.
Do not adjust image settings on a projector until after you transfer settings to it. Otherwise, you may have
to repeat your adjustments.
1.
Turn off the projector and unplug the power cord from the projector's power inlet.
2.
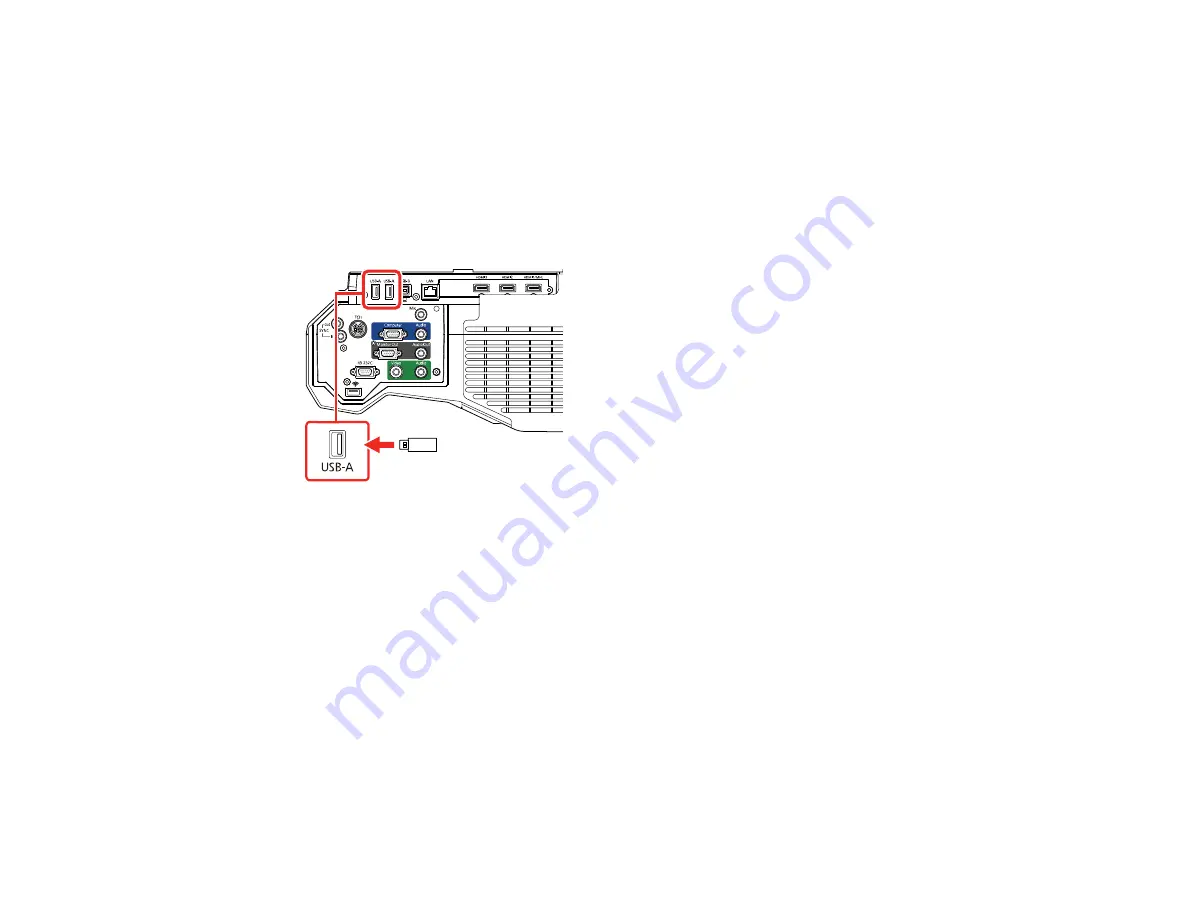
Insert the flash drive into one of the
USB-A
ports.
Note:
Connect the flash drive directly to the projector. Do not use a hub or your settings may not be
saved correctly.
3.
Press and hold the
Menu
button on the control panel or remote control as you connect the power
cord to the projector's power inlet.
4.
When the On/Standby and Status lights are blue, and the Laser and Temp lights are orange, release
the
Menu
button.
The lights flash to indicate that settings are transferring to the projector. When the lights stop
flashing, the On/Standby light turns blue and the projector enters standby mode.
Caution:
Do not unplug the power cord or remove the flash drive while the lights are flashing. This
could damage the projector.
5.
Once the projector enters standby mode, remove the flash drive.
Содержание BrightLink 710Ui
Страница 1: ...BrightLink 710Ui User s Guide ...
Страница 2: ......
Страница 28: ...28 Projector Parts Remote Control ...
Страница 33: ...33 Rear 1 Laser diffusion ports 2 Installation magnets Parent topic Projector Part Locations ...
Страница 57: ...57 1 Remove the battery cover 2 Insert the batteries with the and ends facing as shown ...
Страница 66: ...66 2 Unscrew and remove the cable cover if it is attached screwdriver not included ...
Страница 143: ...143 2 Select the Extended menu and press Enter 3 Select the Multi Projection setting and press Enter ...
Страница 177: ...177 2 Select the Easy Interactive Function setting and press Enter 3 Select Auto Calibration and press Enter ...
Страница 186: ...186 3 Select Touch Unit Setup and press Enter 4 Select Touch Calibration and press Enter ...
Страница 251: ...251 2 Slide the air filter cover latch and open the air filter cover ...
Страница 255: ...255 1 Twist off the tip of the pen to remove it ...
Страница 257: ...257 1 Twist off the tip of the pen to remove it 2 Remove the soft tip ...
Страница 258: ...258 3 Insert the new tip 4 Twist on the pen tip Parent topic Maintaining and Transporting the Projector ...
Страница 296: ...296 Side ...
Страница 309: ...309 Copyright Attribution 2017 Epson America Inc 10 17 CPD 54271 Parent topic Copyright Notice ...


