204
Scanning
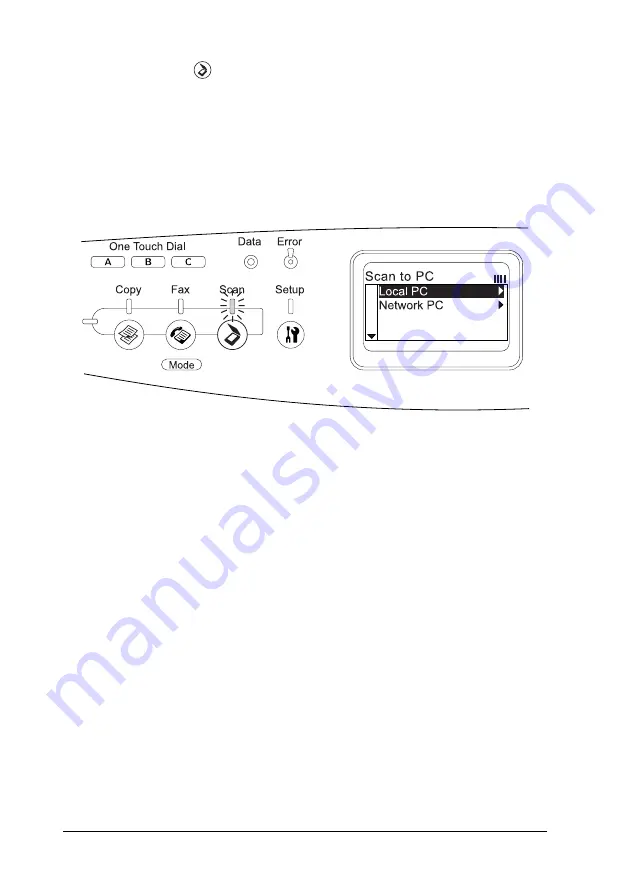
3. Press the
Scan
button on the control panel.
The Scan light is lit and the Scan menu appears in the LCD
panel.
4. Press the
u
Up
or
d
Down
button to select either
Local PC
or
Network PC
, and then press the
r
Right
button.
When selecting Local PC:
When a proper connection to the local computer is confirmed,
a message to notify that the device is ready appears and
scanning starts.
When selecting Network PC:
Network computer names appear in the LCD panel. Proceed
to step 5.
5. Press the
u
Up
or
d
Down
button to select your network
computer, and then press the
r
Right
button.
You can select from the following scanning methods.
To scan with Standard scan, proceed to step 6.
To scan with Manual scan, proceed to step7.
6. When you scan with Standard scan, press the
l
Left
or
r
Right
button to select a file format from
,
TIFF
, and
JPEG
.
Then proceed to step 10.
Содержание AcuLaser CX11 Series
Страница 3: ...3 Note The illustrations in this guide are for EPSON AcuLaser CX11F unless otherwise indicated ...
Страница 26: ...26 Getting to Know Your Printer Scanner parts a document cover b document table c transportation lock a b c ...
Страница 139: ...Using the Printer Software with Macintosh 139 5 5 5 5 5 5 5 5 5 5 5 5 3 Click your printer s icon ...
Страница 476: ...476 Working with Fonts Print sample EPSON Codabar EPSON Codabar CD EPSON Codabar Num EPSON Codabar CD Num ...


