Displaying and Adjusting the Image
23
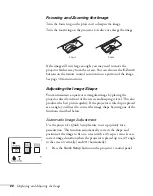
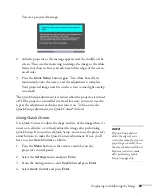
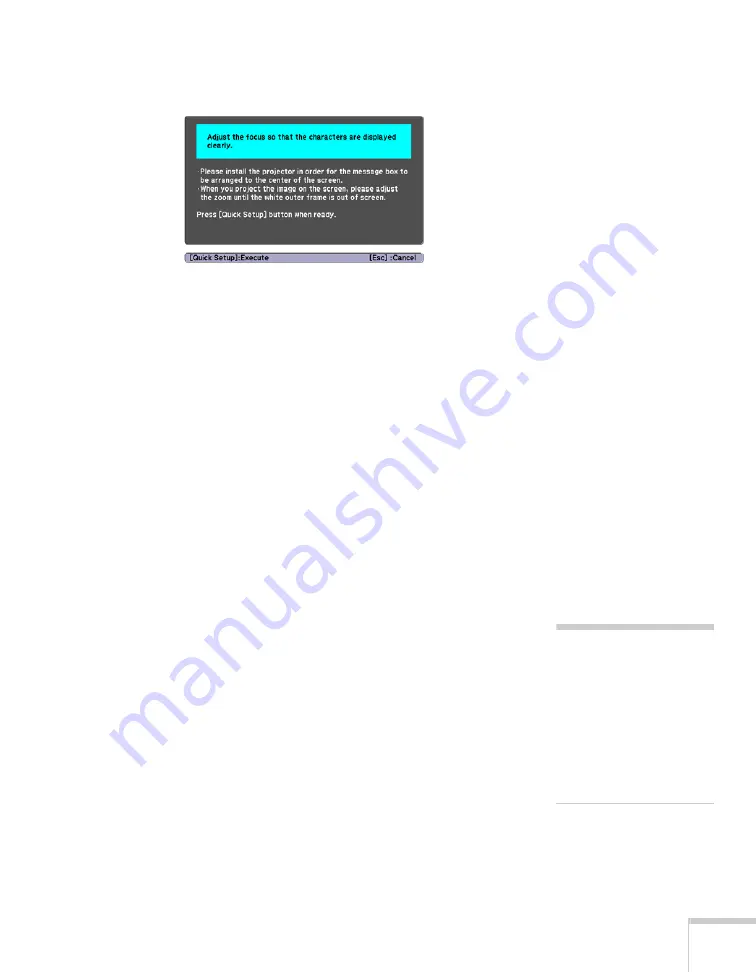
You see a projected message:
2. Aim the projector so the message appears near the middle of the
screen. Then use the zoom ring to enlarge the image so the white
frame (not shown above) extends beyond the edges of the screen
on all sides.
3. Press the
Quick Setup
button again. Two white boxes flash
momentarily onto the screen, and the adjustment is complete.
Your projected image now fits on the screen (some slight overlap
is normal).
The Quick Setup adjustment is retained when the projector is turned
off. If the projector is installed in a fixed location, you won’t need to
repeat the adjustment each time you turn it on. To fine-tune the
Quick Setup adjustment, use Quick Corner
®
(below).
Using Quick Corner
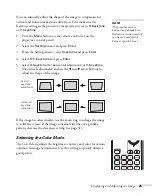
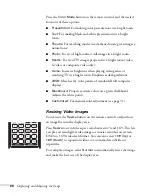
Use Quick Corner to adjust the shape and size of the image when it’s
uneven on all sides, or to finely adjust the image after performing
Quick Setup. If you just used Quick Setup, you can use the projector’s
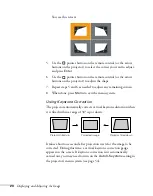
arrow buttons to make the Quick Corner adjustment. If not, you’ll
have to select
Quick Corner
as follows:
1. Press the
Menu
button on the remote control or on the
projector’s control panel.
2. Select the
Settings
menu and press
Enter
.
3. From the Settings menu, select
Keystone
and press
Enter
.
4. Select
Quick Corner
and press
Enter
.
note
If Quick Setup did not
detect the edges of your
screen (for example, if you’re
projecting on a wall), then
the arrow buttons will be in
Keystone correction mode
after performing Quick
Setup (see page 24).
Содержание 1810p - PowerLite XGA LCD Projector
Страница 1: ...PowerLite 1810p Multimedia Projector User sGuide ...
Страница 6: ...6 ...
Страница 12: ...12 Welcome ...
Страница 46: ...46 Connecting to Computers and Other Equipment ...
Страница 72: ...72 Maintaining the Projector ...
Страница 86: ...86 Solving Problems ...
Страница 94: ...94 Technical Specifications ...
Страница 104: ...104 Index ...

