


EN
Recording
Record and Time shift function buttons
When you press the
Rec button the navigation menu
will display on screen.
Note:
Display and exit the navigation menu by pressing
the
button. While you are recording you can press the
play button and watch what has already been recorded.
Recording:
Press
to start instant recording
Pause:
Press
to activate the time shift function and
pause live TV.
Stop:
Press
EXWWRQ
to stop the recording or the time
VKLIW
process.
Remote Control button
86%
1:
Displays the recorded List
Remote Control button A:
Displays the Recording Sched-
ule List
Time shift
When you press the EXIT
R
(&
button the navigation menu
will display on screen.
Note:
Display and exit the navigation menu by pressing
the EXIT button While you are recording you can press the
play button and watch what has already been recorded.
When you press the
Pause/Play button the picture
will be paused and the navigation menu will displayed on
screen
While you are doing a time shift recording you can press
the play button and watch what has already been re-
corded
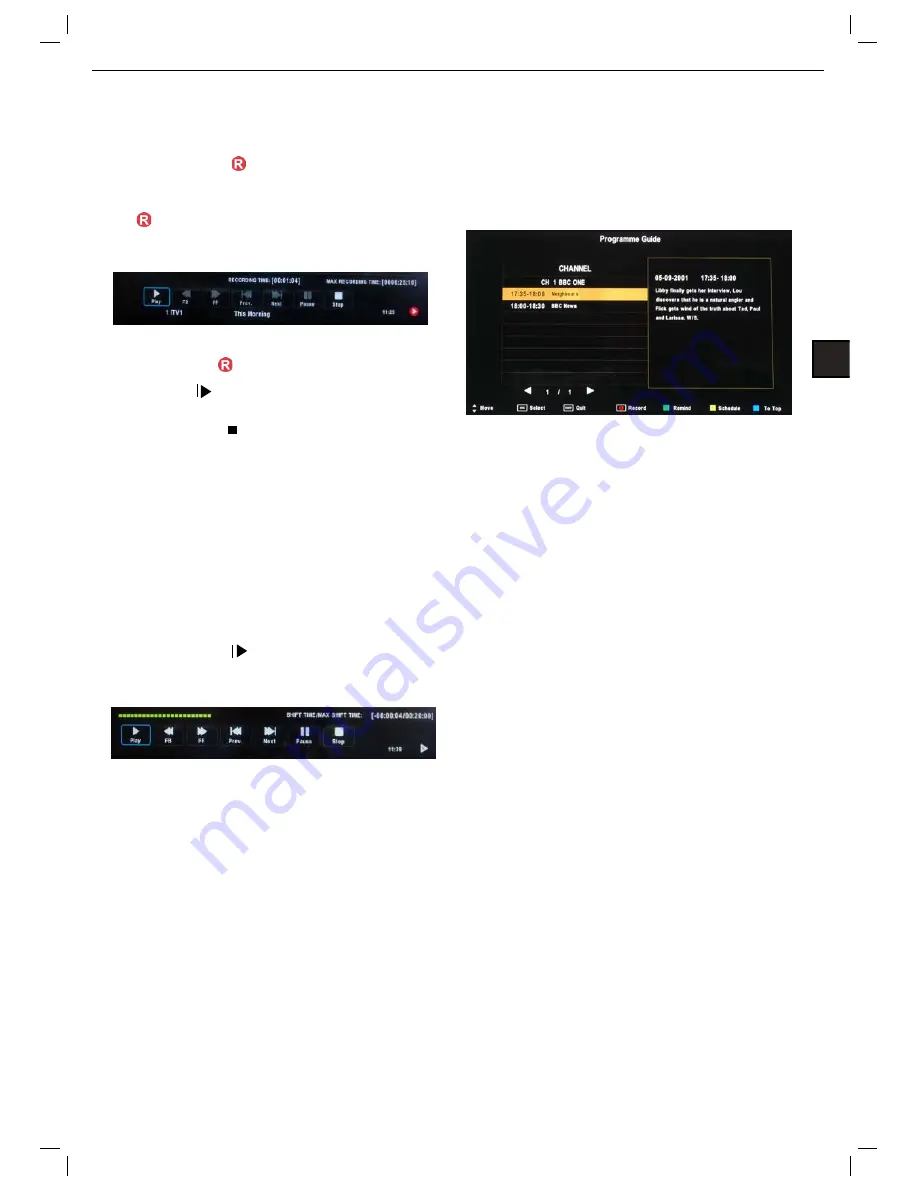
EPG Recording
Display the programme guide by pressing the GUIDE but-
ton
Select a programme to record by navigating through the
EPG with the
STW X
buttons.
Record:
Press the RED button to display the recorder
menu and set the timer record. When the programme
starts it will be recorded to the USB device.
7
Schedule:
Press YELLOW button to display the recording
Schedule List
Remind:
Press
*5((1
button to display the remind menu.
Once the programme starts the TV will automatically
switch to this programme.