


XF
Rev: 4, 2010-02-01
Page 13
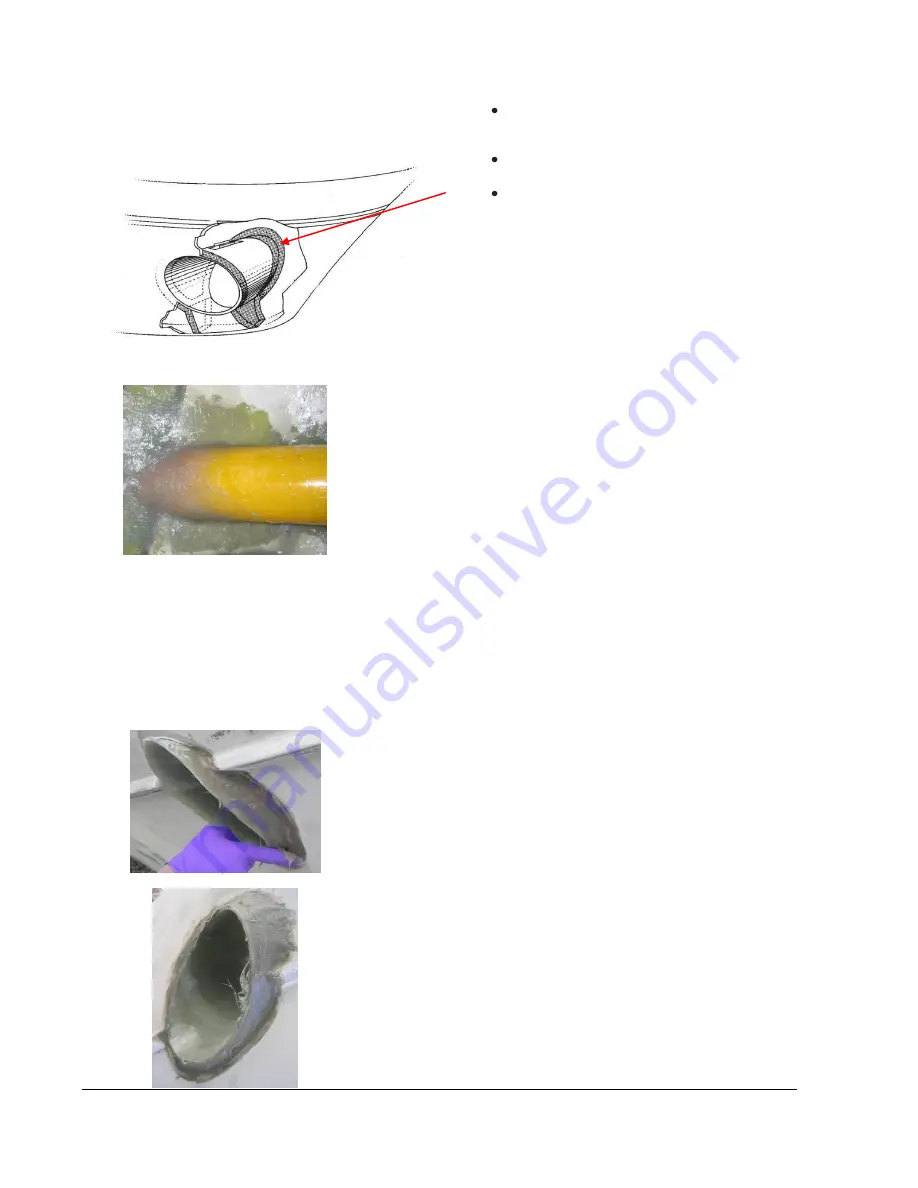
Sometimes also the joint between hull and
tunnel must be taped to prevent the filling from
running out.
When the filling is cured, remove the waxed
plate. Grind smooth and clean with acetone.
Coat the glass fibre mats with plastic and fill the
gap between tunnel and hull with glass fibre
putty all the way down to the mats and
alongside the hull. ( Fig. left.)
4.1.8.
Fastening the tunnel
Remove all topcoat from a surface area of at least 100 mm around the
holes on the inside of the hull (e.g. using a circular sanding disc) to get
adhesion for the polyester. Vacuum clean and wipe down with acetone.
Bond the tunnel to both sides of the hull. On the inside the bonding must
cover 100 mm. We recommend 7 layers of 450 g glass fibre mat for this
purpose. The process is easier if the area between the tube and the hull is
first smoothened out with glass fibre filler.
NB:
Make sure that any gap between the tunnel and the hull is completely
filled with polyester/glass fibre. In areas difficult to reach, a polyester/glass
fibre compound filler must be filled in.
NB:
To avoid any kind of misfitting of the thruster bracket, there should be
no glass fibre/polyester where the bracket is to be mounted. Can easily be
avoided by covering the contact area for the bracket as shown on the
picture.
If there should be insufficient room for bonding around the tunnel, this
space should instead be completely filled with polyester based filler.
4.1.9.
Filler
Smooth out all the contact points/edges on the hull exterior with glass
fibre filler.
Use glass fibre filler to adjust and round the area between the tunnel and
the hull.
It is important to round off the edge between the hull and the tunnel to
achieve optimal water passage and minimal cavitation noise.