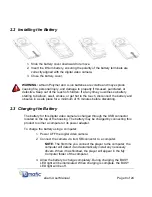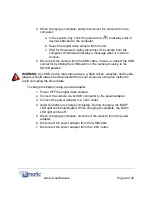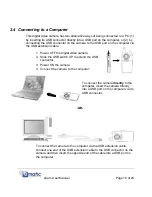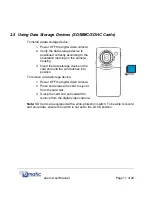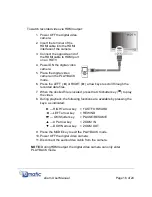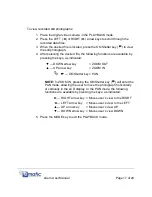
3.6 Deleting Recorded Data
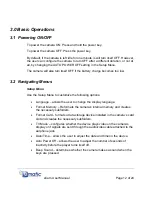
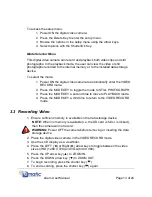
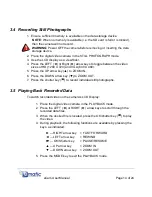
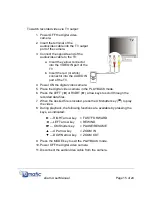
1. Place the digital video camera in the
PLAYBACK mode.
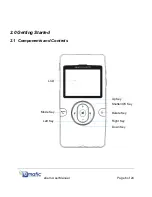
2. Press the LEFT (
Ż
) or RIGHT (
Ź
) arrow keys
to scroll through the recorded data files.
3. When the desired file is located, press the
Delete key ( ) to enter the delete menu.
4. Press the LEFT (
Ż
) or RIGHT (
Ź
) arrow keys
to select the desired function.
Ź
— RIGHT arrow key
= Deletes only the image data
currently being displayed
Ż
— LEFT arrow key
= Deletes all image data stored on the
data storage device
5. Press the OK/Shutter key (
) to execute the selected function.
6. Press the Delete key ( ) to exit the delete menu.
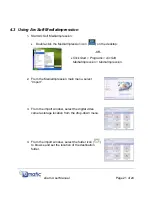
3.7 Downloading Data Files to a Computer
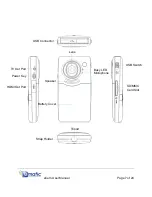
1. Connect the camera to a computer via the USB connection.
2. Double-click “My Computer” on the desktop of the computer to enter Windows
Explorer.
3. Locate and double-click the “Removable Disk” drive associated with the
eCam digital video camera.
4. Locate and open the folder titled “\DCIM\100MEDIA.”
5. In the 100MEDIA folder, locate the desired data file(s) to be downloaded.
6. Click and drag the desired data file(s) from the 100MEDIA folder into the
target folder on the hard drive of the computer.
NOTE:
Xvid Codec and ArcSoft MediaImpression must be installed to view or
edit video recorded with the digital video camera
eCam User Manual
Page 18 of 24

