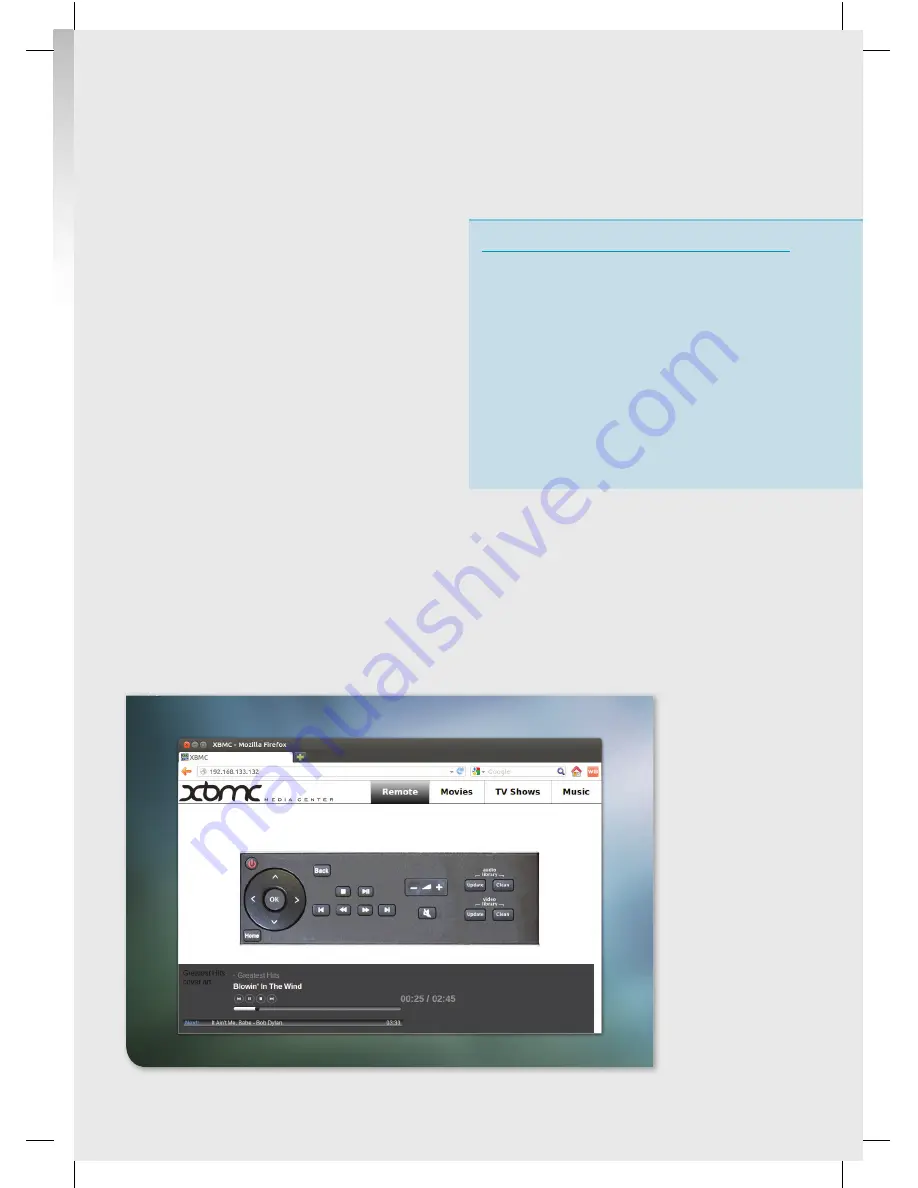
This is all good, but it’s a bit impractical to use a
mouse and keyboard to control your telly. The
good folks at XBMC thought of this and added
support for remote controls. The simplest and
most general-purpose way of doing this is via
RaspBMC’s web interface. Using this, any
device with a web browser that’s on the same
network as the Pi can control the playback.
This is enabled by default, so all you need to do is
find out the IP address of the Pi in
‘System > System
Info’
(you should be able to set this to be a static IP
on your router). Then, on any other device attached
to a network, open a browser and point it to that IP.
If you’re a modern sort, and using an Android or
iOS mobile device, you should find a selection of
apps in the various app stores that can do this
with a nicer interface than the HTML pages. A new
feature on the Model B+ allows a software switch
to be set in the config.txt which allows additional
power to be routed to the 4 USB ports (up to a
maximum of 1.2Amps). This provides enough power
to drive a 2.5 inch hard drive directly off the Pi. To
enable this feature the Pi must be powered using
a 1.8Amp or 2Amp micro USB power supply.
Taking it further
It is possible to take complete control of your TV
viewing using Linux, including watching live TV, and
recording shows for later. This can be done using
MythTV
(available from
www.mythtv.org
). You’ll
need a separate computer with the appropriate
cable connections to act as the server.
You can play video files that you have stored on other
computers on your network, for example those on
a Network Attached Storage (NAS) box. The exact
method for doing this will vary depending on how you
share the files, but they are configured through the
‘Add Sources’ buttons. For more information about
this, you should check out the wiki at:
bit.ly/OOvXb6
.
■
This is the default
remote, but other
more graphically
stimulating ones
are available in the
RaspBMC settings.
21
Raspberry Pi User Guide.indd 21
08/07/2014 14:44


