background image

electrohome.com

Thank you for your purchase of this Electrohome® product. Please read this instruction manual carefully before 

using product to ensure proper use. Keep this manual in a safe place for future reference.

EANOS502

INSTRUCTION MANUAL 

v.9

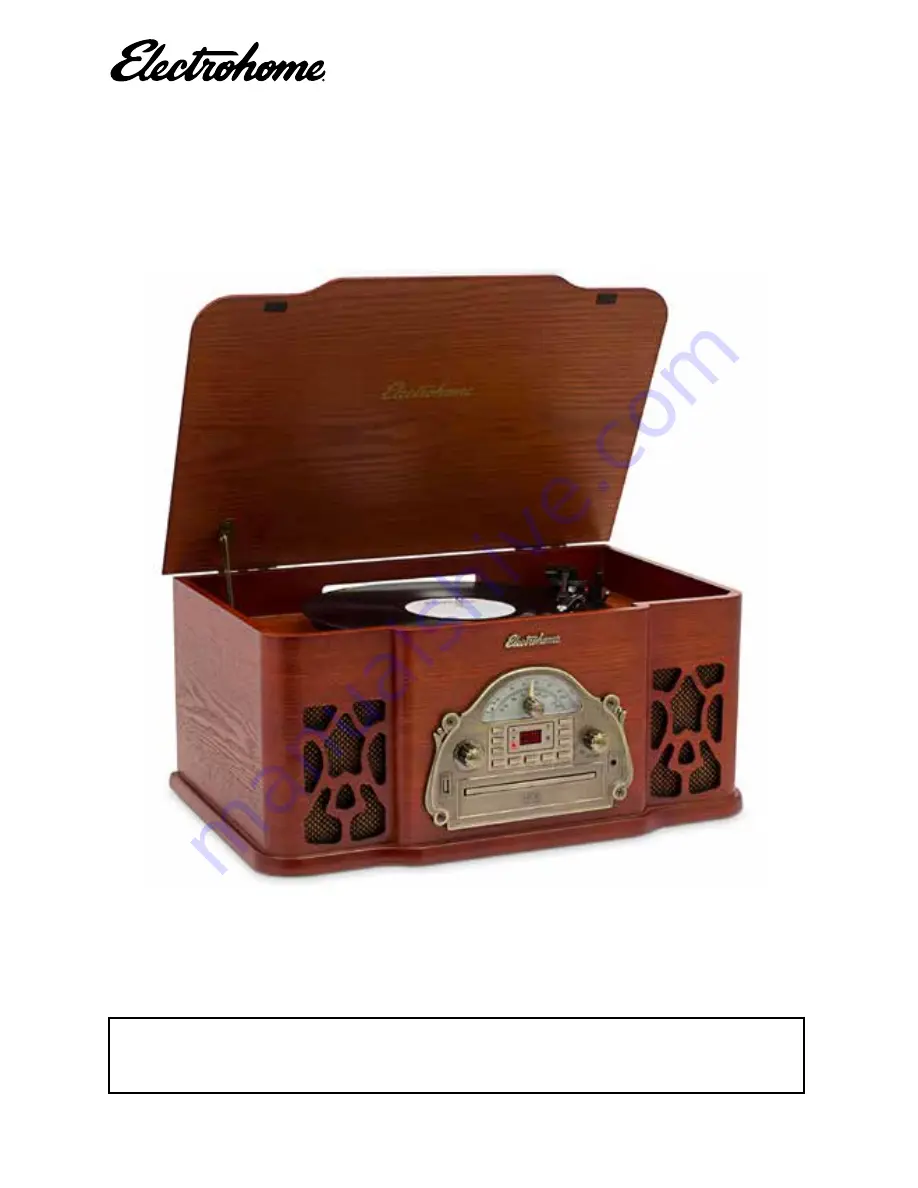
WELLINGTON

 RETRO STEREO SYSTEM

Содержание EANOS502

Страница 1: ...rchase of this Electrohome product Please read this instruction manual carefully before using product to ensure proper use Keep this manual in a safe place for future reference EANOS502 INSTRUCTION MANUAL v 9 WELLINGTON RETRO STEREO SYSTEM ...

Страница 2: ...hemanufacturer 12 Unplugthisapparatusduringlightningstormsorwhenunusedforlongperiodsoftime 13 Referallservicingtoqualifiedservicepersonnel Servicingisrequiredwhentheapparatushasbeendamagedinany way suchaspower supplycordorplugisdamaged liquidhasbeenspilledorobjectshavefallenintotheapparatus theapparatushasbeenexposedtorainormoisture doesnotoperatenormally orhasbeendropped 14 Thisapplianceshallnotb...

Страница 3: ...es Re orientorrelocatethereceivingantenna Increasetheseparationbetweentheequipmentandreceiver Connecttheequipmentintoanoutletonacircuitdifferentfromthattowhichthereceiverisconnected Consultthedealeroranexperiencedradio TVtechnicianforhelp ThisdevicecomplieswithPart15oftheFCCRules Operationissubjecttothefollowingtwoconditions 1 Thisdevicemaynotcauseharmfulinterference and 2 Thisdevicemustacceptanyi...

Страница 4: ...E STORE Please contact an ELECTROHOME customer support representative Please contact us via one of the methods below For more product information visit www ELECTROHOME com Support www electrohome com support Online web chat www electrohome com ...

Страница 5: ...ATION 11 INSERTING AND PLAYING A CD 11 RANDOM PLAYBACK 11 REPEAT PLAYBACK 12 PROGRAMMED PLAYBACK 12 PLAYING RECORDS 13 INSERTING AND PLAYING FILES FROM A USB 13 MP3 FILES FOLDER 14 RECORDING FROM A CD ONTOTHE USB DEVICE 14 PROGRAM RECORDING FROM A CD ONTOTHE USB DEVICE 14 RECORDING FROM A PHONOGRAPH ONTOTHE USB DEVICE 14 DELETING FILES FROMTHE USB DEVICE 15 REMOVINGTHE USB DRIVE 15 CHANGINGTHE STY...

Страница 6: ...sic System Remote Control Instruction Manual 1YearWarranty Lifetime Customer Support FEATURES PlaysVinyl Records CDs AM FM Radio MP3s via USB AUX Input ConvertYourVinyl CD Collection to USB High Performance Dynamic Speakers Full Size 3 Speed Record Player Elegant RealWood Finish ...

Страница 7: ... 7 ControlPanel Remote 37 BackofUnit Turntable 26 27 25 28 29 32 33 34 35 36 30 31 38 39 40 41 42 43 44 45 46 47 48 4 15 5 6 8 9 10 16 18 19 20 21 22 23 7 17 24 11 12 13 14 ...

Страница 8: ...Button Skip to next track 24 CD DiscTray Holds the CD in the unit 25 Service Sticker Allows access to adjustment screw 26 AUX IN Input Connect your MP3 player or smartphone to play to music 27 ON OFF Switch Turns power ON and OFF 28 FM AntennaWire Improves FM reception 29 AC Power Cord Plug AC power cord into any wall outlet 30 Turntable Place vinyl record here 31 45 RPM Adapter Place in centre of...

Страница 9: ...nt from the remote control Install a lithium battery CR 2025 in the compartment with the positive polarity turned up Hold level and push the battery compartment into the remote control lightly It is okay once you hear a click PREPARATION FOR USE Transit Screw UNPACKINGANDSETUP Carefullyremovetheunitfromthedisplaycarton andremoveallpackingmaterialfromtheunit UnwindtheACpowercordandextendittoitsfull...

Страница 10: ...res and home improvement centers everywhere and apply these pads to the bottom of the rubber feet before you place the product on fine wooden furniture HEADPHONES For private listening plug headphones not included into the headphone jack on the front panel of the player The speakers will be disconnected when headphones are plugged in LISTENINGTOTHERADIO 1 FliptheON OFFswitchtothe positiontoturnthe...

Страница 11: ...me as desired 5 To skip forward or backward through the tracks on the disc press the SKIP REV or SKIP FWD buttons To search forward or backward through the tracks press and hold the SKIP REV or SKIP FWD button 6 Press the PLAY PAUSE button to pause playback The PLAY PAUSE indicator will blink in the display Press again to resume playback When the disc is through playing it will stop rotating 7 To ...

Страница 12: ...n the display Repeats steps 2 and 3 to program up to 20 tracks You may program the same track more than once 4 Press the PLAY PAUSE button to begin programmed playback Player will begin with the first track you programmed and will continue until the last programmed track has played 5 Press the SKIP REV or SKIP FW button to select a specific track in the programmed tracks After the last track has p...

Страница 13: ...he playing mode between CD and USB The default after turning on the system is CD mode the total tracks number will be shown on the display if the disc is in the CD drawer NOd will be shown if there is no disc If there is no disc in the CD drawer during CD mode put the USB drive into the USB socket the player will play the USB automatically 1 FliptheON OFFswitchtothe positiontoturntheuniton 2 Rotat...

Страница 14: ...ding Press the STOP button once to cancel the record function and twice to stop the playback PROGRAMRECORDINGFROMACDONTOTHEUSBDEVICE 1 Perform steps 1 through 3 on page 10 to program the memory Press the PLAY PAUSE button to start program playback 2 Select a track using the SKIP REV or FWD button if desired Press the RECORD button once rEC will appear in the display 3 Press the RECORD button a sec...

Страница 15: ...the DELETE button the selected file will be deleted immediately DEL will show on the display to confirm the track was deleted successfully REMOVINGTHEUSBDRIVE MakesuretostoptheplaybackandturntheunitoffbeforeremovingtheUSBdrivetoavoiddamagetothe USBandthesystem CHANGINGTHESTYLUS The jeweled stylus that was installed in your turntable at the time of purchase will last for up to 300 hours ofplaybackw...

Страница 16: ...Placethenewstylusholderwithstylusunderthecartridgehousing First pressupwardonthebackside of the stylus holder and then press up on the front edge of the stylus holder until it snaps into place on the cartridge housing IMPORTANT To protect the turntable from damage during transportation a silver transit screw is located at the upper right of the turntable platform 1 Before playing please use a scre...

Страница 17: ...ACT DISCS Treat the compact disc carefully Handle the compact disc only by its edges Never allow your fingers to come in contact with the shiny unprinted side of the compact disc Do not attach adhesive tape stickers etc to the compact disc label Clean the compact disc periodically with a soft lint free dry cloth Never use detergents or abrasive cleaners to clean the compact disc If necessary use a...

Страница 18: ...ERATION the AM FM CD PH AUX to AUX n and connect your MP3 player tphone with the AUX IN input ack side of the unit via an aux in ON OFF MARCHE ARRÊT EANOS501 EANOS502 OPERATION DIFFERENCE POWER ON OFF 1 Press the power ON OFF button on the back of the unit to the position to turn on the unit 2 Press the power ON OFF button on the back of the unit to the poistion 0 to turn off the unit AUX IN OPERA...

Страница 19: ...he USB port The USB port is for playback or recording depending on the device The USB port will not charge a device nor allow an MP3 player to play music If you would like to play audio from an iPod iPhone or an Android device please use the Line in port s on the unit Please note this feature may not be available on all models My records play too fast or too slow There is a speed selector switch l...

Страница 20: ...n or inappropriate use as outlined in the owner s manual B Any Electrohome product tampered with modified adjusted or repaired by any party other than Electrohome C Any cosmetic damage to the surface or exterior that has been defaced or caused by normal wear and tear D Any damage caused by external or environmental conditions including but not limited to transmission line power line voltage or liq...

Страница 21: ...Notes ...

Страница 22: ...Notes Notes ...

Страница 23: ...e installation ou une mauvaise utilisation comme indiqué dans le guide de l utilisateur B Tout produit Electrohome qui a été altéré modifié ajusté ou réparé par une partie autre qu Electrohome C Tout dommage esthétique à la surface ou à l e xtérieur qui a été déformé ou causé par une usure normale D Tout dommage causé par des conditions externes ou environnementales incluant mais sans s y limiter ...

Страница 24: ...ser le port USB pour recharger mon lecteur MP3 Le port USB sert pour la lecture ou l e nregistrement en fonction du périphérique que vous y branchez Le port USB ne rechargera pas un appareil et ne permettra pas non plus à un lecteur MP3 de jouer de la musique Si vous souhaitez lire des fichiers audio à partir d un iPod d un iPhone ou d un appareil Android s il vous plaît utilisez le ou les ports d...

Страница 25: ... ON OFF button on the back it to the poistion 0 to he unit PERATION e AM FM CD PH AUX to AUX and connect your MP3 player phone with the AUX IN input ck side of the unit via an aux in ON OFF MARCHE ARRÊT EANOS501 EANOS502 OPERATION DIFFERENCE POWER ON OFF 1 Press the power ON OFF button on the back of the unit to the position to turn on the unit 2 Press the power ON OFF button on the back of the un...

Страница 26: ...ylet avec le stylet sous le boîtier de cartouche Commencez en appuyant sur l arrière du porte stylet et ensuite appuyez sur le bord de la façade du porte stylet jusqu à ce qu il s enclenche au boîtier de cartouche IMPORTANT Pour protéger le plateau de dommages pendant le transport une vis de transport argentée se trouve en haut à droite du plateau 1 Avant de jouer un disque veuillez utiliser un to...

Страница 27: ...DISQUES COMPACTS Traiter le disque compact avec soin Manipulez le disque compact que par ses bords Ne touchez jamais avec vos doigts le côté brillant non imprimé du disque compact Ne fixez pas de ruban adhésif autocollants etc à l é tiquette de disques compacts Nettoyez le disque régulièrement avec un chiffon doux non pelucheux et sec N utilisez jamais de détergents ou de nettoyants abrasifs pour ...

Страница 28: ...sque vous allumez le système est le mode CD le nombre total pistes sera indiqué sur l écran si le disque est dans le tiroir CD Nod sera indiqué si il n y a pas de disque S il n y a pas de disque dans le tiroir du CD en mode CD placez la clé USB dans la prise USB le lecteur lira l USB automatiquement 1 Appuyer sur l interrupteur MARCHE ARRÊT pour le mettre à la position pour allumer l appareil Le v...

Страница 29: ...o plus haut ou plus bas si les dossiers sont sur la clé USB 3 Appuyez sur la touche DELETE sur la télécommande une fois et le fichier sera supprimé IMPORTANT Une fois que vous appuyez et retenez la touche DELETE le fichier choisi sera immédiatement supprimé DEL s affiche sur l é cran pour confirmer que la piste a été supprimée avec succès ENLEVER LA CLÉ USB Assurez vous d arrêter la lecture et éte...

Страница 30: ... é cran Répéter les étapes 2 et 3 pour programmer jusqu à 20 chansons Vous pouvez programmer une chanson plusieurs fois 4 Appuyez le bouton PLAY PAUSE pour commencer la lecture programmée l indicateur DEL clignotera Le lecteur commencera avec la première chanson programmée et continuera jusqu à ce que la dernière chanson programmée soit jouée 5 Appuyez les touches SKIP REV ou SKIP FW pour sélectio...

Страница 31: ...nt clignote lors de l enregistrement Appuyez STOP une fois pour annuler l enregistrement et deux fois pour arrêter la lecture ENREGISTREMENT D UN PROGRAMME D UN CD À USB 1 Effectuez les étapes 1 à 3 à la page 10 pour programmer la mémoire Appuyez sur le bouton PLAY PAUSE pour démarrer la lecture du programme 2 Choisissez une piste en utilisant le bouton SKIP REV ou FWD si désiré Appuyez sur la tou...

Страница 32: ... Ajuster le bouton VOLUME pour régler le volume 5 Pour passer à la chanson suivante ou précédente appuyez les boutons SKIP REV ou SKIP FWD Pour naviguer vers l avant ou vers l arrière dans les chansons appuyez et maintenir appuyer le bouton SKIP REV ou SKIP FWD 6 Appuyez le bouton PLAY PAUSE pour mettre la lecture en pause L indicateur PLAY PAUSE clignotera à l é cran Appuyez à nouveau pour repren...

Страница 33: ...adhésive disponibles dans des magasins de bricolage ou centres d aménagement intérieur et de les placer en dessous des tampons de caoutchouc avant de placer le produit sur des meubles en bois de qualité ÉCOUTEURS Pour une écoute privée branchez les écouteurs dans la prise écouteur sur la façade de votre lecteur Les haut harleurs se déconnecteront lorsque les écouteurs seront branchés ÉCOUTER LA RA...

Страница 34: ... polarité positive Tenez le horizontalement et appuyez sur le compartiment des piles de la télécommande légèrement Il est installé correctement une fois que vous entendez un clic Bras de Lecture Levier de Verrouillage Couvert du Stylet DÉBALLAGE ET INSTALLATION Retirer avec précaution l unité du carton d e mballage et retirer tous les emballages de l unité Dérouler le câble d alimentation jusqu à ...

Страница 35: ...r CD Garde le CD en place 25 Autocollant de service Done accès à la vis de réglage 26 Entrée AUX IN Connectez votre lecteur MP3 ou téléphone intelligent pour écouter de la musique 27 Interrupteur Allume et éteint l appareil 28 Antenne FM Améliore la réception FM 29 Câble d alimentation Branchez dans une prise murale 30 Platine Pour la lecture d un disque vinyle 31 Adaptateur 45 tours Placez au cen...

Страница 36: ...commande 37 26 27 25 28 29 32 33 34 35 36 30 31 38 39 40 41 42 43 44 45 46 47 48 4 15 5 6 8 9 10 16 18 19 20 21 22 23 7 17 24 11 12 13 14 TOUCHES ET CONNEXIONS Panneau de comande Arrière de l appareil Platine ...

Страница 37: ...disques vinyle les CD la radio AM FM et les MP3 via l e ntrée USB AUX Convertissez votre collection de CD et de disques vinyle à USB Haut parleurs dynamiques à haute performance Tourne disque pleine grandeur à 3 vitesses Meuble élégant de qualité avec un fini en bois véritable Commutateur rotatif rétro pour radio AM FM 1 2 3 TOUCHES ET CONNEXIONS Unité principale ...

Страница 38: ... ET LIRE UN CD 11 LECTURE ALÉATOIRE 11 FICHIERS DOSSIERS MP3 11 ENREGISTRER D UN CD À UN PÉRIPHÉRIQUE USB 12 ENREGISTREMENT D UN PROGRAMME D UN CD À USB 12 LECTURE RÉPÉTÉ 13 LECTURE PROGRAMMÉE 13 ENREGISTREMENT DU PHONOGRAPHE AU PÉRIPHÉRIQUE USB 14 ENLEVER LA CLÉ USB 14 REMPLACER LE STYLET 14 LECTURE DE DISQUES 15 EFFACER LES FICHIERS DU PÉRIPHÉRIQUE USB 15 IMPORTANT 17 SOIN ET ENTRETIEN 18 RÉGLAG...

Страница 39: ...ientèle ELECTROHOME en ce qui concerne toute information supplémentaire sur les caractéristiques des produits les Veuillez nous contacter par l une des méthodes ci dessous Pour plus d information sur nos produits visitez www ELECTROHOME com Clavardage en ligne www electrohome com Soutien www electrohome com support ...

Страница 40: ...ssuivantes Réorienter ou déplacer l antenne de réception Augmenter la distance entre l appareil et le récepteur Branchez l appareil dans une prise de courant CA différente de celle utilisée par le récepteur Consulter le revendeur ou un technicien spécialisé dans le service des radios téléviseurs pour obtenir de l aide Cet appareil est en accord avec la partie 15 des Lois FCC Son utilisation est su...

Страница 41: ...ificateurs qui produisent de la chaleur 9 N allez pas à l e ncontre de I o bjectif de sécurité de la fiche polarisée ou avec mise à la terre Une fiche polarisée a deux lames une étant plus large que I autre Une fiche avec mise à la terre a deux lames et une troisième broche de terre La lame large ou la troisième broche est destinée à vous protéger Si la fiche fournie ne s insère pas dans votre pri...

Страница 42: ...trohome Veuillez lire ce manuel attentivement avant de faire fonctionner l appareil pour vous assurer de l utiliser correctement Conservez ce manuel dans un endroit sûr afin de pouvoir vous y référer au besoin SYSTÈME DE MUSIQUE RÉTRO WELLINGTON EANOS502 MANUEL v 9 ...

Отзывы: