background image

Page 2 of 12

1.  
2.  

3.  

Where Do I Go From Here?

Getting Started with Configurations

This section walks a first-time user through the steps of getting connected to the RediGate, creating an initial configuration, uploading the
configuration, and logging into the user interface menu to observe its operation.

Starting the RediGate

If you are starting the RediGate for the first time, or if you don't know the Ethernet IP address, you will need to connect to the RediGate via the
USB port on the front of the device.

If you have a RediGate with an ethernet port (110e or 120e), you should also connect the RediGate to the same Ethernet network as the
configuration PC, or directly using a crossover Ethernet cable (you may need to configure the PC to a compatible IP address in this case).

Powering the RediGate

The Redigate will work with any 9.5-28V DC power supply connected to the supplied power cable. Apply power to the device prior to installing and
testing the Silicon Labs USB Driver

Install Silicon Labs USB Driver

Download and install the latest USB Driver from 

http://partner.elecsyscorp.com/software

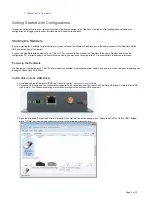
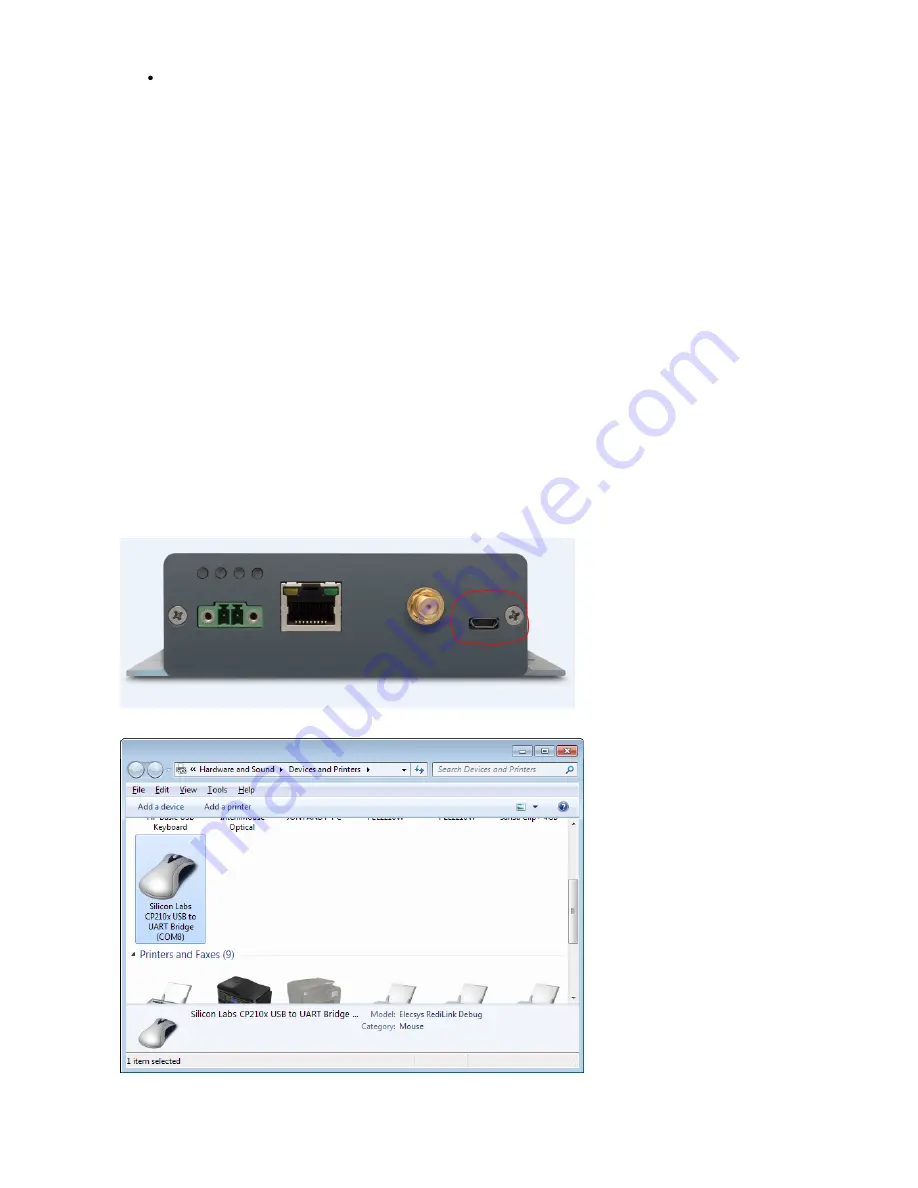
Connect a USB cable from the configuration computer to the console port on the front of the RediGate (USB type A male to Micro-USB
type B male). The Windows operating system should recognize the port as a USB serial port.

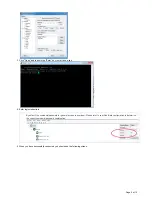
Open the Windows "Devices and Printers" window to confirm that the device appears as a "Silicon labs CP210x USB to UART Bridge,"
with a "COMx" port number designation, as shown in the following screen capture: 


Содержание RediGate 100 Series

Страница 1: ...ent the information contained in this manual Elecsys Corporation assumes no responsibility for any infringements of patents or other rights of third parties that may result from its use Elecsys Corporation reserves the right to make changes or improvements to this document and or product at any time and without notice While Elecsys may assist customers with their choice of products the final choic...

Страница 2: ... directly using a crossover Ethernet cable you may need to configure the PC to a compatible IP address in this case Powering the RediGate The Redigate will work with any 9 5 28V DC power supply connected to the supplied power cable Apply power to the device prior to installing and testing the Silicon Labs USB Driver Install Silicon Labs USB Driver Download and install the latest USB Driver from ht...

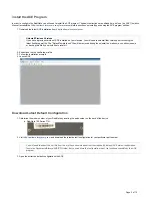
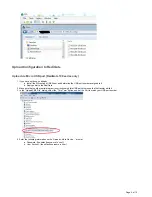
Страница 3: ...the back of the device RediGate 100 Series P N Visit and download the latest default configuration for your particular part number http partner elecsyscorp com Open the extracted default configuration with ACE Uninstall Previous Versions If you have a previous version of ACE installed on your machine you will need to uninstall that version prior to running the latest AceSetup msi file The DefaultT...

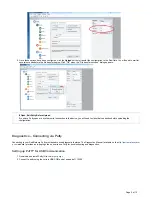
Страница 4: ...umber assigned to it Apply power to the RediGate Make sure that no other serial program is currently using this USB port otherwise the file transfer will fail In the Upload XML File dialog select the Tera Term option and set the Port to match your USB port number Enter the following information on the Upload XML to Device prompt Password the default password is user User Account the default userna...

Страница 5: ...y provides advanced diagnostic features The available on the Diagnostics Manual http partner elecsyscor website provides an in depth guide on how to use Putty for troubleshooting and diagnostics p com Setting up PuTTY for USB Communication Download and install Putty http www putty org Connect to putty using the correct USB COM port at a speed of 115200 If Open Exit Putty Before Upload If you have ...

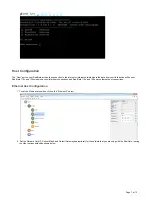
Страница 6: ...new line Enter login credentials When you have successfully connected you should see the following screen By default the username password for general access is user user Please refer to your RediGate configuration to determine the correct username password combination ...

Страница 7: ...ediGate 110c and 120c models have cellular host connections and RediGate 110e and 120e have ethernet host connections Ethernet Host Configuration To set the Ethernet properties click on the Ethernet 0 object Set the Network Card IP Subnet Mask and Default Gateway appropriately for the network that you are using with the RediGate leaving the other options default as shown below ...

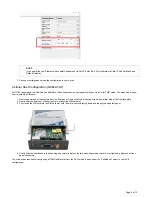
Страница 8: ...lide the board out of its enclosure to expose the SIM card slot Fully insert the SIM card into the SIM card slot with the metal contacts facing down and the angled edge facing out Gently slide the board back into its housing and carefully replace the two mounting screws to avoid over tightening Replace all front panel connectors The main action required for configuring a GSM RediGate is to set the...

Страница 9: ...umber If you cannot locate MEID on the RediGate itself you can recover it by connecting over putty SSH into your RediGate using Putty Navigating to the Cell Modem Diags section by entering the following commands 1 System Services 15 Cell Modem Diags 73 Diag AT Cmds These commands will take you to the following screen where you will be able to retrieve the MEID or CIMI IMEI GSM AT T of your cellula...

Страница 10: ...lt in to the RediGate diagnostics Connect to the RediGate using Putty Enter the following commands 3 Diagnostics Services 14 Ping Service IP address or domain of Host destination 8 8 8 8 or google com for example for internet connected devices If you see a reply from the IP address you pinged you are connected and ready to send data from your field device to your host platform Downloading and Inst...

Страница 11: ...x is checked Click Upload Add File and then select the downloaded tar gz file After the upload you device will reset and contain the latest firmware Do not change tar filename In order for the tar to be properly installed you must upload the file with its original filename Uploading a file with a space in it such as 2017 01 03 1400 RegiGate_400_7_ZEUS_3 12_07 1 tar gz will prevent the RediGate fro...

Страница 12: ...war e Manuals Contains specifications jumper settings and connection diagrams for the RediGate s standard and optional hardware components ACE Operation Manual Contains installation and user instructions for the Advanced Configuration Environment software which is used to configure the RediGate Configuration Manual Gives detail on the standard configuration options of the RediGate product Diagnost...

Отзывы: