


User Manual of Network Video Recorder
137
default HTTP port is 80.
Steps:
1.
Enter the Network Settings interface.
Menu >Configuration> Network
2.
Select the
More Settings
tab to enter the More Settings interface, as shown in Figure 9. 15.
3.
Enter new
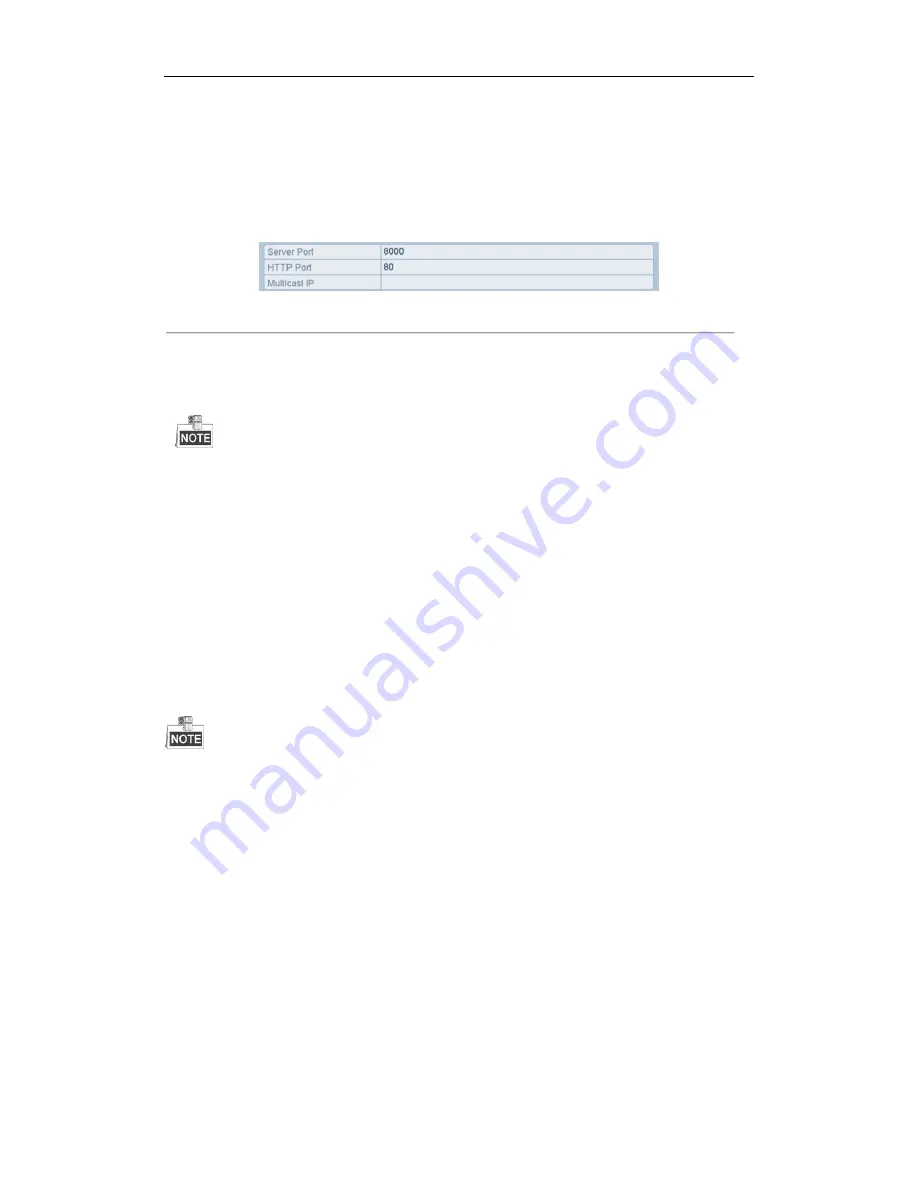
Server Port
and
HTTP Port
.
Figure 9. 18
Host/Others Settings Menu
4.
Enter the Server Port and HTTP Port in the text fields. The default Server Port is 8000 and the HTTP Port is
80, and you can change them according to different requirements.
5.
Click the
Apply
button to save and exit the interface.
The Server Port should be set to the range of 2000-65535 and it is used for remote client software access.
The HTTP port is used for remote web browser access.
9.2.9
Configuring HTTPS Port
Purpose:
HTTPS provides authentication of the web site and associated web server that one is communicating with, which
protects against Man-in-the-middle attacks. Perform the following steps to set the port number of https.
Example:
If you set the port number as 443 and the IP address is 192.0.0.64, you may access the device by inputting
https://192.0.0.64:443
via the web browser.
The HTTPS port can be only configured through the web browser.
Steps:
1.
Open web browser, input the IP address of device, and the web server will select the language automatically
according to the system language and maximize the web browser.
2.
Input the correct user name and password, and click
Login
button to log in the device.
3.
Enter the HTTPS settings interface.
Configuration > Remote Configuration > Network Settings > HTTPS
4.
Create the self-signed certificate or authorized certificate.
Содержание EI-6120 NIP-16
Страница 1: ...Network Video Recorder User Manual...
Страница 28: ...User Manual of Network Video Recorder 27 12 Click OK to complete the startup Setup Wizard...
Страница 41: ...User Manual of Network Video Recorder 40 Figure 3 6 Information...
Страница 112: ...User Manual of Network Video Recorder 111 Figure 7 40 Synchronizing...
Страница 117: ...User Manual of Network Video Recorder 116 to copy the settings to them Figure 8 8 Copy Settings of Alarm Input...
Страница 119: ...User Manual of Network Video Recorder 118 5 Click the OK button to complete the video loss settings of the channel...
Страница 163: ...User Manual of Network Video Recorder 162 Figure 10 23 View HDD Status 2...
Страница 198: ...User Manual of Network Video Recorder 197...


