


Operating Instructions
ehb SMARTdisplay 101
12/19
Vers. 1.1 © ehb errors excepted
From left to right, set the year, month, day, hour, minute and second. Clicking on one of these areas
causes a numerical input field to appear. Type in the desired figure and press Enter to confirm. If a
valid value has been entered, this is adopted straight away. You can also cancel the input by clicking
, provided that the input line is empty. If you have already entered a figure, the top right button
is now a delete key. Each time you click this, the last digit is deleted.
If, after starting the device, you see the date 1.1.2006 and time 12:00, it is possible that there is a
problem with the clock or that the battery is exhausted. In this case, set the correct date and time and
switch the device off. Remove all cables from the rear of the unit. Wait for 20 minutes, then reconnect
the device and check the date. If this still indicates 2006, please return the device to our services de-
partment.
3.3 Network (LAN) Configuration
Network settings can only be accessed via the password-protected area. Open the Setup menu by
clicking
on the navigation bar. First click on
and enter the password 915066. The symbols
for the protected setup features will appear. By clicking
you will see configuration options as
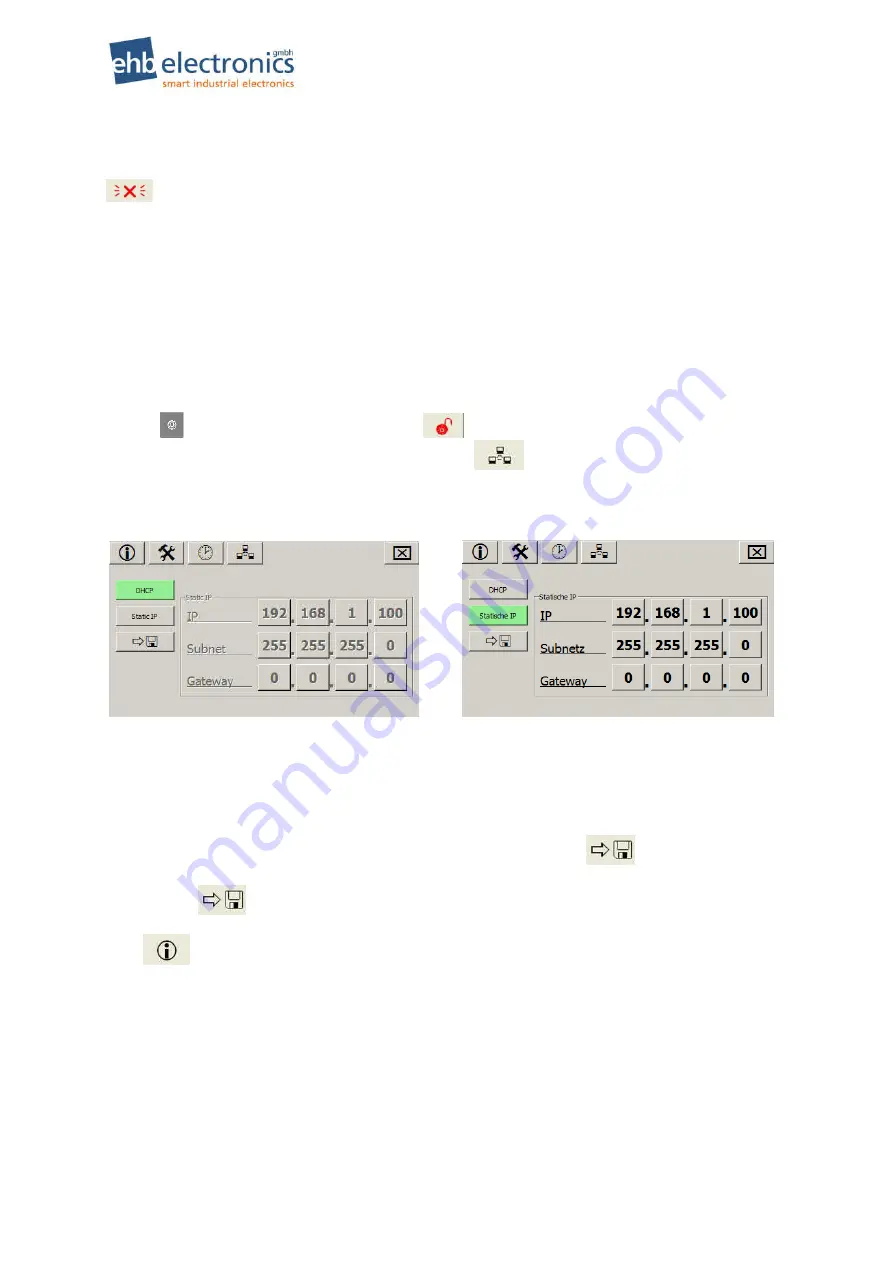
shown in the illustration below.
Click either the DHCP or the Static IP button, depending on whether the IP address is to be obtained
from a DHCP server or from an IP address that you type in manually. To avoid an address conflict, it is
recommended that you use the DHCP setting if a DHCP server is available in your network. Set a
static IP address to link device and PC to one another directly via a LAN cable. Then set up a static IP
address on the PC as well.
Note that the settings you make do not become active until you click the
button. The settings
are then retained (even following restarts) until such time as you make a change to them and save the
changes with
.
Click
to move to the information page to check whether a valid IP address has been set.
“0.0.0.0” is not valid and is displayed if no network connection is present. If this occurs, check that the
cable is properly inserted into the network sockets at both ends.


