74
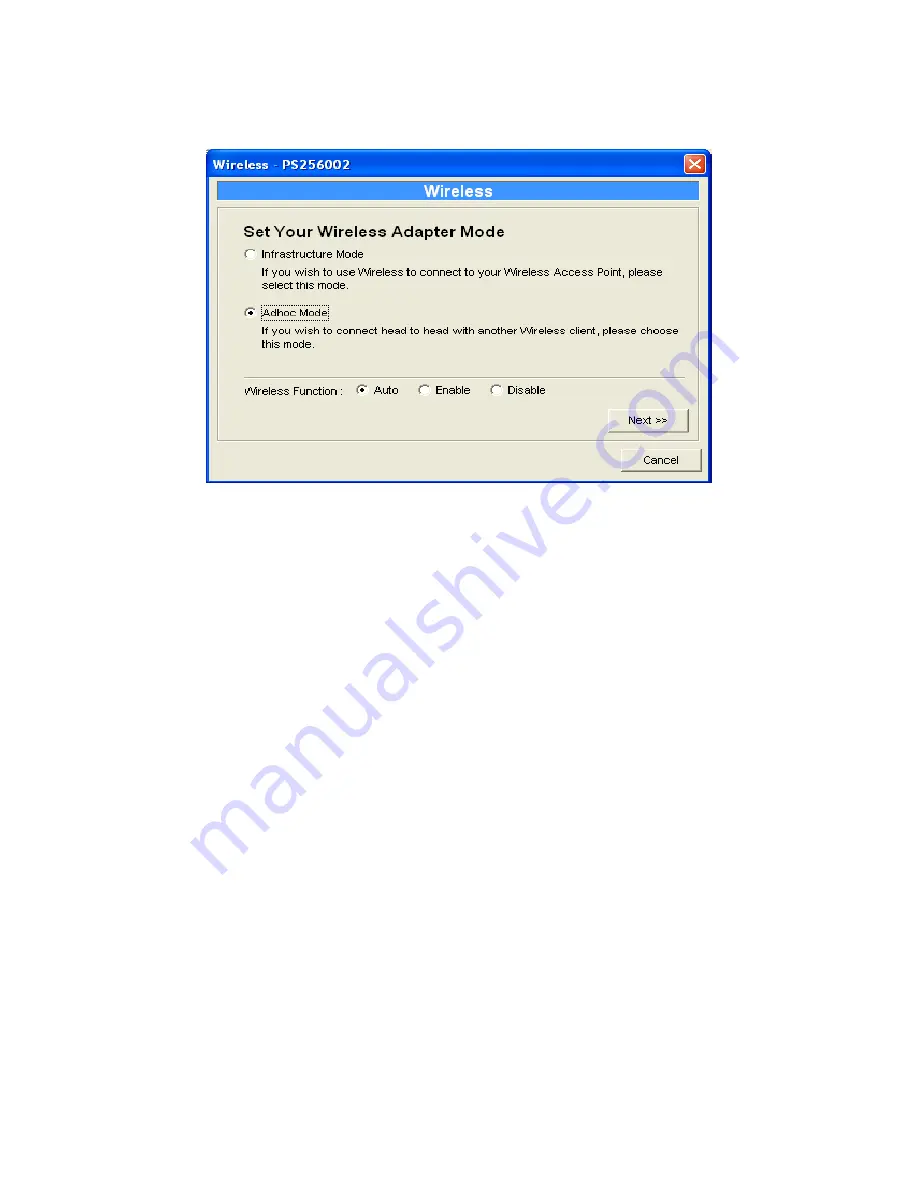
Double Click “Wireless” icon and the wireless
configuration window will pop-up.
If you use access point to build up wireless network, you
have to select “Infrastructure Mode”. If you do not have
any access point and want to use peer-to-peer connection
to build up wireless network, you have to select “Ad-Hoc
Mode”.
For the “Wireless Function” setting, you can select “Auto”,
Enable” or “Disable” to manually configure the wireless
function of the print server.
Auto – “Auto” is the default setting of the print server. At this mode,
the print server will automatically decide to enable or disable the
wireless function. When the print server starts up, it will auto-detect if
the LAN port is connected to an active network by an Ethernet cable.
If this is the case, the print server will run in Ethernet mode. If the
print server is not connected to an active network by Ethernet cable,
the print server will run in wireless LAN mode.
Содержание PS-1206P
Страница 1: ......
Страница 35: ...26 4 Click Install 5 The system will start to install the utilities automatically...
Страница 45: ...36 7 Name your printer and set the default printer click Next 8 The printer drivers are being installed...
Страница 92: ...83 Click Save to save the wireless configuration Wizard...
Страница 101: ...92 8 3 2 Printer This page lists information of printers connected to all printer ports...
Страница 103: ...94 8 3 4 SMB This page lists the SMB group and the pass job interval time settings of the print server...
Страница 128: ...119 Step4 Select A network printer or a printer attached to another computer Click Next...
Страница 136: ...127 8 Select Custom and click Settings When you have finished the settings at step 9 click Next to continue...
Страница 137: ...128 9 Select LPR and enter lpt1 in the Queue Name click OK By default the queue name of the Print Server is lpt1...
Страница 142: ...133 6 Select Custom and click Settings When you have finished the settings at step 7 click Next to continue...
Страница 143: ...134 7 Select LPR and enter lpt1 in the Queue Name click OK By default the queue name of the Print Server is lpt1...
Страница 145: ...136 10 The printer drivers are being installed 11 It is recommended to print a test page Click Finish...
Страница 149: ...140 3 From the Print Fax screen click Set Up Printers 4 Click Add to add the new Print Server through TCP IP...
Страница 153: ...144 Step3 Select Advanced tab and click Settings...
Страница 154: ...145 Step4 Select Exceptions tab and click Add Program...
Страница 155: ...146 Step5 Click Browse to add a new program...
Страница 156: ...147 Step6 Open the NPUtil file from C Program Files PrintServer Utilities where C is the system drive...
Страница 157: ...148 Step7 A new program Network Ports Quick Setup is displayed in the list click Ok...
Страница 159: ...150...


