51
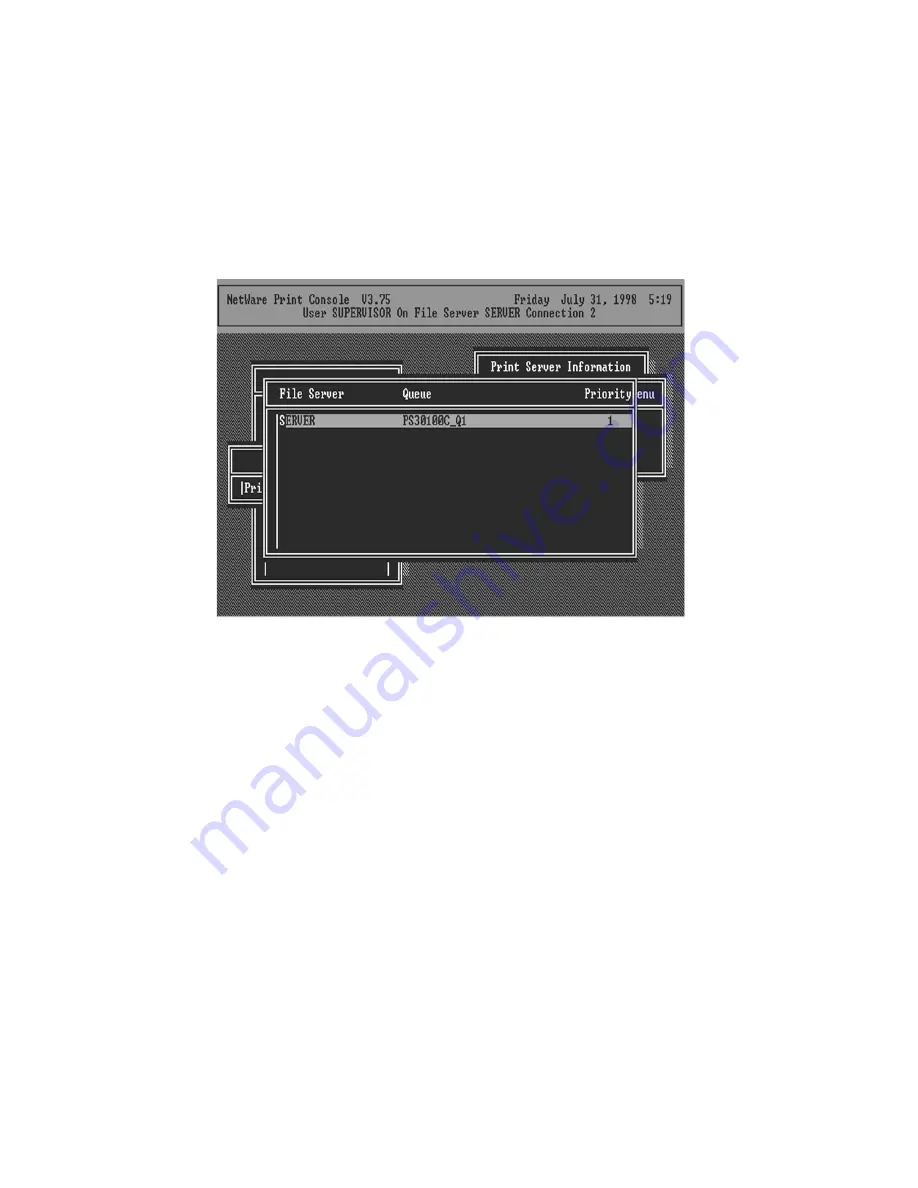
15. Press
Insert
and add your newly created print queue
to the list of queues serviced by the printer. Enter a
priority number for the queue service, or press Enter
to accept the default.
16. Repeatedly press Escape to exit the PCONSOLE
program.
17. Reset the print server to have the changes take
effect.
NOTE:
If the print server you have is with multiple printer
connectors, you may create multiple print queues and
printer objects.
Your print server should now be ready to use. You should
be able to redirect printing to your print server using a
CAPTURE command such as the one shown in the
previous section.
Содержание PS-1206P
Страница 1: ......
Страница 35: ...26 4 Click Install 5 The system will start to install the utilities automatically...
Страница 45: ...36 7 Name your printer and set the default printer click Next 8 The printer drivers are being installed...
Страница 92: ...83 Click Save to save the wireless configuration Wizard...
Страница 101: ...92 8 3 2 Printer This page lists information of printers connected to all printer ports...
Страница 103: ...94 8 3 4 SMB This page lists the SMB group and the pass job interval time settings of the print server...
Страница 128: ...119 Step4 Select A network printer or a printer attached to another computer Click Next...
Страница 136: ...127 8 Select Custom and click Settings When you have finished the settings at step 9 click Next to continue...
Страница 137: ...128 9 Select LPR and enter lpt1 in the Queue Name click OK By default the queue name of the Print Server is lpt1...
Страница 142: ...133 6 Select Custom and click Settings When you have finished the settings at step 7 click Next to continue...
Страница 143: ...134 7 Select LPR and enter lpt1 in the Queue Name click OK By default the queue name of the Print Server is lpt1...
Страница 145: ...136 10 The printer drivers are being installed 11 It is recommended to print a test page Click Finish...
Страница 149: ...140 3 From the Print Fax screen click Set Up Printers 4 Click Add to add the new Print Server through TCP IP...
Страница 153: ...144 Step3 Select Advanced tab and click Settings...
Страница 154: ...145 Step4 Select Exceptions tab and click Add Program...
Страница 155: ...146 Step5 Click Browse to add a new program...
Страница 156: ...147 Step6 Open the NPUtil file from C Program Files PrintServer Utilities where C is the system drive...
Страница 157: ...148 Step7 A new program Network Ports Quick Setup is displayed in the list click Ok...
Страница 159: ...150...


